
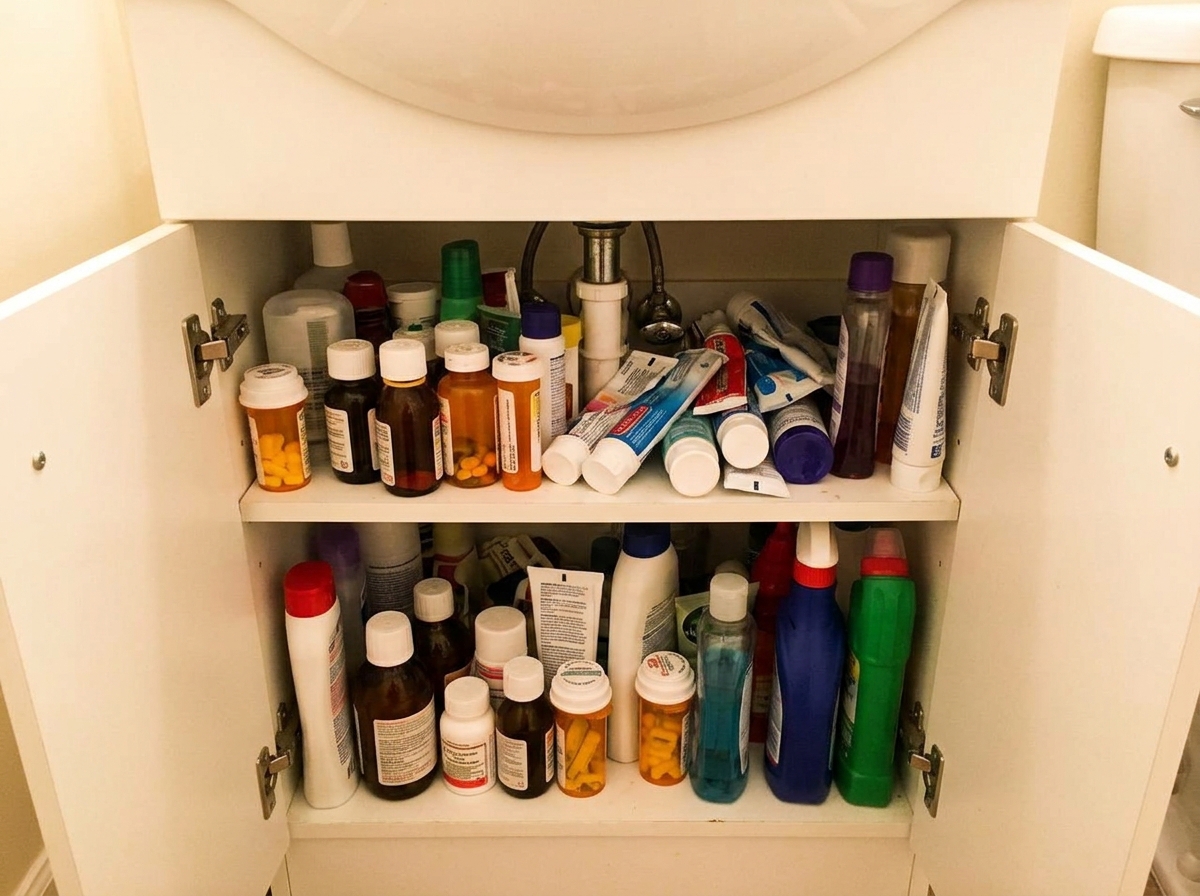
I used to have a bathroom cabinet that looked like a game of Jenga made of half-empty lotion bottles.
Every morning I’d pull out three things looking for my retinol and knock two more onto the floor.
It took me almost a year of half-hearted “cleanups” to realize the problem wasn’t that I owned too much stuff — it was that I never actually grouped anything, so I was re-solving the same puzzle every single day.
If your medicine cabinet or vanity storage is doing that to you too, this is the process that finally fixed mine.
It’s not fancy. It’s five steps, it takes one afternoon, and most of the cost is optional.
I’ll flag exactly where I’d spend money and where I wouldn’t.
Quick note on terms before we dive in: I’m using “bathroom cabinet organization” to mean the whole system — medicine cabinet, under-sink cabinet, and any small vanity drawers — because in a small bathroom, you really do have to solve all three together or the overflow just migrates from one to the next.
Step 1: Empty Everything Onto a Towel and Check Dates
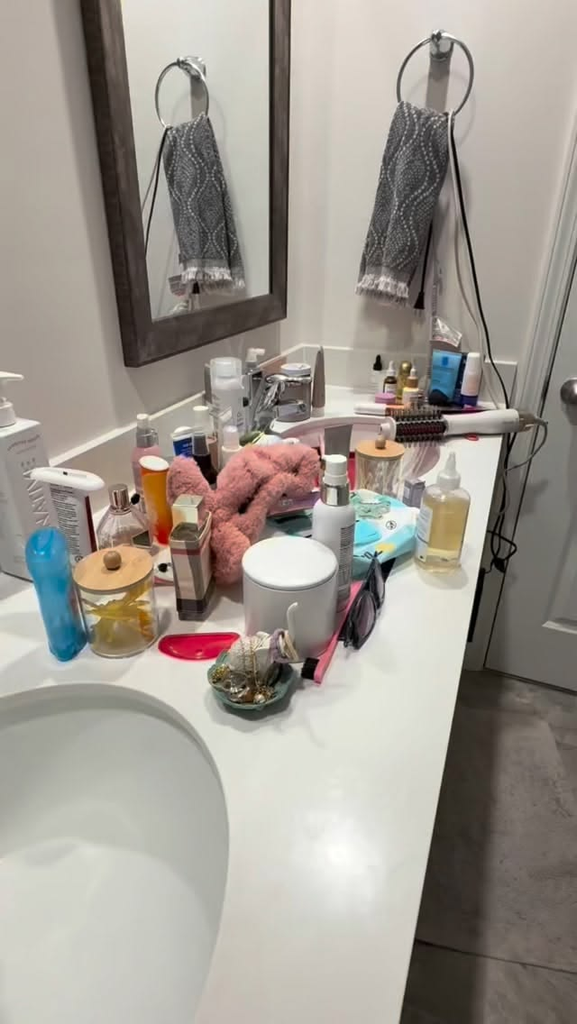
This sounds obvious, but almost nobody actually does it, and it’s the step that makes everything after it work.
Lay an old towel on your counter or the closed toilet lid, and pull every single item out of the cabinet — medicine cabinet, under-sink, drawers, all of it.
While it’s all out, sort into three quick piles: keep, toss, and “I forgot I owned this.” Check expiration dates on sunscreen, retinoids, and any prescription stuff — sunscreen especially degrades faster than people think, and expired SPF is genuinely less effective, not just a technicality.
Pro tip: Take a photo of everything laid out before you toss anything. I skipped this the first time and ended up buying a duplicate of a serum I already owned because I forgot I had it, which is exactly the kind of clutter-causing habit this whole process is supposed to break.
Step 2: Group by Use, Not by Category
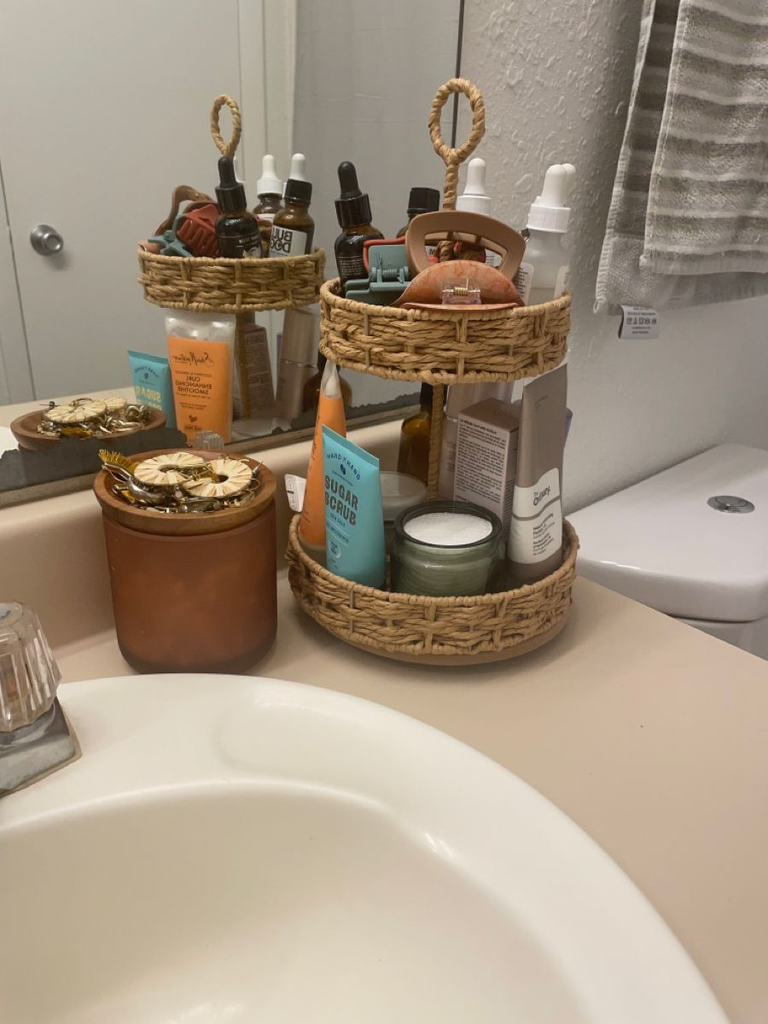
Here’s the mistake I made for years: I organized by product type — all the skincare together, all the haircare together — instead of by when I actually use it.
That meant my nighttime routine stuff was scattered across two shelves because “serum” and “eye cream” lived in different zones.
Instead, group by routine: morning face, night face, hair, first-aid, and “backstock” (extras you’re not using yet).
This matters more in a small cabinet than a big one, because you don’t have room to browse — you need to grab a whole routine in one motion.
My friend Priya switched to this system after she started doing her skincare in her tiny grad-school apartment bathroom with one shallow shelf, and she said the real unlock was realizing her “backstock” pile didn’t need to be in the main cabinet at all — it went in a shoebox in the closet, which freed up almost a third of her space.
Step 3: Pick Containers That Match Your Cabinet’s Actual Shape
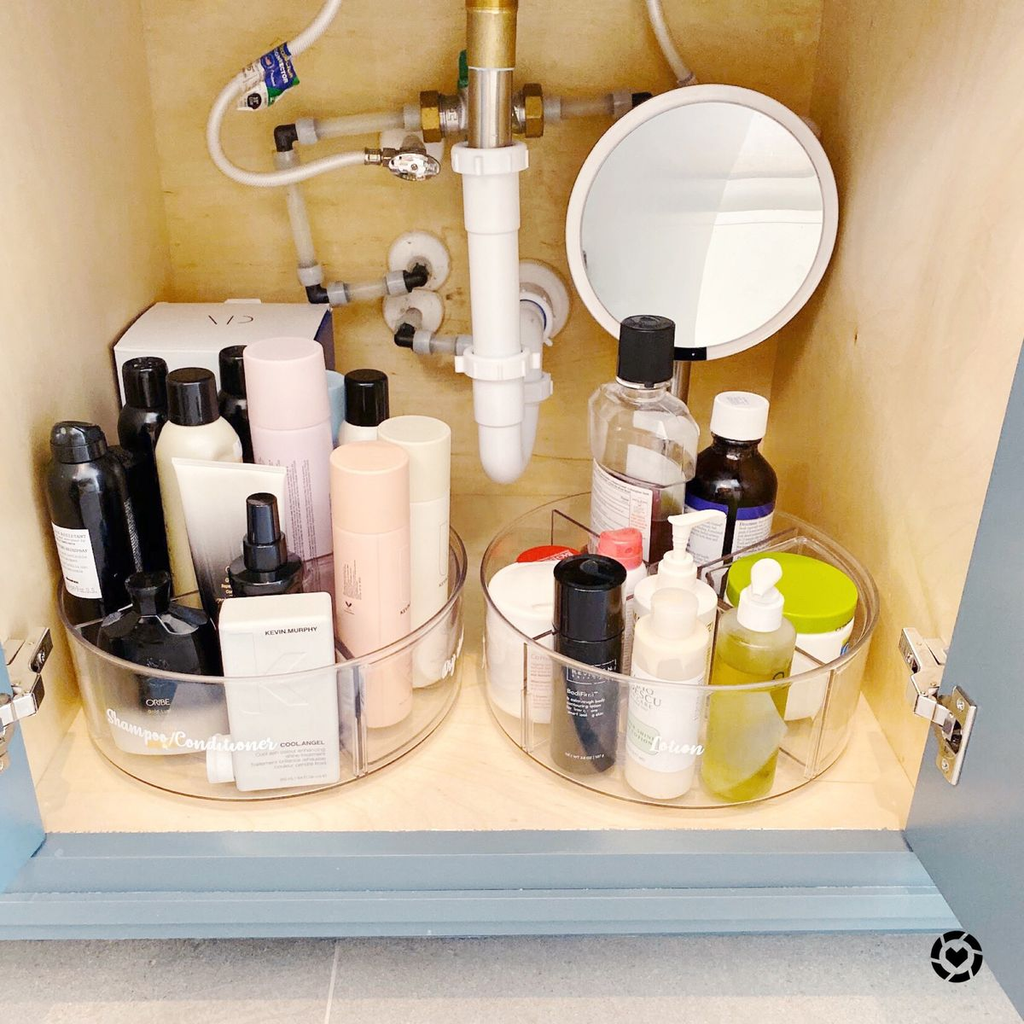
This is where people overspend or underspend, so it’s worth a real comparison. Small bathroom cabinets are usually one of two shapes: shallow and wide (medicine cabinets) or deep and narrow (under-sink).
The right organizer depends entirely on which one you’re solving for.
| Organizer Type | Best For | Approx. Cost | Trade-off |
|---|---|---|---|
| Acrylic stacking trays | Shallow medicine cabinets | $12–$25 for a set | Great visibility, but tip over easily if the cabinet gets bumped a lot |
| Turntable/lazy Susan | Deep under-sink cabinets | $10–$18 | Solves “stuff hiding in the back,” but wastes corner space if your cabinet isn’t round-friendly |
| Tension rod + hanging bags | Under-sink, for hair tools | $8–$15 | Cheap and clears floor space, but only works if your under-sink pipes leave enough clearance |
| Stackable drawer organizers | Vanity drawers | $15–$30 | Most durable long-term, but you have to measure your drawer depth exactly or they won’t sit flush |
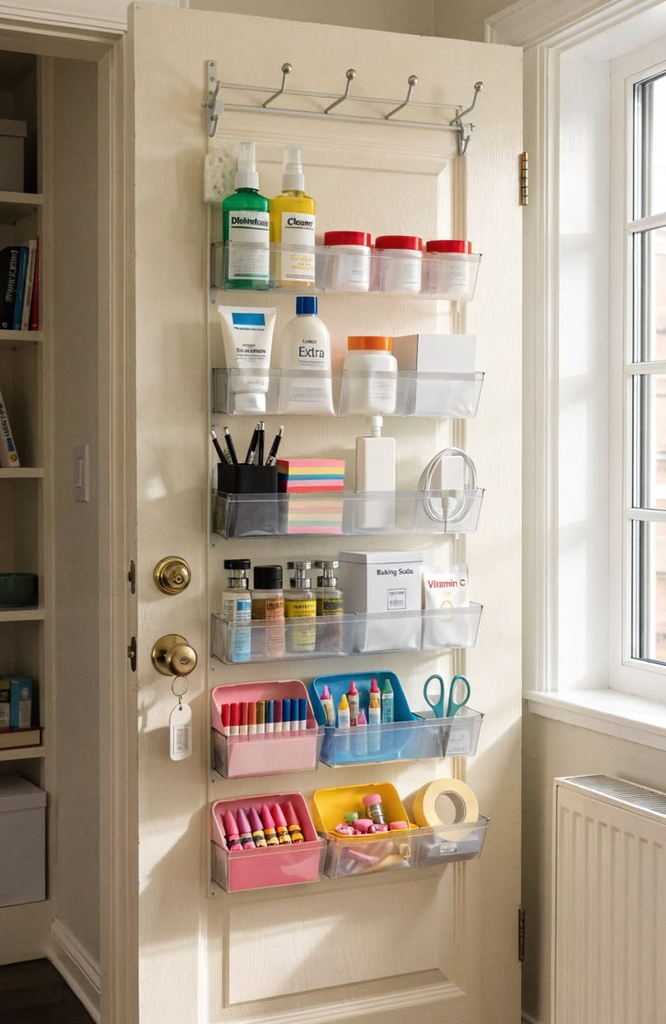
| Over-the-door pocket organizer | Cabinets with a flat door front | $10–$20 | Cheapest way to add storage, but skip the flimsy ones — mine fell off the door hook within a week |
Pro tip: Measure your cabinet’s interior height before buying anything, not just the width. I’ve bought stacking trays that fit perfectly side to side but were half an inch too tall to let the shelf sit at its lowest setting, which meant I lost the exact space I was trying to gain.
Step 4: Give Everything a Fixed Spot — Even the Awkward Stuff
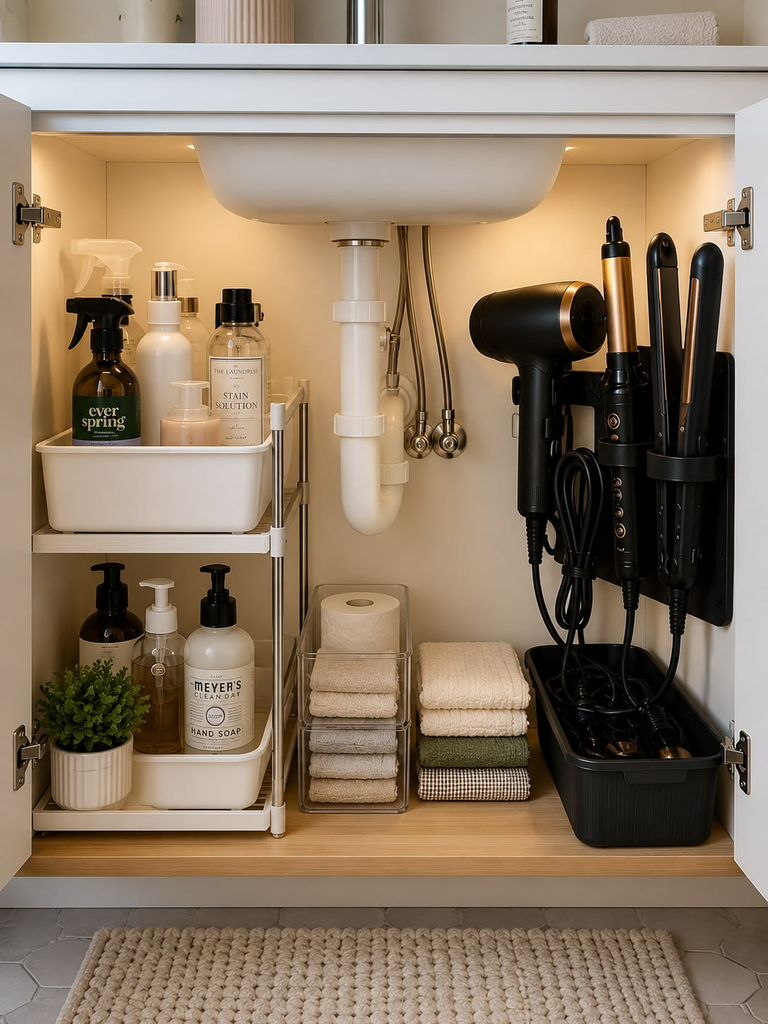
Once your containers are in, assign every single item a home, including the odd-shaped things people usually just toss in loose: hair tools, nail clippers, that one weird-shaped diffuser attachment.
Loose odd items are almost always what causes the “explosion” look in small cabinets, because they don’t stack and they don’t fit neatly in a tray.
For hair tools specifically, a tension rod mounted under the sink with S-hooks works better than a drawer, because curling irons and straighteners are long and awkward and drawers waste height accommodating them.
Nail stuff does better in a shallow stacking tray where you can see every color at a glance instead of digging through a bag.
If you’re working with a dorm bathroom that’s shared or has almost no cabinet space at all, this is the step where a small over-the-door shoe organizer earns its keep — not for shoes, obviously, but each pocket becomes a one-item home, which is genuinely one of the better dorm bathroom storage hacks I’ve seen actually hold up over a full semester rather than falling apart by October.
Step 5: Build in a 5-Minute Reset, Not a Deep Clean
The system falls apart if the only way to maintain it is a full re-organization every few months.
Instead, pick one day a week — Sunday night works for me — and spend five minutes putting anything that migrated back to its assigned spot and doing a quick expiration check on anything close to its date.
This is the step people skip, and it’s the actual reason organizing projects don’t stick.
A one-time cabinet overhaul buys you maybe six weeks of tidiness before life creeps back in.
A five-minute weekly reset is what keeps a small bathroom cabinet organized for good, because you’re catching the drift before it becomes a full Jenga tower again.
Pro tip: Keep a small empty bin or basket in the cabinet as a “landing zone” for anything you’re not sure where to put yet. Forcing an instant decision on every item is what causes people to abandon the system — give yourself a temporary holding spot instead, and sort it during your weekly reset.
What I’d Do First If I Were Starting Over
Honestly, I’d skip buying anything until after Step 1 and Step 2. Most people (including past me) buy organizers before they know what they’re actually organizing, and end up with containers that don’t match their real routine.
Empty the cabinet, sort by use, and only then measure for containers — you’ll spend less money and buy the right shapes the first time.
If your budget is genuinely $0, start with what you already have: a cereal box cut down makes a decent drawer divider, and a mug works fine as a toothbrush-and-nail-clipper catch-all. The containers matter less than the habit of giving everything a fixed spot and doing that weekly reset.
That’s the part that actually keeps a small bathroom cabinet organized long-term — everything else is just details.

Leave a Reply