
How to Remove 3M Tape From Your Car?
If you’re dealing with stubborn 3M tape residue on your car, fret not! Removing it doesn’t have to be a daunting task.
In this article, we’ll guide you through the step-by-step process of safely and effectively removing 3M tape from your car’s surface.
Whether you want to remove old decals or adhesive residue left behind by badges, this easy-to-follow guide will provide you with all the tips and tricks you need for a clean and flawless finish.
So, let’s dive in and discover how to say goodbye to that sticky mess on your beloved vehicle!
Table of contents
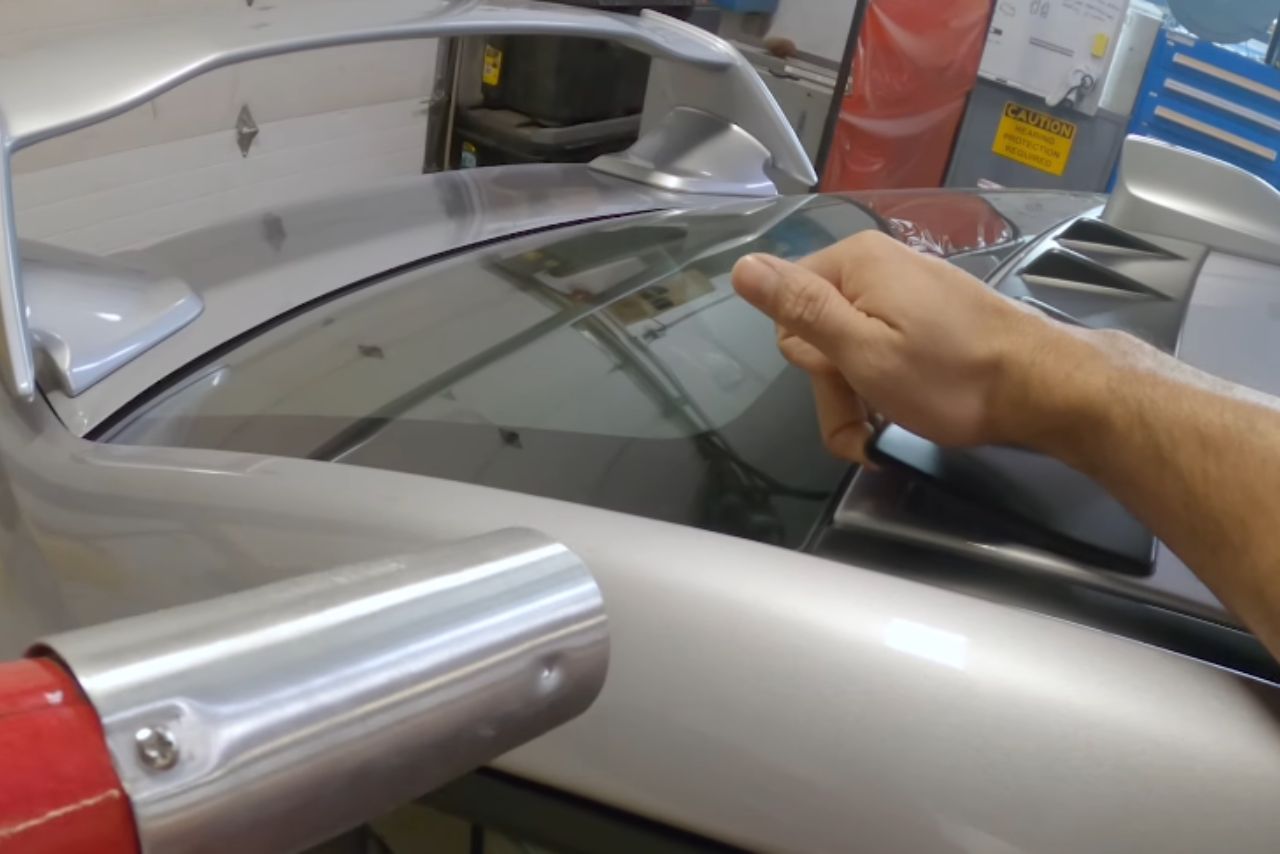
Step-by-Step Guide to Remove 3M Tape from Your Car:
how to remove 3m tape from car, follow these simple steps:
1. Gather the necessary tools:
Before you begin, make sure you have the following items handy:
- Hairdryer or heat gun
- Plastic scraper or credit card
- Rubbing alcohol or adhesive remover
- Microfiber cloth
2. Prep the area:
Park your car in a shaded area to avoid direct sunlight. This will prevent the adhesive from hardening and becoming more difficult to remove.
3. Apply heat:
Use a hairdryer or heat gun on its lowest setting to warm up the tape for easier removal. Hold it a few inches away from the surface and move it back and forth across the tape until it feels soft.
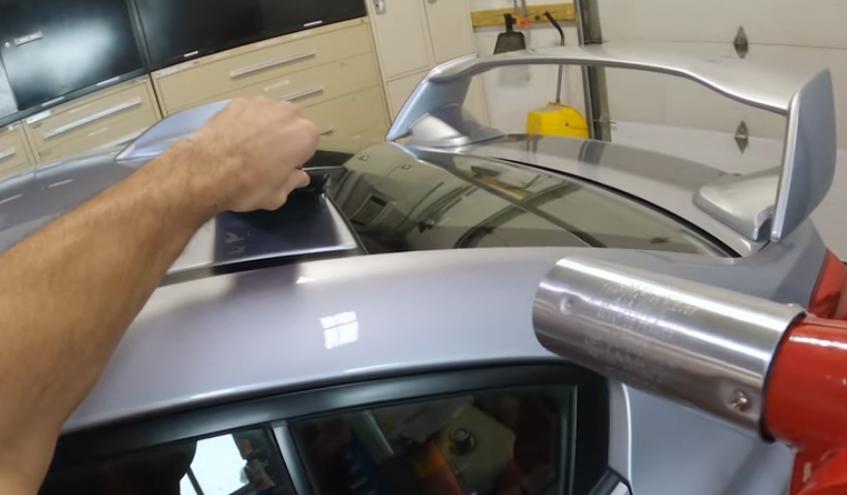
4. Peel off the tape:
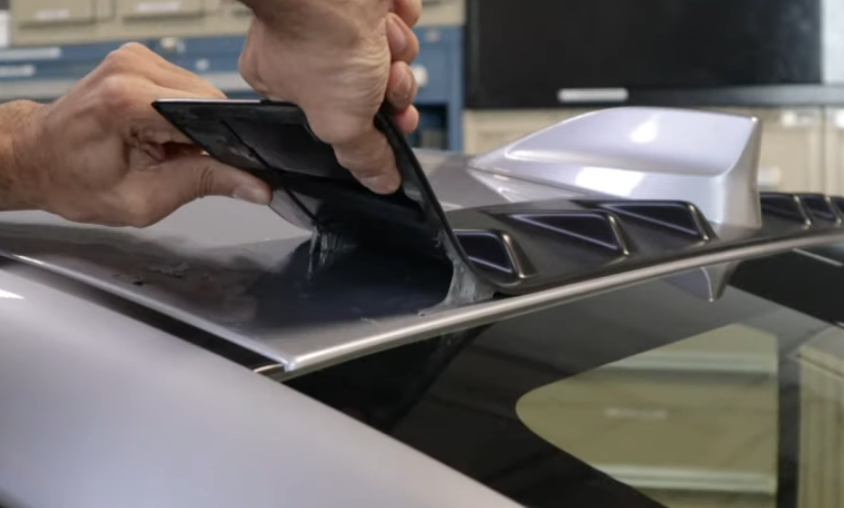
Using your fingers or a plastic scraper, gently lift one corner of the tape and start peeling it off slowly. Apply more heat if needed to soften stubborn areas.
5. Remove residue:

After removing all visible traces of tape, there may still be some sticky residue left behind. Dampen a microfiber cloth with rubbing alcohol or adhesive remover and gently rub over the remaining residue until it comes off completely.
6. Clean the surface:
Once all traces of tape and residue are removed, wipe down the area with a clean microfiber cloth dampened with water to ensure no chemicals are left behind that could damage your car’s paintwork.
Inspect for any missed spots:
Carefully inspect both visually and by touch if any small pieces of tape were missed during removal process; repeat steps above as necessary until all remnants are gone.
Remember to take your time during this process to avoid damaging your car’s paintwork inadvertently.
Watch this video guide for more info:
Tools You’ll Need for the Job:
When it comes to removing 3M tape from your car, having the right tools can make all the difference. Here are a few essential items you’ll need to successfully complete the task:
It’s worth mentioning that depending on how much tape you have to remove and its condition, additional tools such as fishing line or dental floss may come in handy for cutting through larger pieces of tape before starting with heat application and scraping.
Remember always to exercise caution while working with these tools, especially when using heat sources near flammable materials like fuel tanks or electrical components within your vehicle.
Precautions to Take Before Starting:
Before you begin removing 3M tape from your car, it’s important to take some precautions to ensure a smooth and safe process. Follow these steps before starting:
By following these precautions before starting the removal process of 3M tape from your car’s surface, you can minimize risks of damaging paintwork while ensuring an efficient outcome.
Tips and Tricks for a Clean Removal:
When removing 3M tape from your car, it’s important to follow the right steps to ensure a clean removal without damaging the paint or leaving any residue behind. Here are some tips and tricks to help you achieve a smooth removal process:
Remember that different cars may have different types of paint finishes which could affect how easily the 3M tape comes off or leaves residue behind; always test in an inconspicuous area before proceeding with the full removal process.
By following these tips and tricks, you’ll be able to remove 3M tape from your car without any hassle or damage, leaving a clean surface ready for whatever comes next.
Why Use 3M Tape on Your Car?
Using 3M tape on your car can provide several benefits. Here are a few reasons why you might want to consider using it:
In conclusion, by opting for the use of reliable and versatile products like 3M tape when attaching items to your car’s exterior surface , you enjoy benefits such as ease of application/removal , strong adhesion , weather resistance among others while avoiding potential damages caused by traditional attachment methods.
Conclusion and final thoughts 
Removing 3M tape from your car is a straightforward process that can be done with the right tools and techniques.
By following the steps outlined in this article, you can effectively remove the tape without causing any damage to your vehicle’s surface.
- Firstly, it is important to gather all the necessary materials before starting the removal process. This includes a heat gun or hairdryer, a plastic scraper or credit card, rubbing alcohol, and microfiber cloth. These items will help make the task easier and ensure a smooth removal.
- Next, start by heating up the adhesive side of the tape using a heat gun or hairdryer on low heat. The warmth will soften the adhesive and make it easier to peel off. Once heated, gently use a plastic scraper or credit card to lift one corner of the tape and slowly peel it away from your car’s surface.
- If there are any leftover residue or stubborn spots, apply some rubbing alcohol on a microfiber cloth and gently rub them until they disappear completely. Remember to work in small sections at a time for better control over the process.
With these simple steps in mind, you can confidently remove 3M tape from your car without leaving behind any traces of its presence.
Just take it slow and steady throughout each stage of removal to achieve optimal results.
Remember: Patience is key when dealing with delicate surfaces like those found on cars!
Latest Posts:
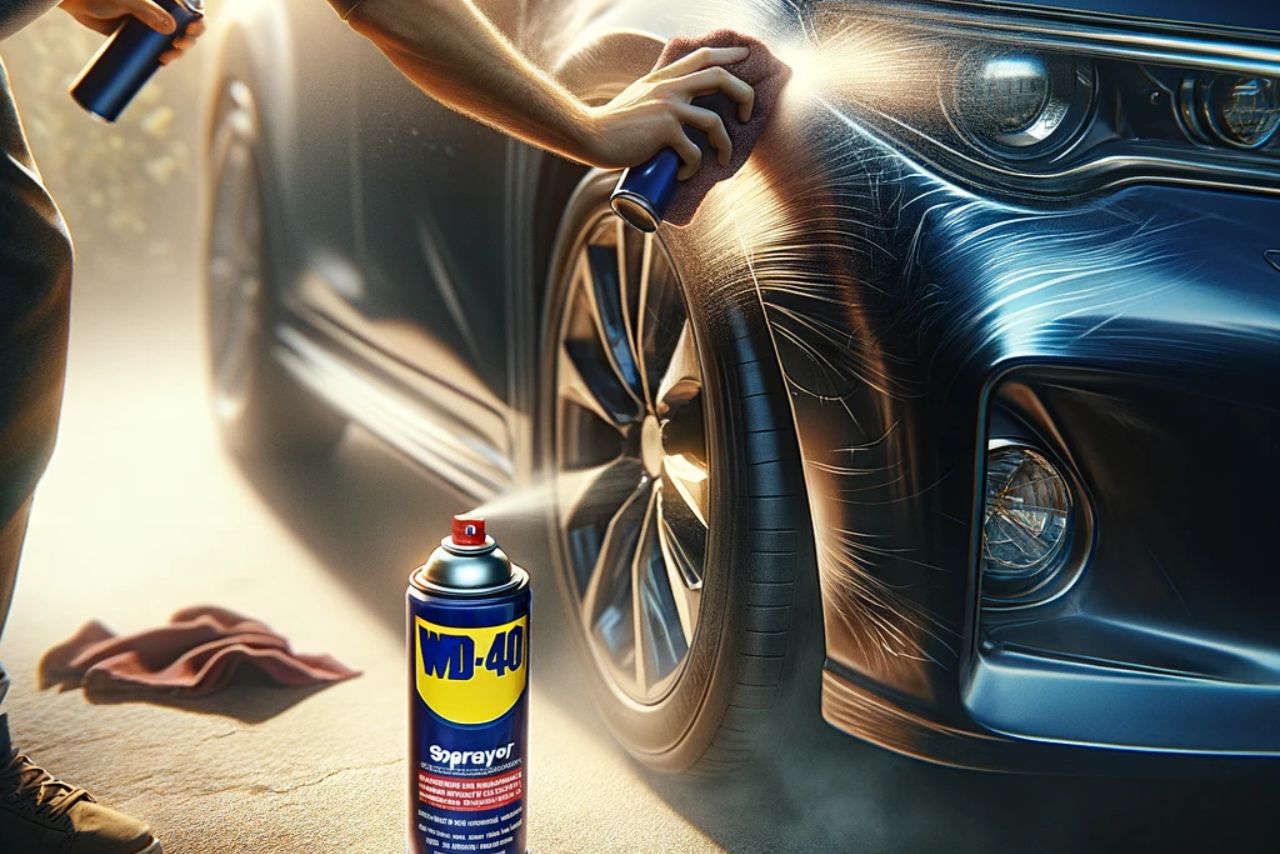
- Can WD-40 Remove Scratches on Cars? (Hint: Yes, but…)

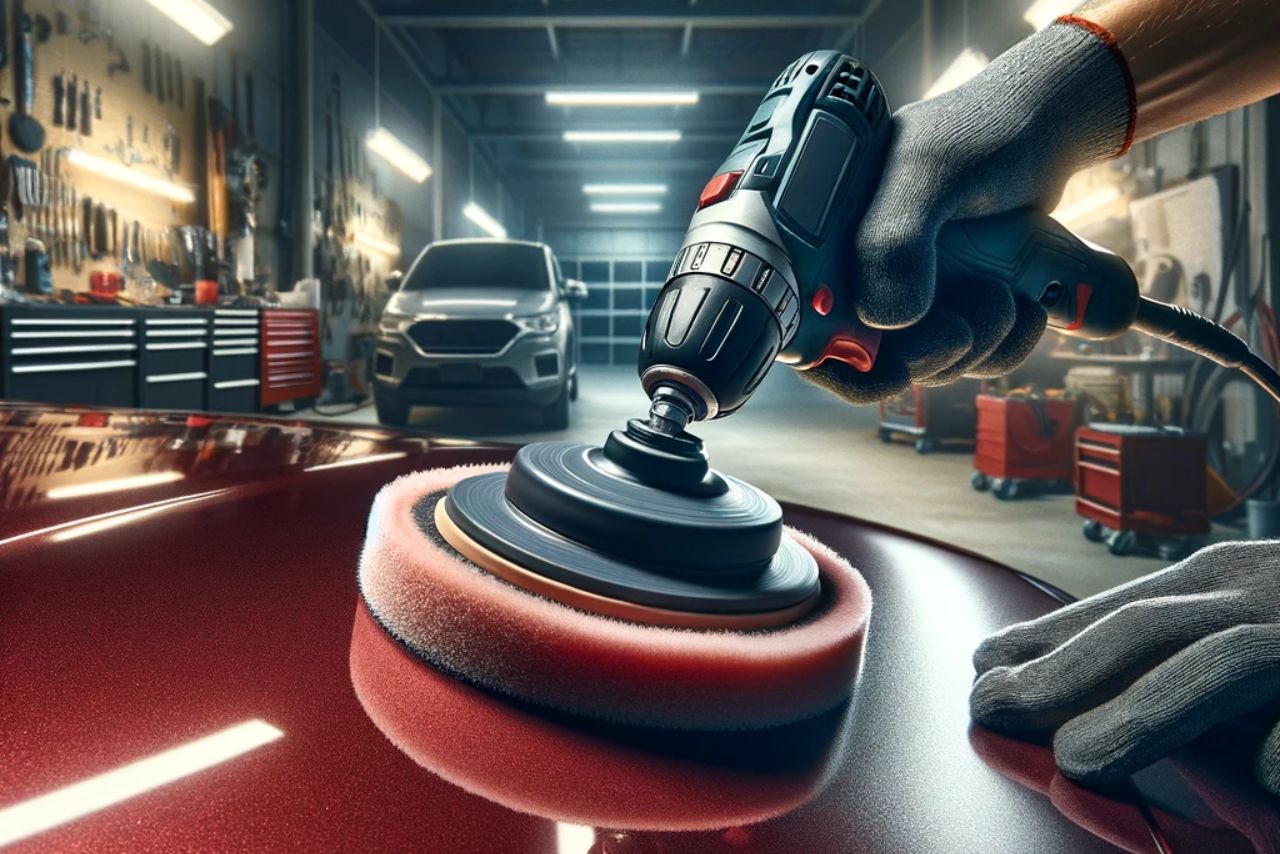
- Can You Use a Drill to Polish Your Car? (We Tried it Out!)

- Should You Cover Car Scratches With Stickers? (REVEALED!)

- Buick Service Stabilitrak: (Causes & 100% Guaranteed Fix!)
- Common Holden Trax Problems (Causes & 100% Proven Fixes!)

- Jeep Commander Transmission Over Temp: (Guaranteed Fix!)

Leave a Reply