
Waxing your car is an essential step to keeping it looking sleek and shiny, but doing it by hand can be time-consuming and exhausting.
That’s where a buffer comes in handy! In this article, we will show you how to wax your car using a buffer, making the process faster and more efficient.
If you’ve ever wondered How to Wax a Car With a Buffer? you’re in the right place. We’ll guide you through each step of the process, from choosing the right products to applying them correctly.
By following our simple instructions, you’ll achieve professional results without breaking a sweat.
So grab your buffer and let’s get started on transforming your car into a stunning head-turner!
Table of contents
Choosing the Right Buffer:
- High Performance 120-Volt–0.75-Amp Permanent Magnet Motor
- 3200 Orbits Per Minute
- High Impact Insulated Housing
- Includes, 10-Inch applicator bonnet, 10-Inch polishing bonnet, 10-Inch Wool blend polishing bonnet, washing mitt and storage case
When it comes to waxing your car with a buffer, selecting the right tool is crucial for achieving professional results. Here are some key factors to consider when choosing a buffer:
Types of Buffers:
There are two main types of buffers available in the market:
Speed Settings:
Look for a buffer that offers variable speed settings. Different tasks require different speeds; lower speeds work well for applying wax or polish, while higher speeds are ideal for removing scratches or oxidation.
Pad Size:
Consider the size of the pad when selecting a buffer. Larger pads cover more surface area at once, which can save you time during large-scale projects like detailing an entire vehicle.
However, smaller pads offer better maneuverability around tight spots and contours.
Ergonomics:
Pay attention to the ergonomics of the buffer you choose – comfort matters when spending extended periods working on your car’s exterior!
Opt for models with adjustable handles and lightweight designs that reduce fatigue during use.
Power Source:
Buffers can be powered by electricity or battery packs:
- Electric Buffers: These provide consistent power throughout your project but require access to an electrical outlet.
- Cordless Battery-Powered Buffers: They offer portability but may have limited run-time depending on battery life.
Accessories:
Check what accessories come with the buffer, such as backing plates and different types of pads. Having a variety of options will allow you to adapt the buffer to various detailing tasks.
Remember, investing in a quality buffer that suits your needs can make all the difference in achieving professional-looking results when waxing your car. Take your time and choose wisely before making a purchase.
Preparing Your Car’s Surface:
Before you start waxing your car with a buffer, it’s crucial to prepare the surface properly. This will ensure that you achieve the best results and protect your car’s paintwork.
Follow these steps to get your car ready for waxing:
Once you have completed these preparations steps thoroughly inspecting every inch of painted surfaces prior proceed onto applying wax with a buffer.
Remember, proper surface preparation is essential for achieving a professional-looking finish and prolonging the life of your car’s paintwork.
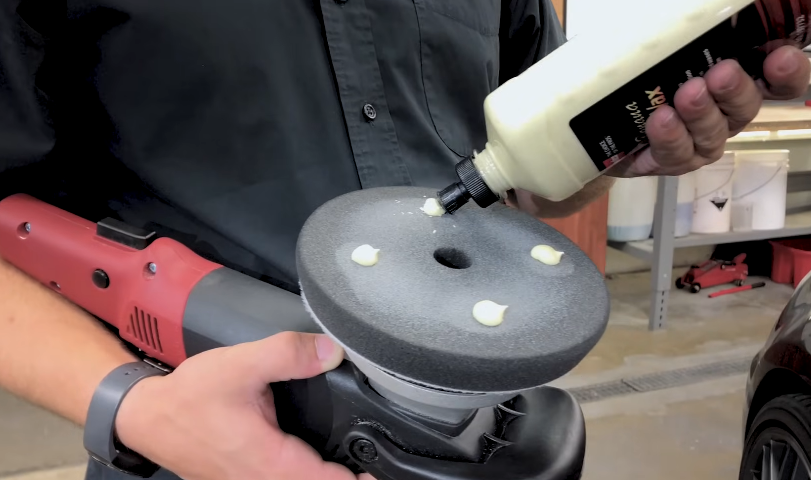
Applying Wax to Your Car:
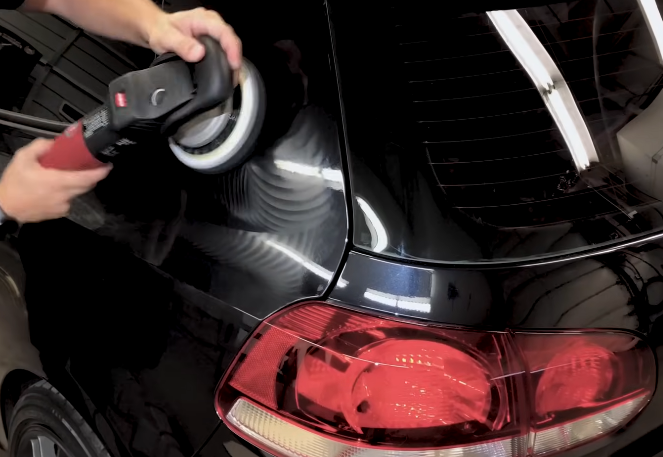
To achieve a professional-looking wax finish on your car, follow these simple steps:
Remember that regular maintenance will help to preserve your car’s wax finish. Consider reapplying wax every few months or as needed, especially after washing your vehicle.
By following these steps, you can achieve a glossy and protected car exterior that will turn heads wherever you go!
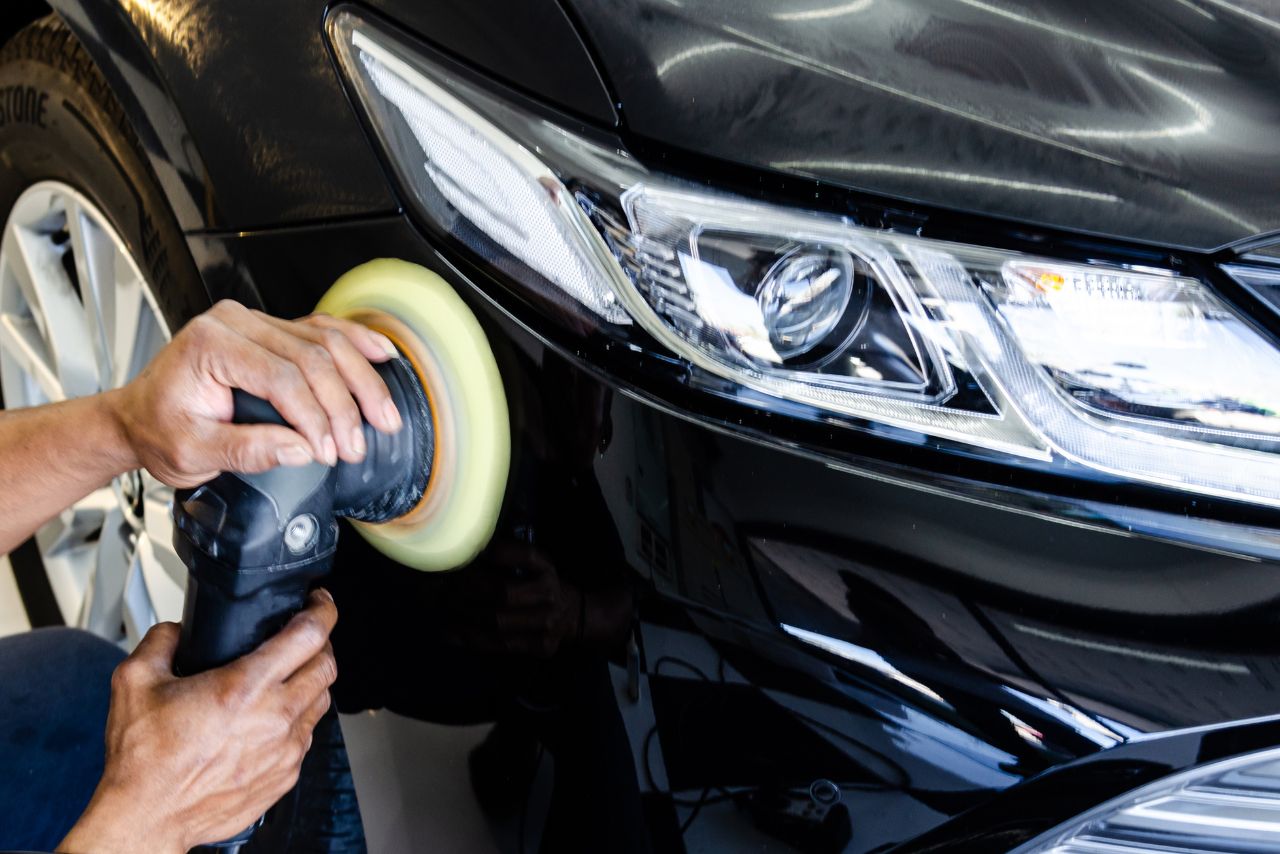
How to Wax a Car With a Buffer? Buffing and Polishing:
When it comes to waxing a car with a buffer, buffing and polishing are essential steps that help achieve that professional shine. Here’s how you can do it effectively:
By following these steps, you’ll be able to achieve professional-level results when waxing your car with a buffer.
You can also watch this video guide:
Maintaining a Waxed Finish:
To keep your car’s waxed finish looking its best, follow these simple tips:
By following these maintenance tips, you can enjoy a long-lasting and glossy waxed finish on your car. Regular care and attention will help preserve the shine while keeping your vehicle protected from the elements.
Can You Apply Car Wax with A Buffer?
Yes, you can apply car wax using a buffing machine or buffer. Buffers have rotating pads that allow you to apply wax and buff it out evenly over the surface of the car.
Using a buffer can help spread wax thinly and evenly over the paint for better protection and shine. Buffers make it easier to apply wax to the entire exterior quickly compared to hand waxing.
Is It Better to Hand Wax or Use a Buffer?
Hand waxing and buffing both have pros and cons. Hand waxing allows you to spread wax thoroughly on one section at a time. It also reduces the risk of applying too much wax or burning the paint from friction.
However, hand waxing takes a lot more time and effort than buffing. Buffing is quicker and achieves a smoother, more professional result.
It also enables applying wax evenly on curved or hard-to-reach areas. Overall, buffing often provides better results, but hand waxing can be more thorough.
Is It Good to Use Buffer on Car?
Using a buffer is typically good for your car’s finish. Buffing helps spread wax evenly while removing any light defects or oxidation from the clearcoat. It brings out a brighter, highly-reflective shine.
However, buffers can burn or damage the paint if used incorrectly or aggressively. Always use the least abrasive pad and lowest speed for your car’s paint hardness.
Avoid applying excess pressure and continually moving the buffer to prevent heat buildup and swirls. As long as you use proper technique, buffers allow efficient wax application without paint damage.
How Long Does It Take to Wax a Car with A Buffer?
It typically takes 30-45 minutes to wax a standard car with a buffer. However, the car’s size and condition will impact the time needed. For example:
The actual buffing process goes quickly, but you need to factor in prep time. Claying, taping trim, and occasionally compounding paint take extra time before waxing.
Overall, buffing can save 50% or more time compared to hand application. Pro detailers can wax cars incredibly fast – sometimes under 20 minutes!
Conclusion and final thoughts 💭
In conclusion, waxing your car with a buffer is a simple and effective way to achieve a professional-looking shine.
By following the step-by-step process outlined in this article, you can easily remove scratches, restore color and protect the paintwork of your vehicle.
Using a buffer allows for even application of the wax, ensuring that every inch of your car receives proper protection.
The oscillating motion of the buffer helps to eliminate swirl marks and create a smooth finish that will make your car look brand new.
Remember to always use high-quality wax products and take your time when applying them. With regular waxing using a buffer, you can extend the lifespan of your vehicle’s paint job and keep it looking glossy for years to come.
So why wait? Grab yourself a buffer today and give your car the love it deserves!
Latest Posts:
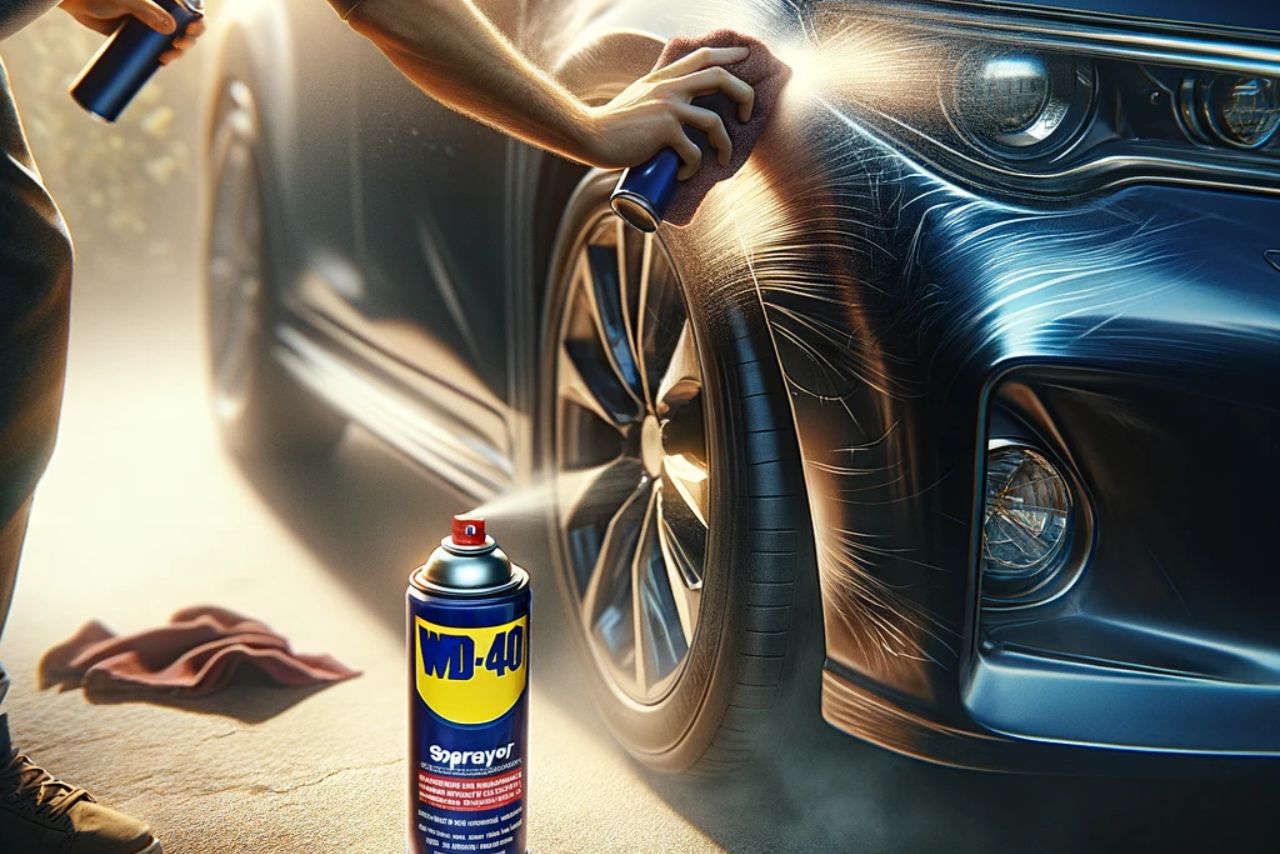
- Can WD-40 Remove Scratches on Cars? (Hint: Yes, but…)

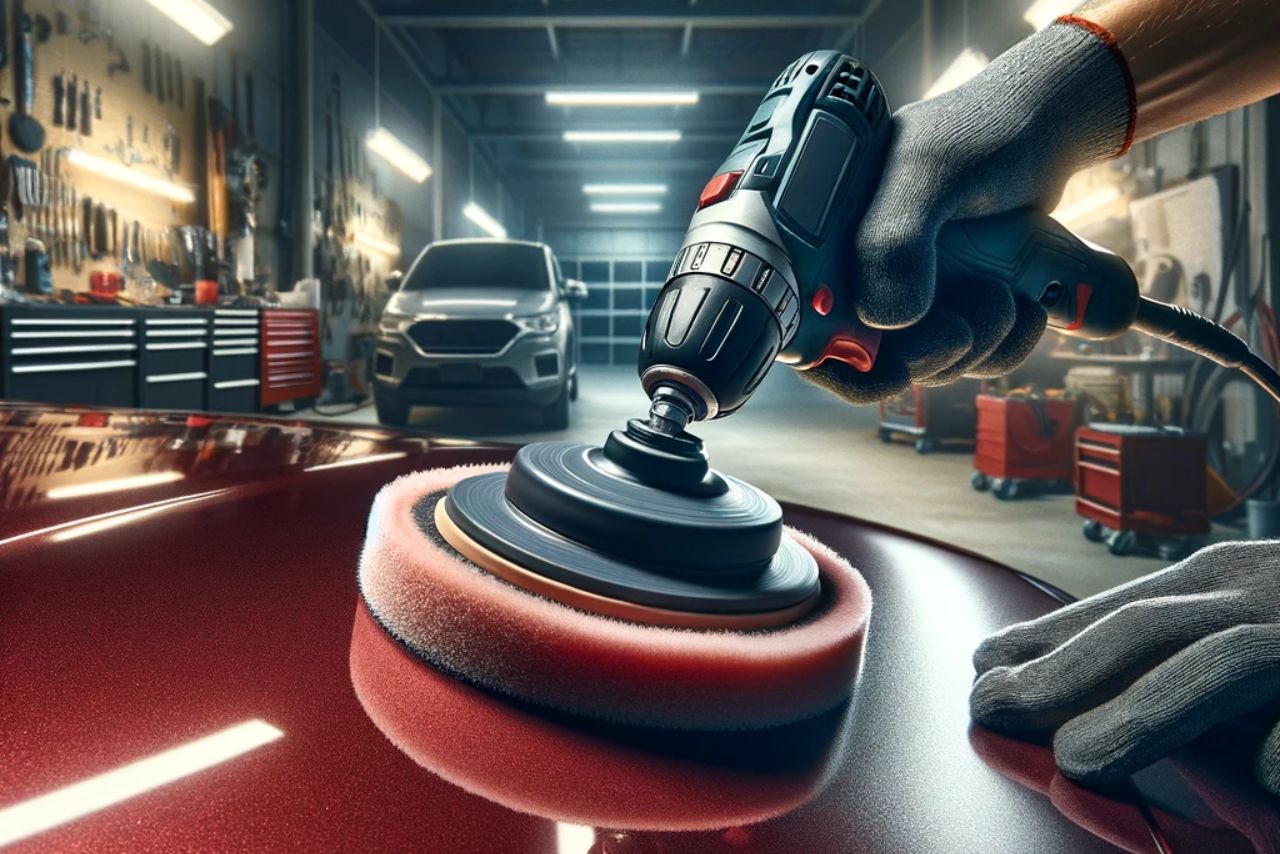
- Can You Use a Drill to Polish Your Car? (We Tried it Out!)

- Should You Cover Car Scratches With Stickers? (REVEALED!)

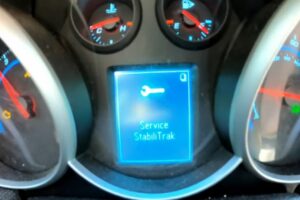
- Buick Service Stabilitrak: (Causes & 100% Guaranteed Fix!)
- Common Holden Trax Problems (Causes & 100% Proven Fixes!)

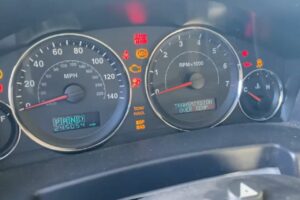
- Jeep Commander Transmission Over Temp: (Guaranteed Fix!)

Leave a Reply