
I lost my security deposit once over three nail holes in a rental in 2019.
Three. Not even a gallery wall, just three tiny holes behind where a mirror used to hang, and my old landlord charged me $75 to patch and repaint the whole wall because “policy.” That’s the year I switched to Command strips for basically everything, and six apartments later, I’ve never lost another cent to wall damage.
If you’re renting — or you just don’t want to deal with spackle and a paint match you’ll never get quite right — Command strips can genuinely replace a shocking amount of your storage setup. Not all of it.
I’ll be real with you about where they fail, because there are a few spots where they will absolutely let you down and take your favorite mug with them.
But used right, on the right surfaces, with the right prep, Command strip storage can hold shelves, hooks, organizers, even small floating cabinets, and pull cleanly off when you move without taking the paint with it.
This is everything I’ve learned from using these things constantly — what actually holds, what the weight ratings really mean in practice, which surfaces will fight you, and the mistakes that cost me a fallen spice rack and, at one point, an entire bathroom shelf at 2am.
Why Command Strips Work (and Where the Weight Limits Actually Come From)
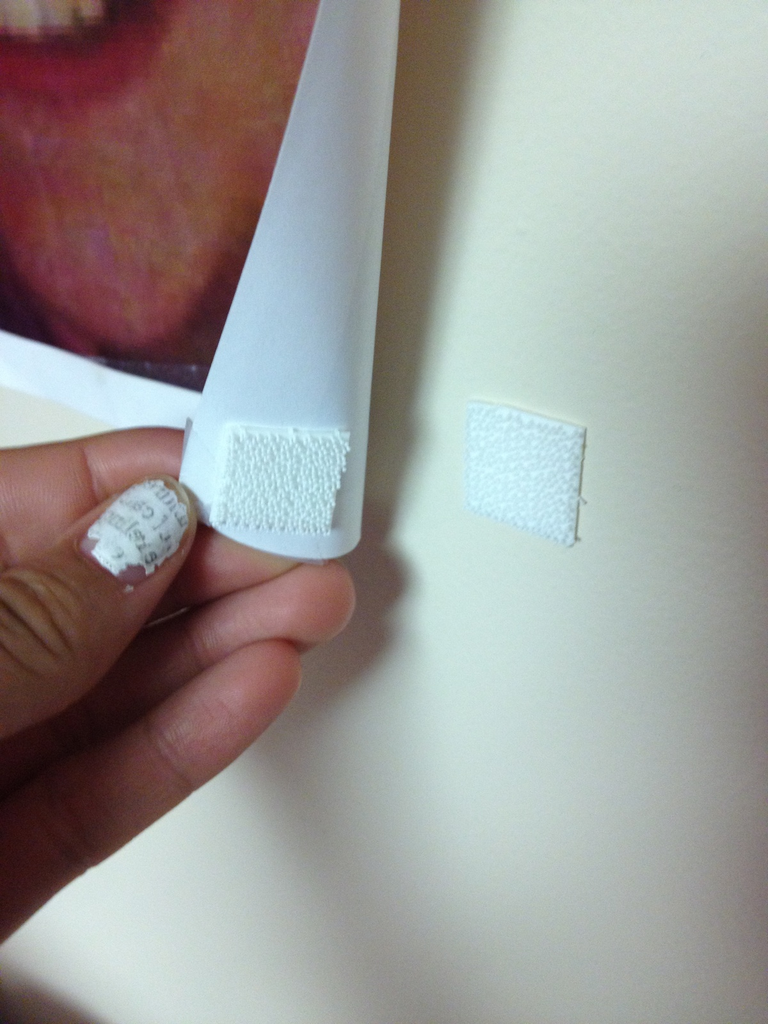
The strips are two layers of foam with a stretch-release adhesive sandwiched between and on both faces.
The foam does two jobs: it distributes weight across the whole strip instead of concentrating stress on one point, and it lets the strip stretch flat when you pull straight down, which breaks the adhesive bond without ripping paint off the wall.
That’s the whole trick — the removal only works if you pull the tab straight down and parallel to the wall, not out and away from it.
The weight ratings on the package (usually printed as things like “holds up to 7.5 lbs” or “holds up to 16 lbs”) are tested on smooth, primed drywall at room temperature, and they’re conservative for that surface — but they’re wildly optimistic for anything else.
On real rental walls with orange-peel texture, slightly uneven paint, or a temperature swing near a window, I plan for about 60-70% of the stated rating to be safe.
A strip rated for 5 lbs, I treat as a 3 lb strip in real conditions. This isn’t Command being dishonest — it’s just lab conditions versus your actual apartment.
Pro tip: the rating is per strip, and most hooks and hangers use 2-4 strips. Don’t double a strip’s rating in your head when you see “uses 4 strips” — check the total weight limit printed for the whole hanger, not the strip count times a guess.
Prep: The Step Everyone Skips (and Regrets)
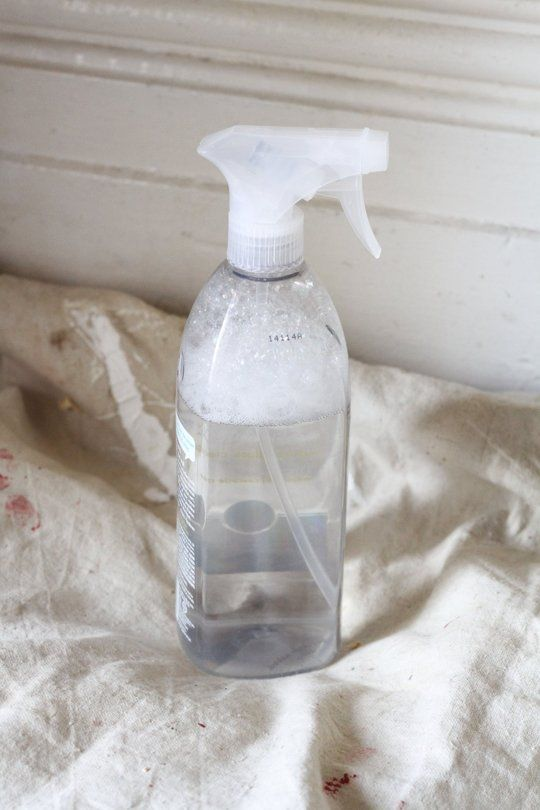
My friend Priya hung a full spice rack in her first apartment, loaded it up with about a dozen jars, and it was on the floor by the next morning.
Turns out she’d wiped the wall with a Clorox wipe right before sticking the strips on — the residue left behind kills the adhesive bond almost completely, and it doesn’t fail right away, which is the sneaky part. It looks fine for a few hours, then lets go.
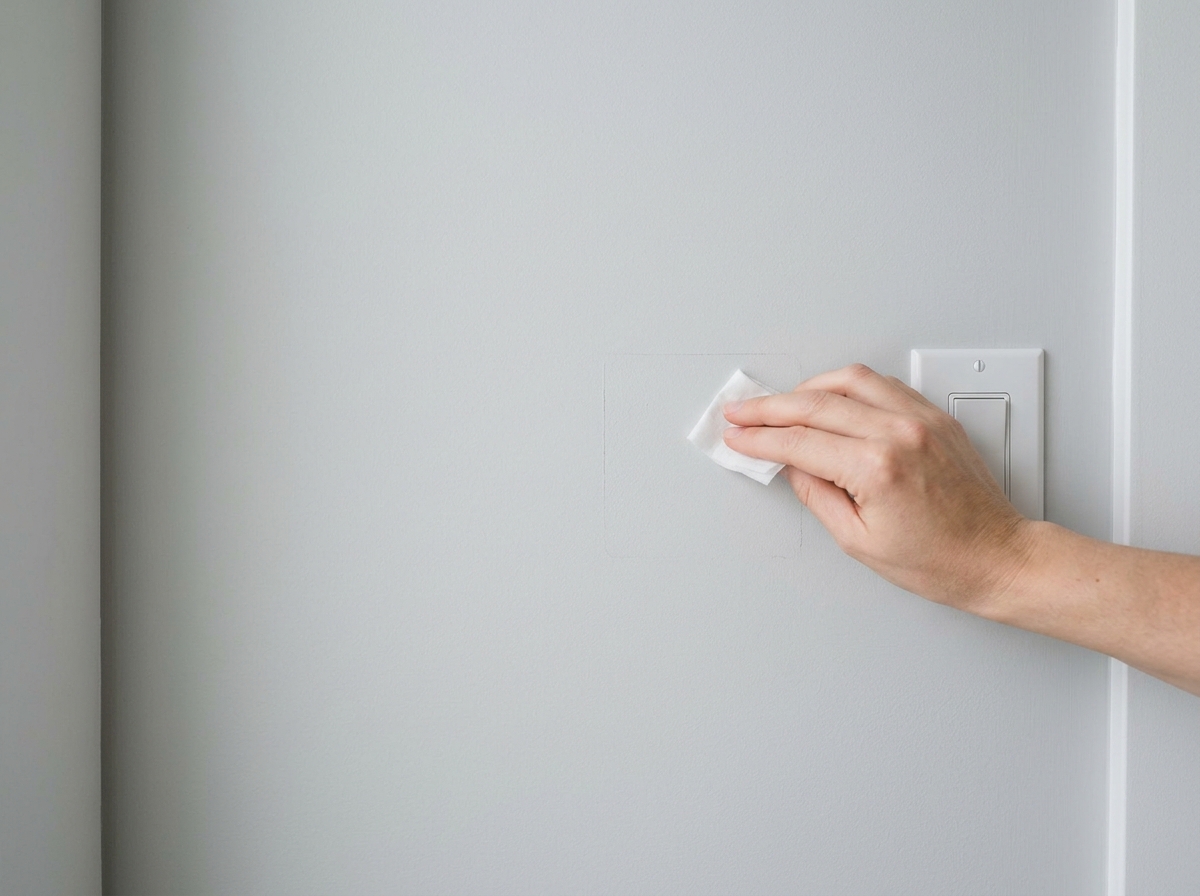
Here’s the actual prep that works:
- Clean the exact spot with rubbing alcohol on a paper towel or lint-free cloth — not a disinfecting wipe, not soap and water, not a Magic Eraser. Rubbing alcohol evaporates clean and leaves nothing behind.
- Let it air dry completely. This takes maybe 60 seconds but people skip it and press the strip on while the wall’s still damp, which weakens the bond before it even starts.
- Press the strip on firmly for 30 full seconds, using actual pressure — not a light pat. I count it out loud because “30 seconds” always goes faster in my head than it actually is.
- Wait an hour before hanging anything light, and a full hour before hanging anything at or near the weight limit — the adhesive needs time to fully bond, and loading it early is one of the most common reasons a “Command strip failed” story turns out to be a prep issue instead of a product issue.
Pro tip: if your walls are freshly painted, wait a full month before using Command strips on them. New paint keeps curing for weeks, and the adhesive can actually pull uncured paint off the wall in a sheet — it happened to a friend’s landlord who painted the unit two weeks before move-in, and it was not a fun conversation.
Which Surfaces Actually Work (and Which Will Fight You)
| Surface | How well it holds | Notes |
|---|---|---|
| Painted drywall (satin/eggshell) | Excellent | The ideal surface — this is what the packaging is tested on |
| Painted drywall (flat/matte) | Good, with care | Flat paint is more porous and can peel with the strip if you rush removal; go extra slow pulling tabs |
| Tile | Excellent | Smooth, non-porous, great for bathroom and kitchen use |
| Painted wood/trim | Good | Works well but avoid removal in cold rooms — cold makes paint more brittle |
| Textured/popcorn/orange-peel walls | Poor to fair | The foam can’t fully contact a textured surface, so real hold is way under rated weight — I don’t trust anything over 2-3 lbs here |
| Wallpaper | Avoid | Adhesive will usually take the paper’s top layer off on removal, even with careful technique |
| Brick, unsealed concrete, cinder block | Avoid | Too porous and rough, adhesive won’t seat properly |
| Unfinished/raw wood | Avoid | Same porosity problem as brick — the adhesive needs a sealed surface |
If you’ve got textured walls — which is most rentals I’ve lived in, honestly — that’s the single biggest thing that trips people up. The packaging doesn’t warn you clearly enough that “holds 5 lbs” assumes smooth drywall. On texture, I genuinely wouldn’t put anything breakable or liquid-filled on a strip-mounted shelf.
Storage You Can Actually Build With These
Command Hooks for Vertical Storage
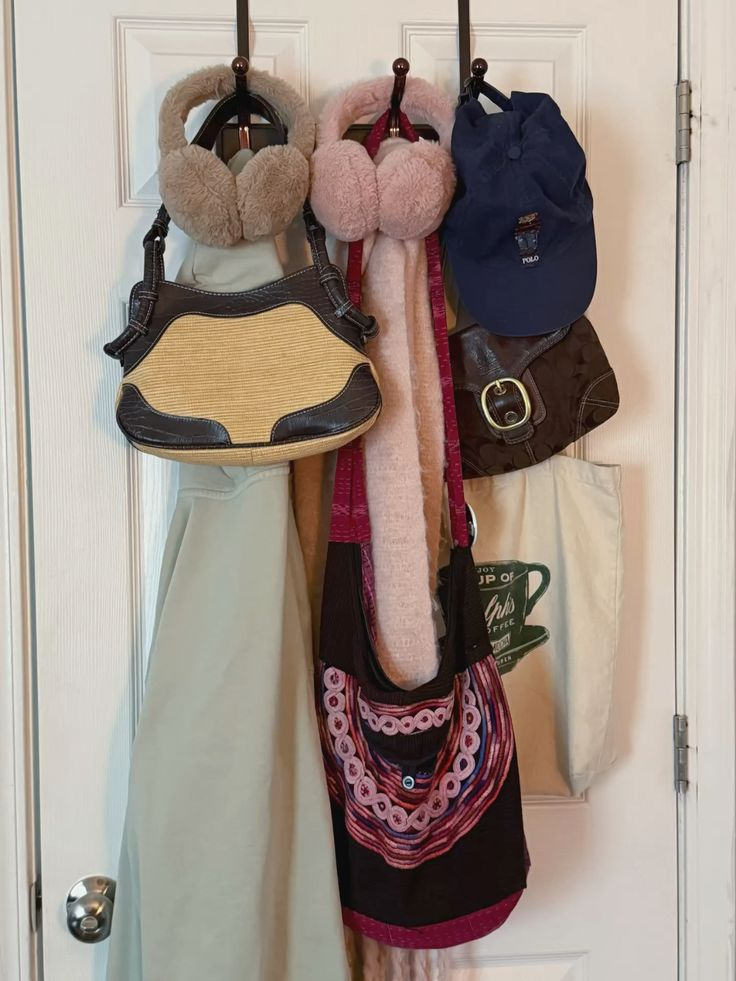
The most obvious use, but people underuse it. A row of the medium hooks along the inside of a closet door turns dead space into a spot for bags, scarves, or a hanging shoe organizer.
I run three hooks spaced about 8 inches apart on my coat closet door and it holds my everyday bag, a tote, and a set of reusable grocery bags without any of them touching.
Pro tip: hooks fail more from side-load than straight-down weight. If you’re hanging something heavy that also swings — like a bag you’re constantly grabbing and knocking sideways — size up a rating tier from what the actual weight calls for.
Command Caddies and Shower Storage
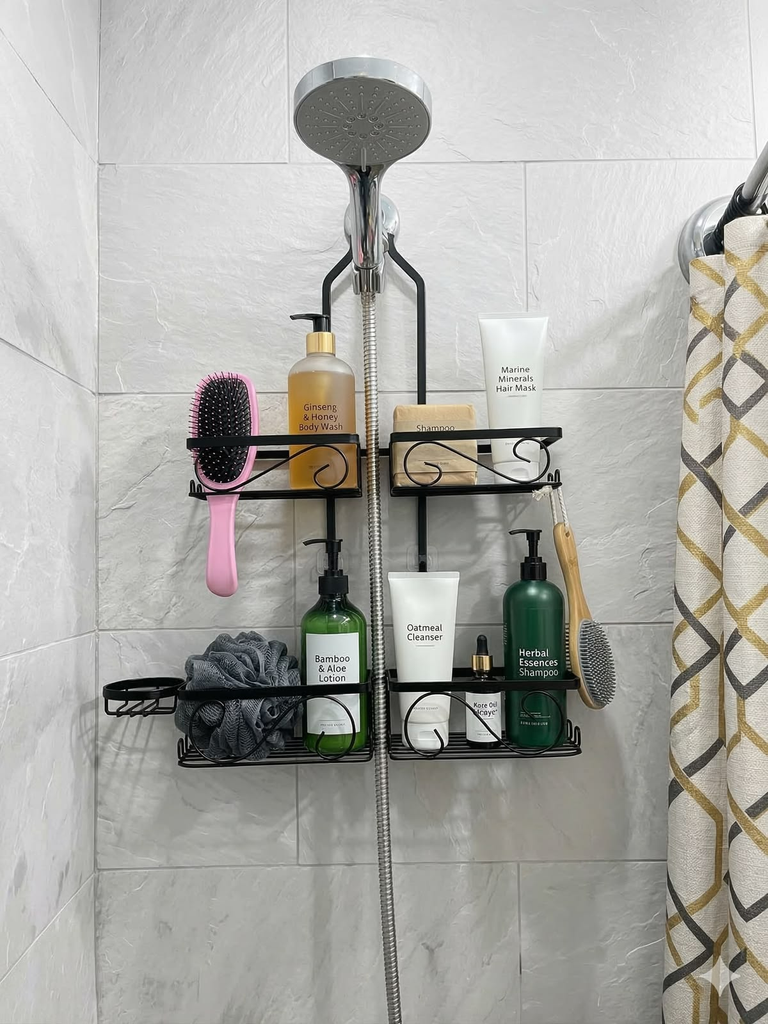
This is where I’d actually spend a little more per unit and get the ones made specifically for wet environments (Command sells a bath/shower-specific line) rather than the general hooks. Regular strips degrade faster with constant moisture and steam. Even the water-resistant ones, I replace every 6-8 months in a shower that gets daily use — I used to stretch them longer to save money and ended up with a shampoo caddy in the tub at 6am more than once.
Floating Shelves and Small Wire Baskets

Command sells purpose-built small shelves and wire baskets rated for the strip system specifically — these hold better than a generic shelf you improvise strips onto because the mounting points are designed for even weight distribution.
I use the small wire baskets in a bathroom for rolled towels and it’s held for over two years now with zero sag.
Where I’d stop: full floating bookshelves loaded with actual books. Even at the top of the weight rating, I don’t trust the failure mode — books are dense, and a shelf coming down at 3am while you’re asleep is a genuinely bad scenario versus a hook letting go and a scarf falling on the floor.
Cord and Cable Organization
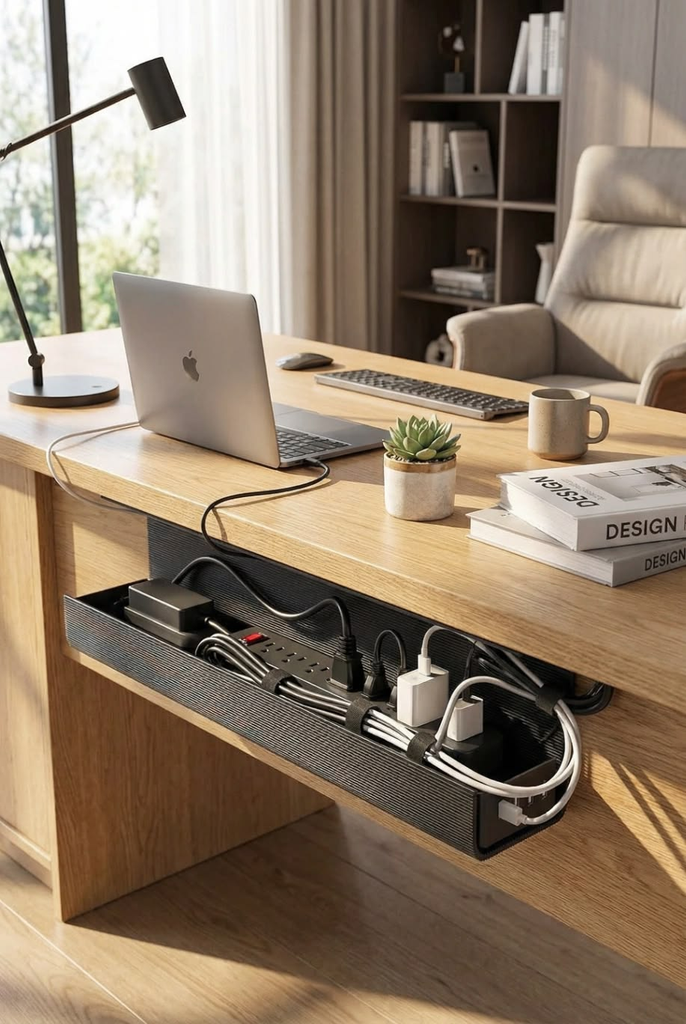
Small clips for routing cords behind a desk or TV stand are honestly one of the best uses — near-zero weight, so you’re basically never near the failure point, and it solves a real annoyance in every rental I’ve lived in with awkward outlet placement.
What to Buy: A Rough Cost Breakdown
You don’t need to guess sizes — Command labels everything by weight class, and buying the right size the first time saves you from a strip that’s technically holding your item but stressed right at its limit.
| Project type | What to buy | Rough cost |
|---|---|---|
| Cord management, light decor | Small clips / mini hooks (up to ~0.5 lb) | $6-9 for a multipack |
| Coat/bag hooks, small mirror | Medium hooks (up to ~3 lb) | $8-12 for 2-3 hooks |
| Wire baskets, small caddy | Bath/organization line | $10-15 per item |
| Small floating shelf | Command shelf kit | $12-18 per shelf |
| Heavier hooks (robe, towel, umbrella stand) | Large hooks (up to ~5-7.5 lb) | $10-14 for 2 hooks |
For a full small apartment or dorm — entryway hooks, a shower caddy, a couple of cord clips, one small shelf — I’d budget somewhere around $50-70 total, and that setup has genuinely lasted me multiple lease terms with occasional strip replacement.
Removal Without Wall Damage
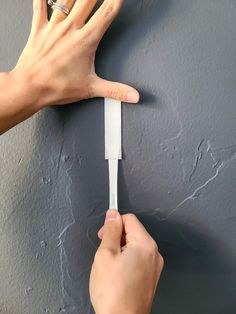
This is where people undo all their good work. To remove a strip cleanly:
- Pull the tab slowly, straight down, parallel to the wall — not outward, not at an angle.
- Keep even, steady tension. Stopping and starting can tear the strip instead of stretching it.
- If it’s cold in the room, warm the strip slightly first with a hairdryer on low — cold adhesive is more brittle and more likely to leave residue or take paint.
- If any adhesive residue is left behind, a little rubbing alcohol on a cloth will lift it without damaging paint.
Pro tip: if a tab breaks off before you finish removing the strip, don’t yank the remainder off the wall — use dental floss, sawed gently side to side behind the strip, to cut through the adhesive instead. It’s slower but it’s the difference between a clean wall and a paint patch.
What I’d Do First If I Were Starting Over
If I were setting up a new place from scratch, I’d start with the entryway — hooks for bags and keys — because that’s the spot that saves you the most daily annoyance for the least cost. Then I’d do the bathroom caddy, because that’s the one that actually protects something (a wet, sliding bottle) instead of just organizing clutter. Everything else — the shelves, the cord clips, the closet setup — I’d add gradually as I figured out what I actually reached for versus what just looked good in a photo.
The honest trade-off with Command strips is that they’re not a permanent shelving system — they’re a really good temporary one that happens to last years if you use them right. If you’re a renter, that trade is worth it every time.

Leave a Reply