
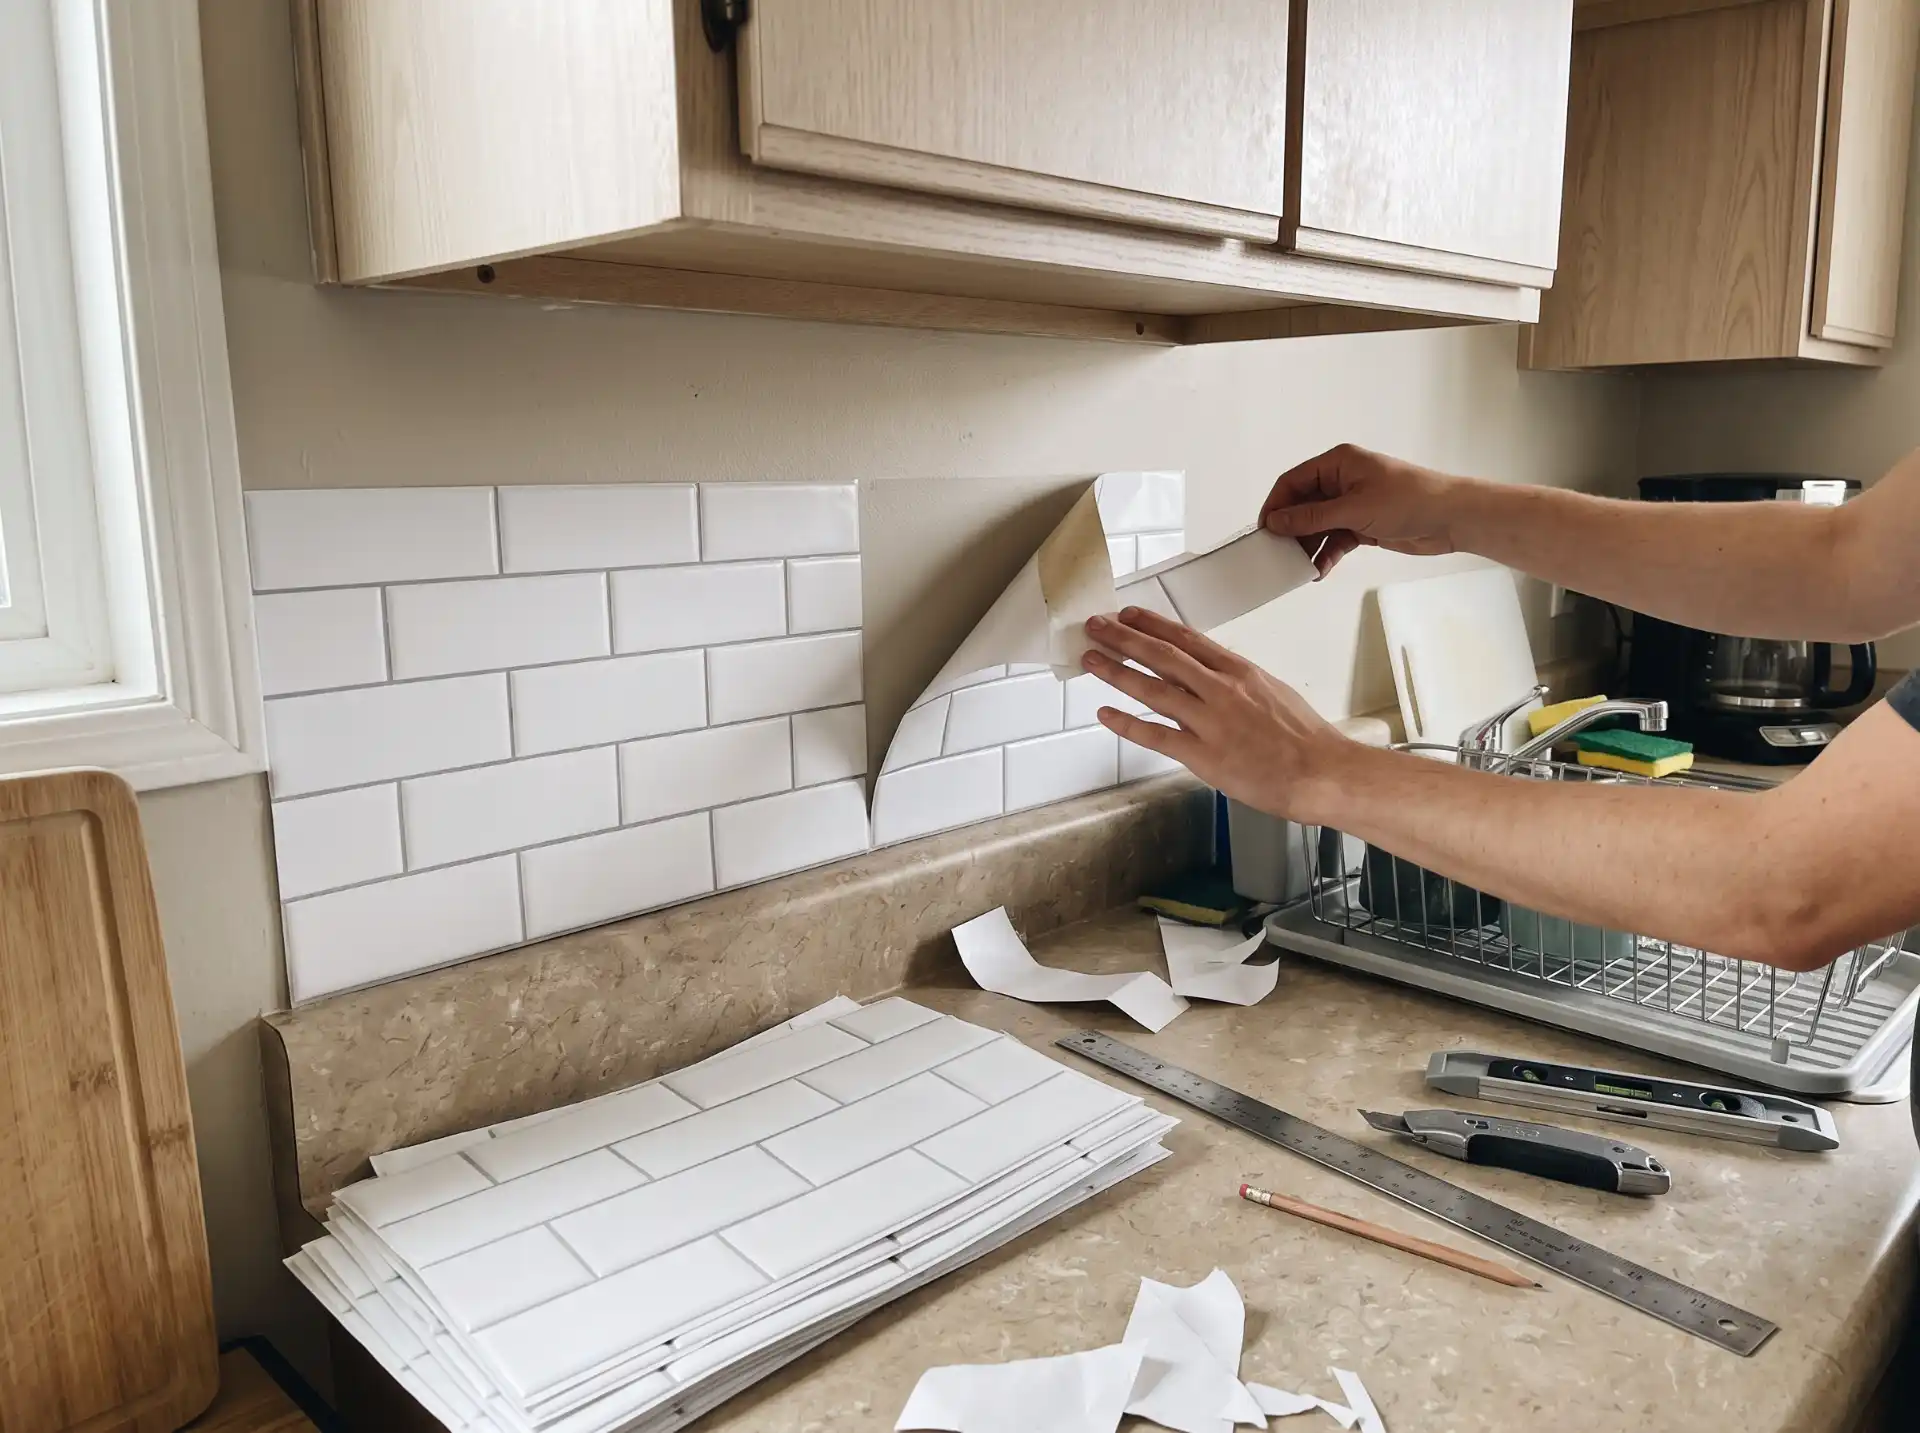
I moved into my current rental three years ago, and the kitchen backsplash was this sad beige tile that made the whole room look like a dentist’s office circa 2004.
I lived with it for eight months before I finally admitted that “I’ll just get used to it” wasn’t happening.
What stopped me from doing anything sooner wasn’t money — it was fear. I genuinely thought any backsplash project meant grout, tile spacers, a wet saw, and a very angry landlord at move-out.
It doesn’t. A removable backsplash in a rental kitchen is one of the highest-impact, lowest-risk upgrades you can make to an apartment, and I say that as someone who has now done it twice — once in that first rental, and once for a friend who was convinced she’d ruin her walls. She didn’t.
Her security deposit came back in full, and the backsplash lasted the full two years she was there.
This post is specifically about removable backsplash options for renters — what actually holds up, what peels off clean, what looks cheap in photos but cheaper in person, and what I’d tell you to skip entirely.
Why a Permanent Backsplash Is Off the Table (and Why That’s Fine)
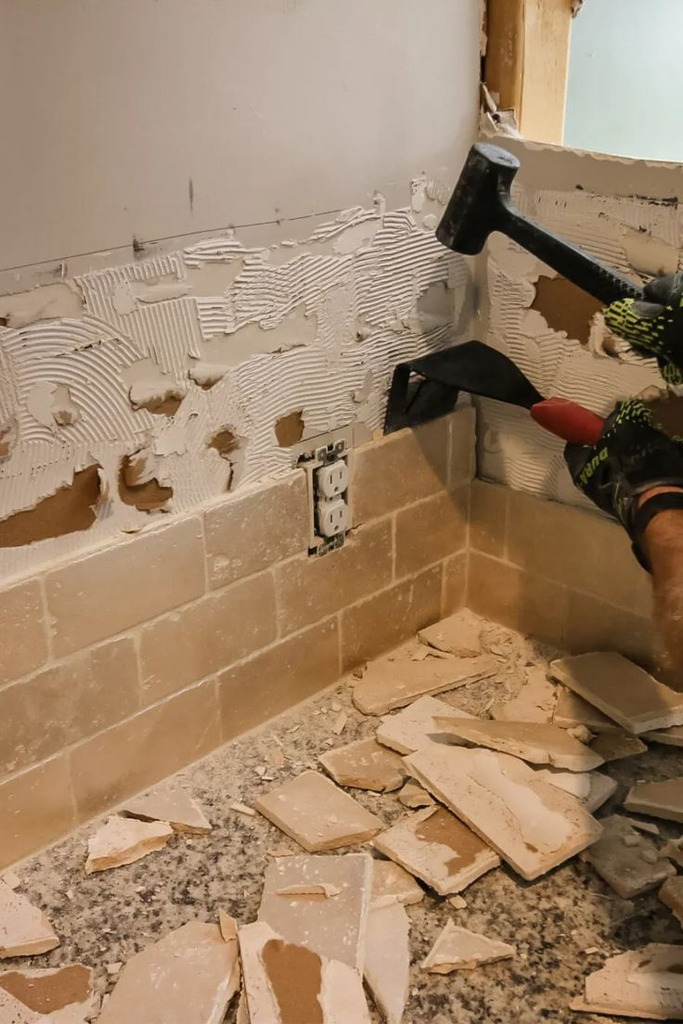
Traditional tile backsplashes involve adhesive mortar or thinset, which bonds to the wall in a way that isn’t coming off without damaging the drywall or the surface underneath.
Most leases have language specifically about wall alterations, and even leases that don’t mention it explicitly will usually treat this as “beyond normal wear and tear” when your landlord does the move-out walkthrough.
That’s the deposit-forfeiting category, and it’s not worth the risk for a kitchen you might not even be in two years from now.
The good news is that removable backsplash materials have gotten genuinely good in the last few years — not “good for a temporary product,” just good.
My friend Sophia’s landlord did a mid-lease inspection about a year into her peel-and-stick install and didn’t even clock that it wasn’t real tile until she told him.
Pro tip: Before you buy anything, check your lease for language about “adhesive products” or “wall coverings” specifically — some leases (rare, but they exist) restrict removable wallpaper and stick-on products too, usually because a previous tenant used something low-quality that pulled off paint. A quick email to your landlord asking “is peel-and-stick backsplash okay as long as I remove it before move-out?” takes five minutes and covers you completely.
Removable Backsplash Options, Compared
Not all “removable” backsplash products behave the same way once they’re actually on a wall for months at a time near heat and grease. Here’s how the main categories stack up:
| Type | Cost (per sq ft, avg) | Looks Like Real Tile? | Heat/Grease Resistance | Removal Difficulty | Best For |
|---|---|---|---|---|---|
| Peel-and-stick vinyl tile sheets | $2–$6 | Good from a few feet away | Fair — keep away from direct stovetop splatter | Easy, minimal residue | Renters wanting the most tile-like look for the least money |
| Peel-and-stick metal (real aluminum/copper) | $8–$15 | Very good, has real dimension | Excellent | Moderate — needs a hairdryer to soften adhesive | Renters who cook a lot and want durability |
| Contact paper | $1–$3 | Weak — reads as paper up close | Poor, avoid near the stove entirely | Very easy | Budget projects, low-cook households, temporary staging |
| Removable wallpaper (backsplash-specific) | $3–$10 | Good, especially patterned styles | Fair to good depending on brand | Easy to moderate | Renters who want a print or pattern, not a tile look |
| Magnetic/tension-mounted panels | $10–$20 | Very good, most “real” feeling | Excellent | Very easy — no adhesive at all | Renters who want zero risk to the wall underneath |
If you only remember one thing from this table: the cheap contact paper stuff is fine behind a stretch of counter with no stove nearby, but I would never put it directly behind a cooktop.
I tried it in my first apartment kitchen behind the range and it started bubbling and lifting at the corners within about six weeks from the heat. Learned that one the hard way.
Pro tip: Tension-mounted metal panels (no adhesive, they clip or wedge into place) are the least talked-about option in this category, and they’re honestly the safest for your deposit because there’s zero chance of the wall paint pulling when you take them down. They cost more upfront, but if you’re in a longer lease or plan to reuse them in your next place, the math works out.
Step-by-Step: Installing a Peel-and-Stick Backsplash
This is the method I’ve personally used twice, and it’s the one I’d recommend to almost anyone doing this for the first time — good balance of realistic look, reasonable cost, and actually clean removal.
1. Prep the Wall (Don’t Skip This)
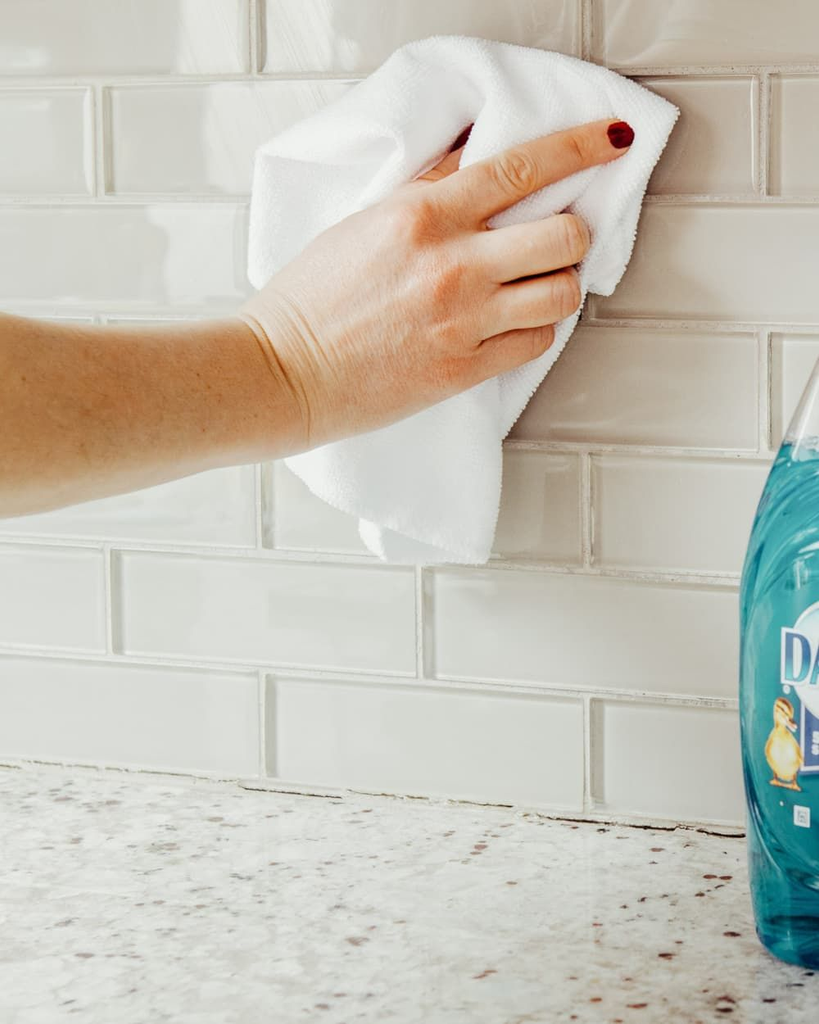
Wipe the wall down with a mix of dish soap and water, then let it dry completely — at least a few hours, overnight if you can.
Any grease residue near the stove will stop the adhesive from bonding properly, and any residual moisture will trap under the tile and eventually cause lifting.
If your kitchen has textured walls (a lot of older rental buildings do), peel-and-stick products won’t lay flat, and you’ll see every bump through the tile.
Run your hand across the wall — if you can feel texture, this method isn’t going to look good, and you’re better off with a tension-mounted panel option instead.
2. Measure Twice, Order a Little Extra
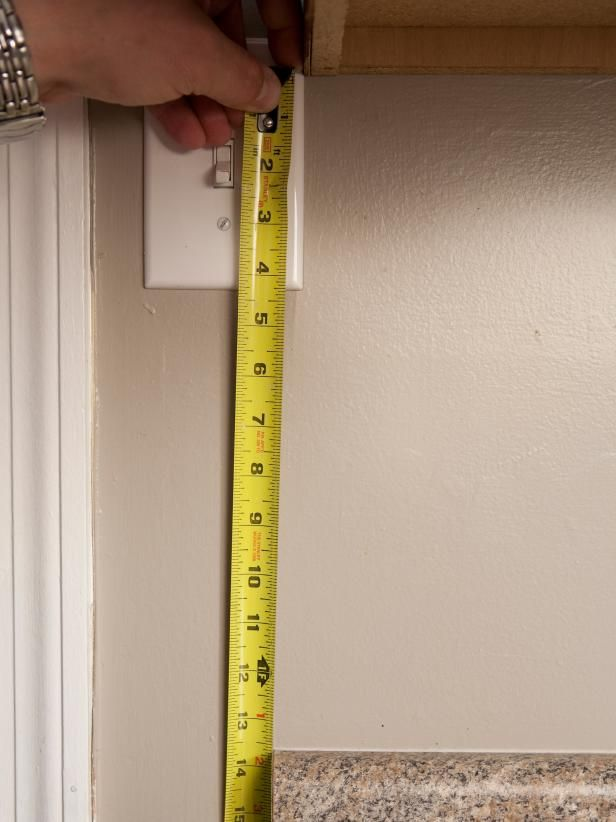
Measure the full backsplash area and add about 10% extra material for cuts, mistakes, and pattern matching around outlets.
I always underestimate this on the first go — I bought exactly enough tile for my current kitchen and ended up short by about a foot and a half because I hadn’t accounted for the diagonal cuts around a weird angled corner near the window.
3. Start From a Level, Visible Point
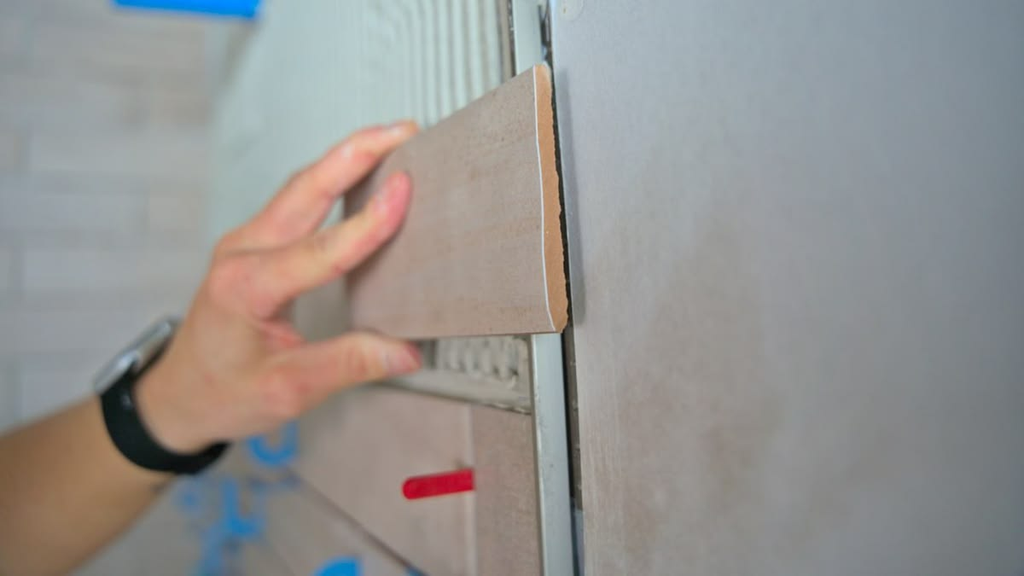
Don’t start in a corner — corners in older buildings are rarely perfectly square, and if you start there, your lines will drift crooked across the whole wall.
Find the most visible section of backsplash (usually directly behind the stove or sink) and use a level to draw a faint pencil line as your starting guide. Work outward from there in both directions.
4. Cut Around Outlets Carefully
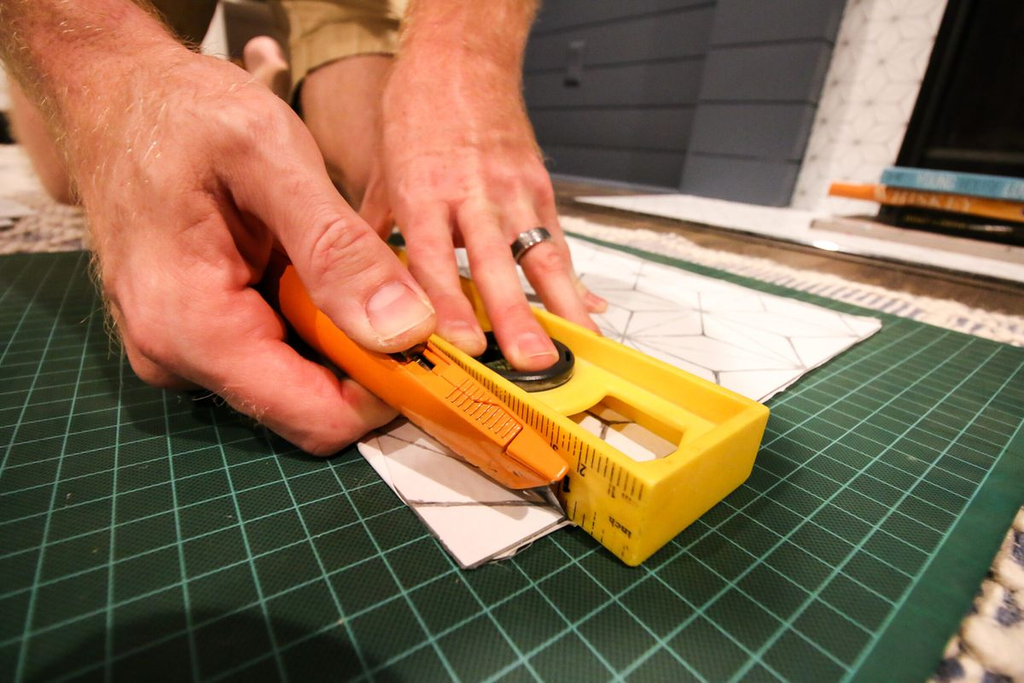
This is the step that separates a DIY-looking install from one that photographs well.
Turn off power to the outlet at the breaker, remove the outlet cover, hold the tile sheet up to trace the outline lightly in pencil, then cut with a sharp utility knife on a cutting mat — not scissors, which crush the edges. Put the outlet cover back on over the tile once it’s placed; it hides a slightly imperfect cut line.
5. Press and Smooth
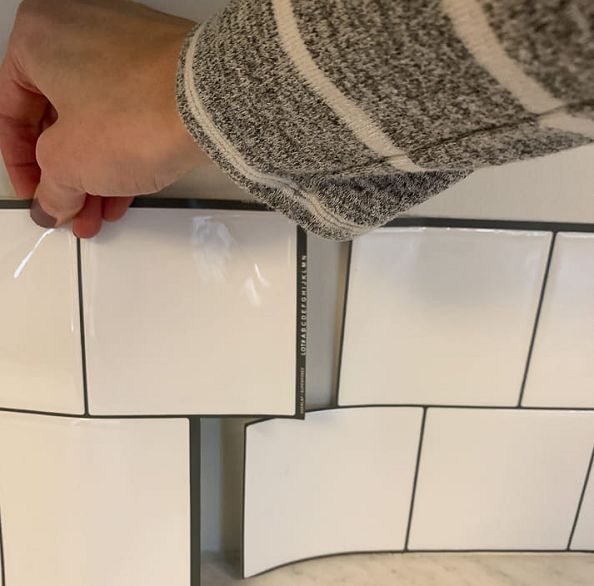
Peel back a few inches of backing at a time rather than the whole sheet at once — this gives you control and prevents the tile from sticking to itself or trapping air bubbles.
Use a credit card or a proper smoothing tool to push out bubbles from the center outward as you go.
Pro tip: If you do trap a bubble, a pin prick at the edge of it and a gentle press with the smoothing tool usually fixes it without damaging the surface. Trying to peel the whole tile back up to redo it is what actually causes tearing.
What “Removable” Actually Means at Move-Out
This is the part most posts gloss over, and it’s the part your landlord actually cares about. “Removable” doesn’t mean it slides off effortlessly in one motion after two years on the wall — adhesive cures and gets a little more stubborn the longer it’s up.
For peel-and-stick tile and vinyl, a hairdryer on medium heat held a few inches from the surface for 20-30 seconds will soften the adhesive enough to peel cleanly.
Go slow, pull at a low angle rather than straight out, and reheat as needed. If any adhesive residue is left behind, a bit of Goo Gone or even just more heat and a plastic scraper (not metal — that can scratch paint) will get it off.
For contact paper, this process is similar but usually easier since the adhesive is generally lighter-duty to begin with.
For tension-mounted panels, there’s genuinely nothing to remove beyond unclipping them — which is exactly why I’d point risk-averse renters toward that option even though it costs more.
My friend Sophia’s actual move-out took her about 40 minutes for a standard galley kitchen backsplash, including cleanup. That’s a fair trade for two years of not staring at ugly tile.
What This Actually Costs
For a standard-size rental kitchen (roughly 30-40 square feet of backsplash area, which covers most galley and one-wall kitchen layouts), here’s a realistic budget breakdown:
- Peel-and-stick vinyl tile: $80–$220 total for materials
- Peel-and-stick metal: $250–$500 total for materials
- Contact paper: $40–$110 total for materials
- Removable wallpaper: $100–$350 total, depending on pattern/brand
- Tension-mounted panels: $300–$650 total, higher upfront but reusable in a future apartment
Tools you’ll likely already have or can borrow rather than buy new: a utility knife, a cutting mat, a level, a smoothing tool (a credit card works in a pinch), and a hairdryer.
Budget an extra $15-20 if you need to buy a smoothing tool specifically — it’s worth it for a cleaner finish than a card gives you.
If You’re Renting Short-Term or Worried About Approval
If you’re in a shorter lease, a month-to-month situation, or just nervous about landlord pushback even with permission, contact paper or a small accent section (just behind the stove, rather than the whole run) is a lower-commitment way to test the look before committing to a full wall. I’ve seen readers do just a two-foot section behind the range as a “trial,” and it still makes a noticeable difference in how the kitchen feels day to day.
What I’d Do If I Were Starting Over
If I were doing my current kitchen again from scratch, I’d skip the cheapest vinyl tile option and go straight for the peel-and-stick metal — the durability near the stove alone would’ve saved me from replacing one section after about a year and a half of cooking-related wear.
It costs more upfront, but per year of actual use, it ends up cheaper than replacing a budget option partway through your lease.
Whatever option you land on, the real takeaway is that a rental kitchen backsplash doesn’t have to be a compromise between “ugly and permanent-safe” or “nice and deposit-risking.” The removable options available now genuinely hold up, and the process is far more forgiving than most first-timers expect.
Measure carefully, prep the wall properly, and don’t rush the outlet cuts — that’s really the whole job.

Leave a Reply