
I peeled a strip of “removable” wallpaper off my old apartment wall two days before my final walkthrough and watched a chunk of the landlord’s paint come with it. It was about the size of my hand, right at eye level, right next to the light switch.
I stood there with a wet paper towel at 11 p.m. trying to feather the edges so it wouldn’t show. It sort of worked. I still lost $40 of my deposit.
That was four apartments ago, and I’ve since installed removable wallpaper in three different rentals and helped my sister do her dorm room twice, so I’ve made basically every mistake you can make with this stuff.
The good news is that wall damage from peel-and-stick wallpaper is almost always a prep and removal problem, not a product problem — the paper itself is genuinely gentle when you use it right. The bad news is that “use it right” is a longer list than the packaging tells you.
This post is that list. I’m covering how to prep different wall types, the actual step-by-step so your seams don’t gap and your paper doesn’t bubble, and — the part most posts skip — how to take it back down in a year or two without taking your security deposit with it.
Why Walls Actually Get Damaged (It’s Rarely the Wallpaper’s Fault)
Most of the horror stories about removable wallpaper ripping off paint come down to one of three things: the wall wasn’t properly cleaned and primed before application, the paper was left up way longer than the manufacturer recommends, or it was removed cold.
Temperature matters more than people think — adhesive gets brittle and grippier in a cold room, and pulling it off a 60-degree wall is a completely different experience than pulling it off a wall you’ve warmed up first with a hair dryer.
The other big factor is what’s under the wallpaper to begin with. Builder-grade flat or matte paint, especially in older rental units that have been repainted a dozen times, is soft and chalky.
Peel-and-stick adhesive can bond to that surface almost too well, which sounds good until you’re removing it and the top layer of paint comes with it. Semi-gloss and satin paint is much more forgiving because it’s harder and less porous.
Pro tip: if you’re not sure what sheen your walls are painted in, do a test patch first. Cheap way to check: press a strip of the actual wallpaper you bought onto an inconspicuous spot — inside a closet, behind where a bed will sit — leave it 48 hours, then peel slowly. If paint comes off with it, you need to either prime the wall first or pick a lower-tack product.
What You Actually Need Before You Start
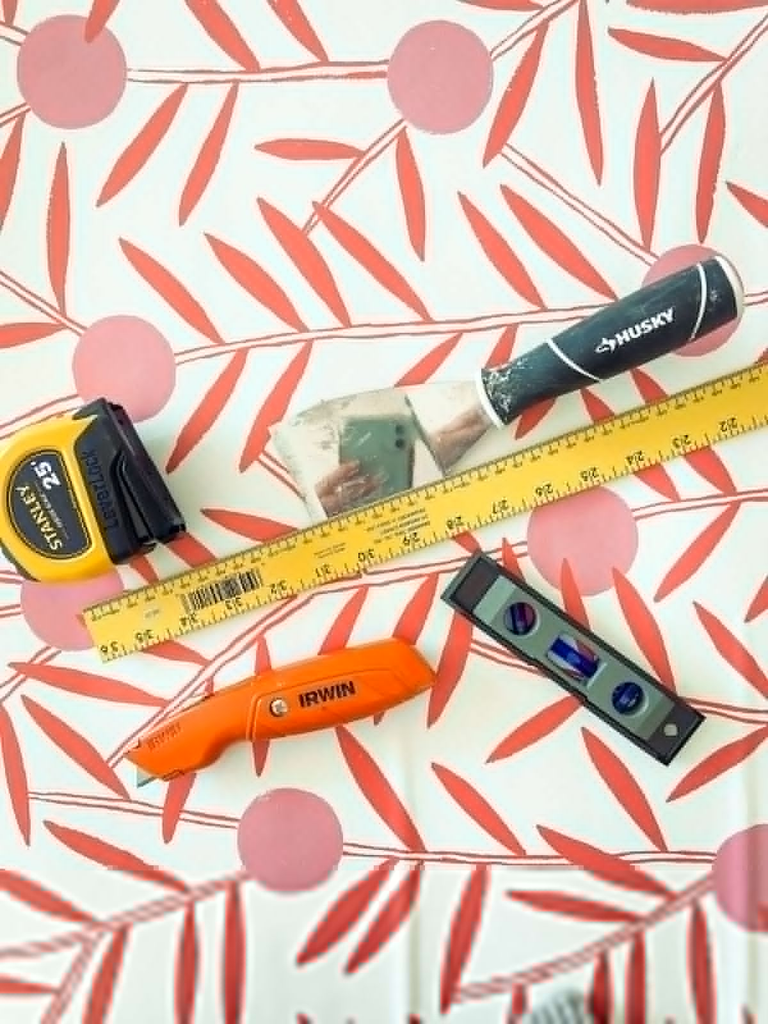
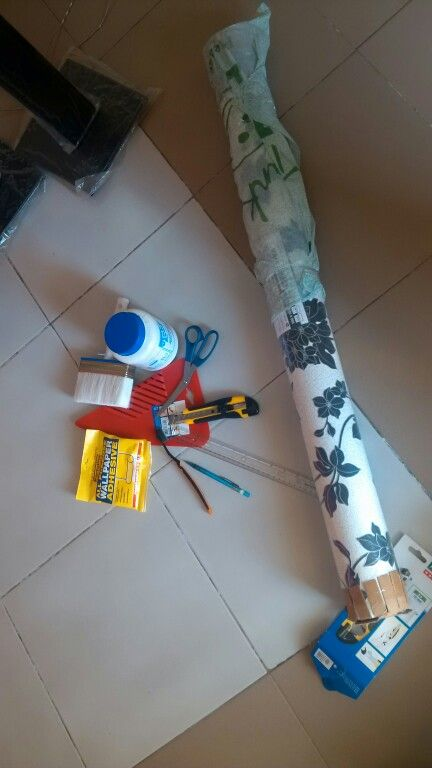
You don’t need much, but skipping any of this is where people get into trouble:
- A smoothing tool (a plastic putty knife wrapped in a microfiber cloth works fine, you don’t need the $15 branded one)
- A sharp utility knife with extra blades — a dull blade drags and tears instead of cutting clean
- A level or laser level (a phone level app is genuinely fine for this)
- Painter’s tape
- A hair dryer or heat gun on low
- Mild soap and water, or a vinegar-water mix, for cleaning the wall
- A large flat surface for cutting strips — I use my kitchen table with a cutting mat
Pro tip: buy 10-15% more wallpaper than your square footage calculator says. Every tutorial tells you to buy extra for pattern matching, but nobody tells you that your first two or three strips will probably be your worst ones while you get a feel for the adhesive’s tack and working time. Budget for practice strips.
Prepping Your Walls by Type
This is the step people rush, and it’s the one that determines whether you get your deposit back.
Freshly painted walls: Wait. Paint needs to cure fully before anything goes on top of it, and “dry to the touch” isn’t the same as cured. Latex paint typically needs about 3-4 weeks to fully cure. Apply wallpaper too soon and the adhesive can bond into the paint film itself instead of sitting on top of it, which makes clean removal much harder later.
Textured walls (orange peel, knockdown): Removable wallpaper is not designed for texture, and it shows. It won’t lie flat, seams will gap, and the adhesive won’t get full contact. If you’re dealing with texture, you have two honest options: skim-coat and sand the wall smooth first (a bigger project, but worth it if you’re staying a while), or accept that peel-and-stick isn’t the right tool here and look at fabric wall panels or a liner paper instead.
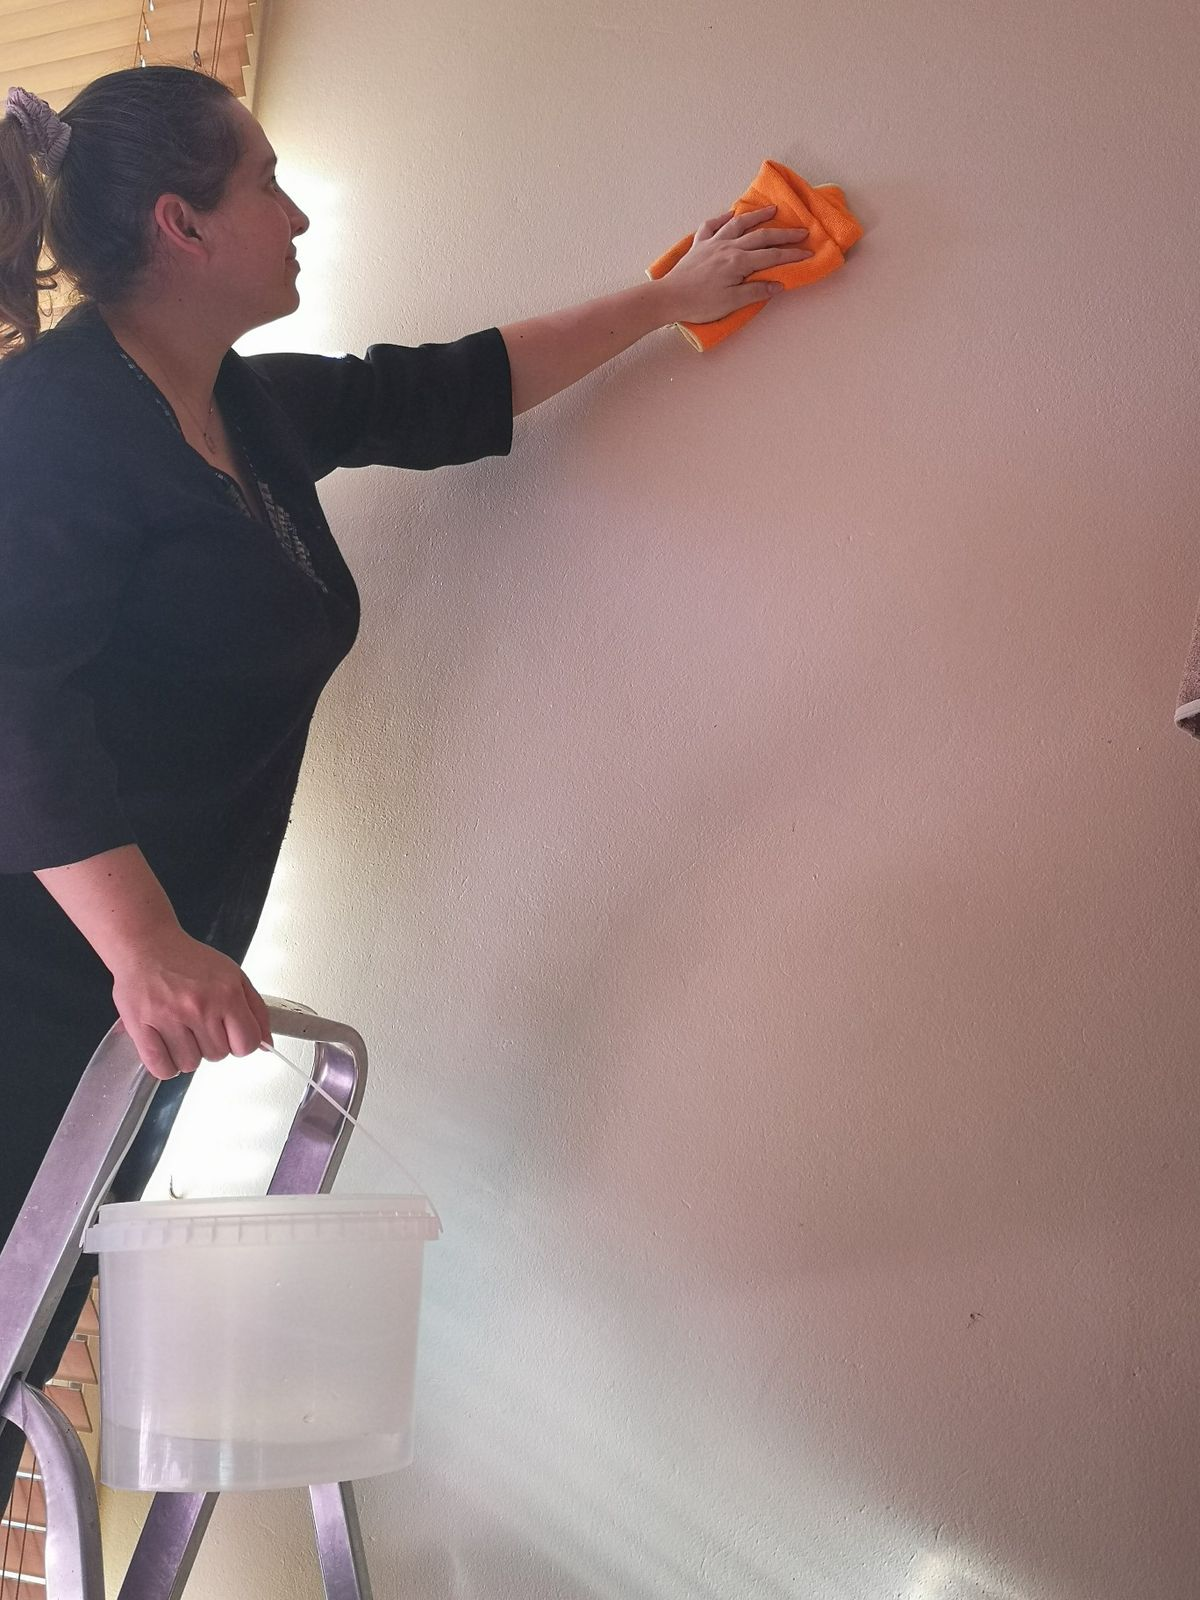
Older or flat/matte painted walls: Clean thoroughly with a mild soap and water solution to remove dust, cooking residue, and any wall grease you don’t notice until you’re right up close with a rag. Let it dry completely — overnight if you can. If the paint still feels chalky (rub it with a dark cloth and see if color transfers), consider a coat of primer sealer first. It adds a day to the project but it’s the single biggest thing you can do to protect the original paint underneath.
Plaster walls (common in older buildings): Plaster is porous and can be uneven in ways drywall isn’t. Same cleaning rules apply, but go gentler with pressure during smoothing since older plaster can be more fragile at the surface.
Step-by-Step Installation
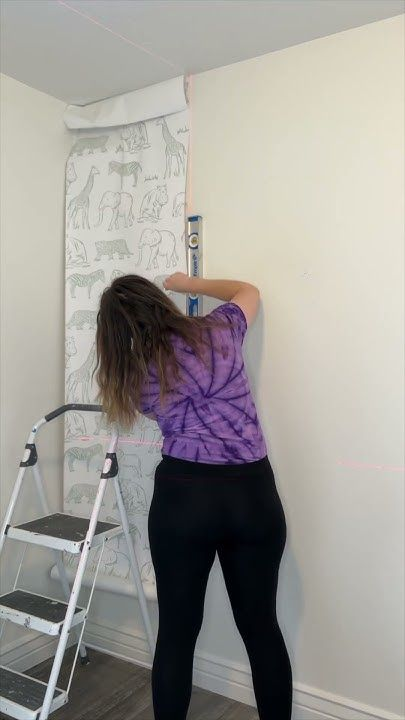
- Measure twice, cut once, and always cut a few inches long. Measure your wall height and add 2-4 inches of overage per strip for trimming at the top and bottom. You will not regret extra room; you will regret a strip that’s a half-inch short.
- Start in the least visible corner of the room, not the most visible wall like every tutorial’s “hero” photo suggests. Your first strip is a practice run even if you did a test patch. Let your mistakes happen somewhere behind a bookshelf, not over the couch.
- Use a level line, not the corner of the wall, as your guide. Corners in real houses — especially older ones — are rarely perfectly plumb. My first apartment’s corner was off by almost half an inch over 8 feet, which doesn’t sound like much until your pattern is visibly crooked by the third strip.
- Peel back 8-12 inches of backing at a time, not the whole sheet. This is the single most common beginner mistake and it’s why people end up with wallpaper stuck to itself in a crumpled mess. Small sections, applied and smoothed as you go, give you control.
- Smooth from the center out, working air bubbles toward the edges, not trapping them in the middle. Use your smoothing tool in overlapping strokes, moderate pressure — you’re not trying to weld it to the wall, just press out air and get even contact.
- Overlap seams slightly (about 1/8 inch) rather than butting them edge to edge. Peel-and-stick paper can shrink very slightly as the adhesive settles over the first few days, and a butted seam can open into a visible gap. A slight overlap trimmed clean with a fresh blade hides this.
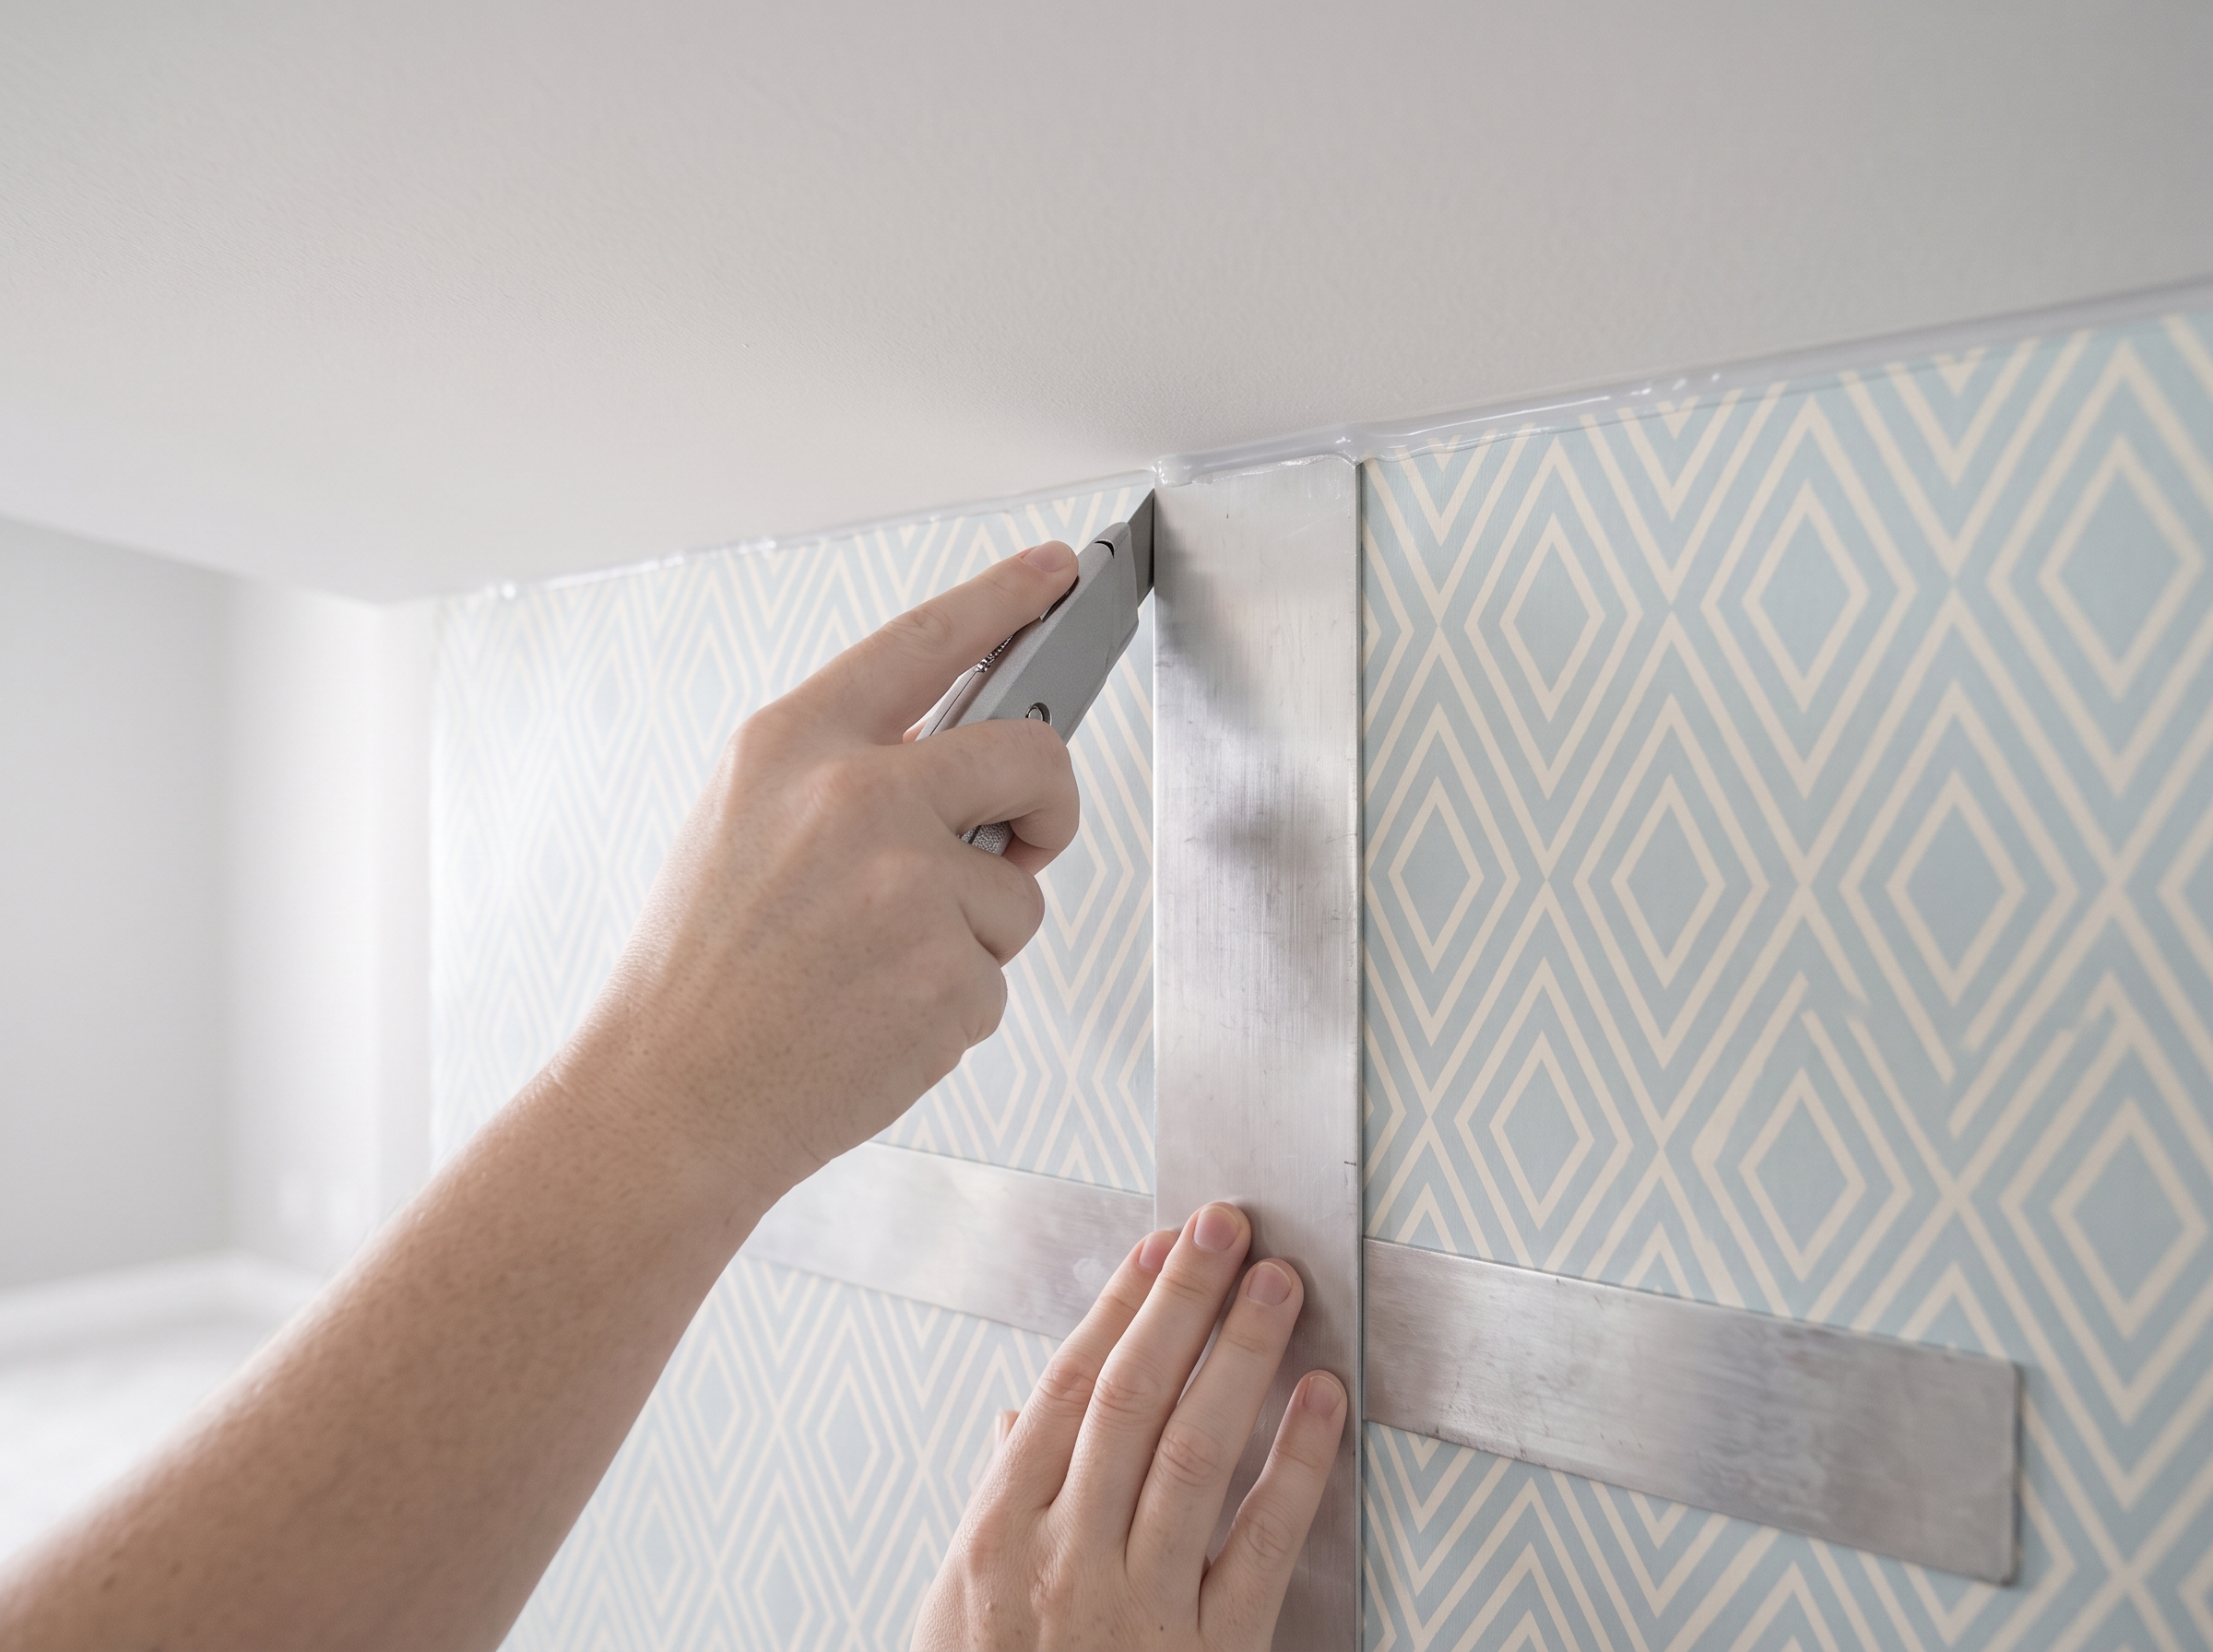
- Trim top and bottom with a sharp blade against a smoothing tool held flush to the ceiling/baseboard line, not by eyeballing scissors. This is where a dull blade will drag paper and tear your edge — swap blades more often than feels necessary.
- Leave it alone for 24-48 hours before decorating around it — hanging shelves, pushing furniture back against it, that kind of thing. The adhesive needs time to fully set.
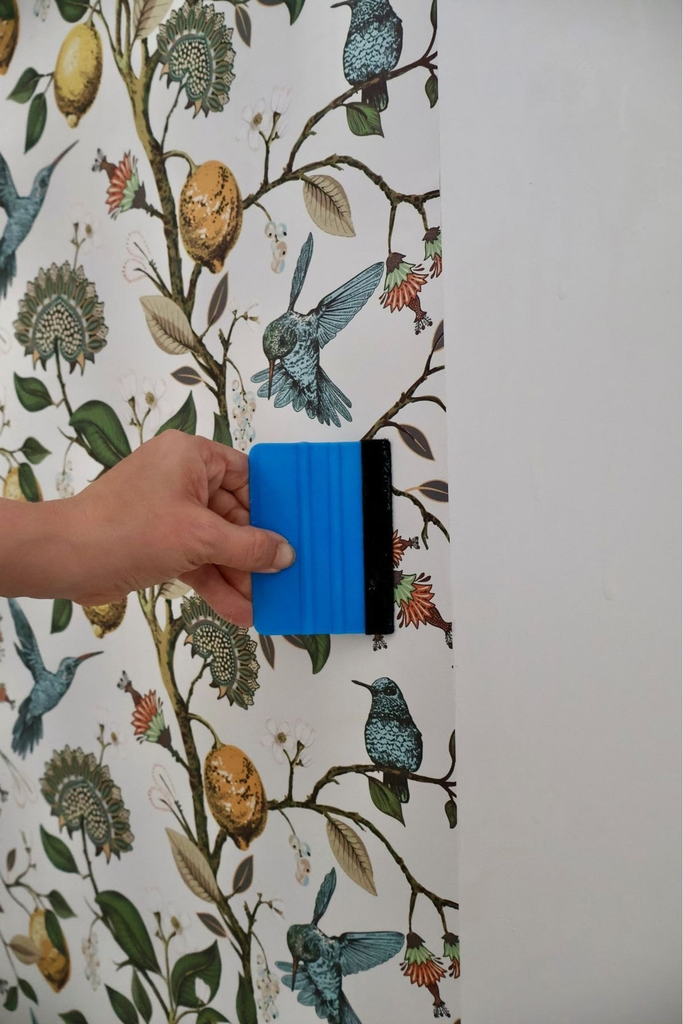
Pro tip: if you get a bubble after the paper’s already down and smoothed, don’t panic and don’t re-peel the whole strip. Prick it with a pin at a low point, press the air out toward the pinhole, and smooth over it. Nearly invisible once it’s flat.
Removable Wallpaper Types Compared
Not all “removable” wallpaper behaves the same way, and this is where a lot of buying mistakes happen — people assume “peel and stick” is one product category when it’s really three, with pretty different price points and damage risk.
| Type | Typical Cost | Best For | Removal Risk |
|---|---|---|---|
| Vinyl peel-and-stick | $1–3/sq ft | Renters, first-timers, high-traffic rooms (kitchens, bathrooms) | Low — designed for repeated repositioning during install and clean removal |
| Fabric/non-woven peel-and-stick | $3–6/sq ft | Textured or slightly imperfect walls, accent walls, softer look | Low-medium — more forgiving on application, slightly trickier to remove in one piece |
| Traditional pre-pasted (non-removable) | $1–4/sq ft | Homeowners doing a permanent update | High — not designed to come off cleanly; needs steamer/scoring to remove |
| DIY liner + peel-and-stick combo | $2–5/sq ft total | Textured or damaged walls you want a smooth base for | Low on the wallpaper itself, but the liner is more work to remove |
If you’re renting and this is your first time doing this, start with basic vinyl peel-and-stick. It’s the most forgiving to reposition while you’re still learning, and it’s the safest on painted drywall, which covers most apartments.
What It Actually Costs (Beyond the Roll Itself)
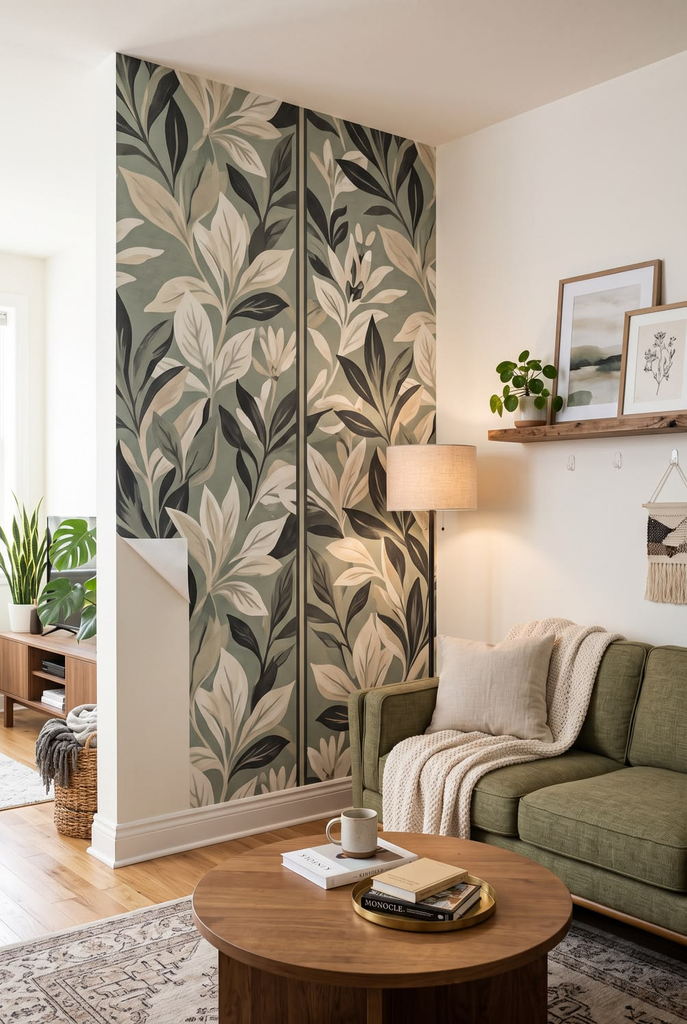
A single accent wall in an average bedroom (roughly 120-150 sq ft of wall) runs somewhere in the $150-350 range for materials if you’re using vinyl peel-and-stick, depending on the brand and pattern complexity.
Add another $20-30 for tools if you don’t already have a smoothing tool and a good level. Budget an actual full afternoon for a single wall your first time — closer to 2 hours once you’ve done a few rolls and know your rhythm.
The part that surprises people: if you skip the primer step on a wall that needed it, the “savings” from skipping a $15 can of primer sealer can easily cost you more than that in deposit deductions later. It’s one of the few places in this project where spending a little more up front is the actual cheaper option.
Removing It Without Losing Your Deposit
This is the part nobody covers in enough detail, and it’s arguably more important than the install itself if you’re renting.
- Warm the wall first. Run a hair dryer on low, a few inches from the surface, moving slowly over a section for 20-30 seconds before you start peeling. Warm adhesive releases far more cleanly than cold adhesive.
- Pull slowly, at a low angle, back on itself — think closer to 15-20 degrees from the wall, not straight out. Pulling straight out is what tears paint.
- Go slow at seams and corners. These are the spots most likely to have extra adhesive contact and are where damage tends to start.
- If a strip has been up longer than the manufacturer’s recommended maximum (often around 12-24 months for a lot of vinyl peel-and-stick, though it varies by brand — check your specific roll), expect it to be more stubborn and go extra slow. Adhesive left up for years behaves differently than adhesive removed at the 6-month mark.
- Touch-up paint is your safety net, not your prep step. Keep a small amount of the wall’s original paint color if you can get it (ask your landlord before move-in, or bring a paint chip to a hardware store for color matching) so any minor marks are an easy fix rather than a deposit fight.
Pro tip: if a spot does lift paint despite your best efforts, don’t try to “fix” it by pressing the wallpaper backing back down over it — that just traps the damage under adhesive and makes it worse later. Let it fully release, then deal with the touch-up separately.
What I’d Do Differently If I Started Over
Honestly, I’d spend the extra day on primer sealer every single time, even when the wall looks fine. It’s the one step I’ve skipped and regretted, and the one step I’ve never regretted doing. I’d also stop trying to start on the “hero” wall — put your first, roughest strip somewhere low-stakes and let your technique catch up over the first few feet.
Removable wallpaper really is one of the better ways to make a rental feel like yours without a lasting commitment — I just wish the boxes came with half of this printed on the inside. If you take the prep seriously and go slow on removal, the “removable” part of removable wallpaper actually holds up.

Leave a Reply