
I put exactly one hole in the wall of my first apartment. It was for a curtain rod, I didn’t have a stud finder, and I found out about the stud situation the hard way when the whole thing — rod, curtains, little decorative finial ball — came down on my head at 6 a.m.
My landlord’s inspection fee for that patch job was $75, which is more than the curtain rod cost in the first place. So when people ask me how to hang curtains in a rental without drilling, I have a very specific, very motivated answer, because I paid for the alternative.
The good news is that “no drilling” doesn’t mean “no real curtains hanging real fabric that actually blocks light.” I’ve hung heavy blackout curtains in a 1920s apartment with plaster walls that hated me, and I’ve done breezy linen panels in a dorm room where the walls were basically stage props.
Different methods work for different windows, different curtain weights, and different landlords, so I’m going to walk through what actually holds up, what I’d skip, and where people usually mess it up.
Quick note on approach: I’m going in roughly the order I’d try things myself, from “easiest and cheapest” to “what you need if your curtains are heavy or your window is weird.” Skip to whichever section matches your situation — you don’t need to read about magnetic rods if you don’t have a metal door frame.
Why Tension Rods Are Still the First Thing I Try
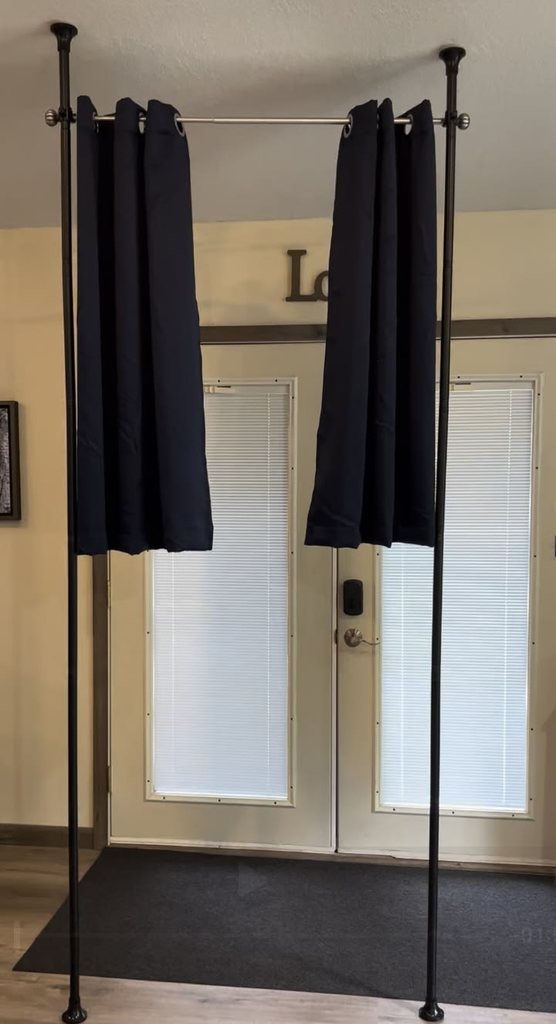
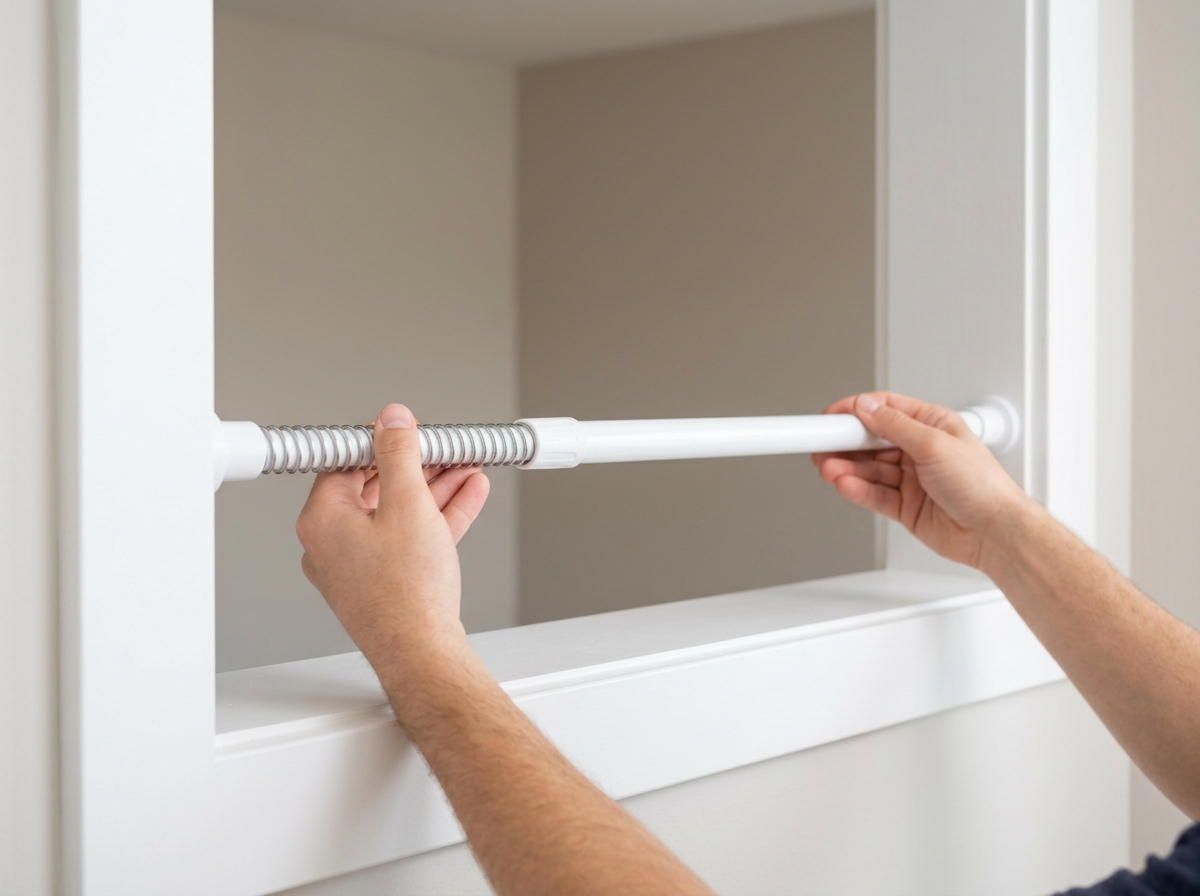
Tension rods work by wedging themselves between two surfaces using spring pressure, no hardware involved, which is why they’re the default answer for renter-friendly window treatments. The catch is that people buy the wrong ones and then blame the method.
Here’s what actually matters: the rod’s weight rating versus your curtain’s actual weight, wet included if it’s a shower situation.
A $12 tension rod rated for 5-7 lbs will absolutely bow in the middle and slide down if you hang a pair of medium-weight blackout panels on it — I learned this in my kitchen doorway, where my rod developed a permanent smile-shaped sag within a month. I went up to a rod rated for 15+ lbs with rubber grip pads on the ends, and it’s held for two years now.
Tension rods work best inside a window frame or between two solid walls in a doorway — anywhere you’ve got two firm, parallel surfaces to push against. They’re a weaker choice across a wide, open window where there’s nothing to brace against except drywall on either side, because drywall gives, and the whole thing loosens over time.
Pro tip: twist the rod in a full extra half-turn past “snug” when you install it — most instructions tell you to stop right when it feels tight, but that’s the exact tension that loosens after a week of door slams or AC vibration. Overtighten slightly and check it again after 24 hours.
Adhesive Hooks: Good for Light Curtains, Bad for Anything Heavier Than a Bedsheet
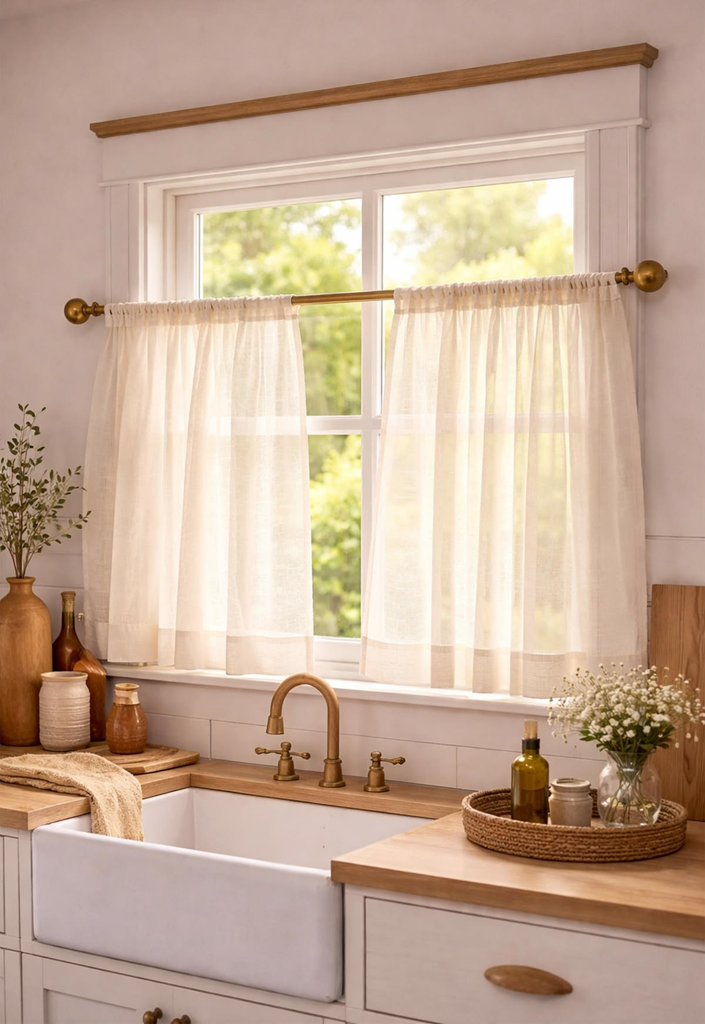
Command hooks and similar adhesive hooks are the next step up in terms of what they can hold, and they’re genuinely great for light curtains — sheers, cafe curtains, that kind of thing.
My friend Priya used the large Command hooks to hang linen cafe curtains in her kitchen window over her sink, and they’ve held for over a year through steam, dishwashing splashes, and one accidental yank from her cat.
Where people go wrong is expecting adhesive hooks to hold curtain rod weight instead of just curtain weight.
A rod plus rings plus heavy fabric can easily hit 3-4 lbs before you’ve added anything decorative, and most adhesive hooks are rated well under that for vertical pull, which is a different (weaker) rating than the “holds X lbs straight down” number on the package. Read the fine print on load direction, not just load amount.
Surface prep matters more than people think. These hooks need a clean, dry, smooth surface — textured “orange peel” walls, which a lot of rental units have, will cut the hold strength dramatically. I’d genuinely skip this method entirely if your walls have texture; move to the adhesive rod bracket method below instead.
Pro tip: let the adhesive cure for at least an hour, ideally overnight, before you hang anything on the hooks. Everyone hangs the curtains the second the hook goes up, and that’s the single most common reason these fail in the first week — the bond hasn’t set.
Adhesive Curtain Rod Brackets: My Actual Go-To for Real Curtain Rods
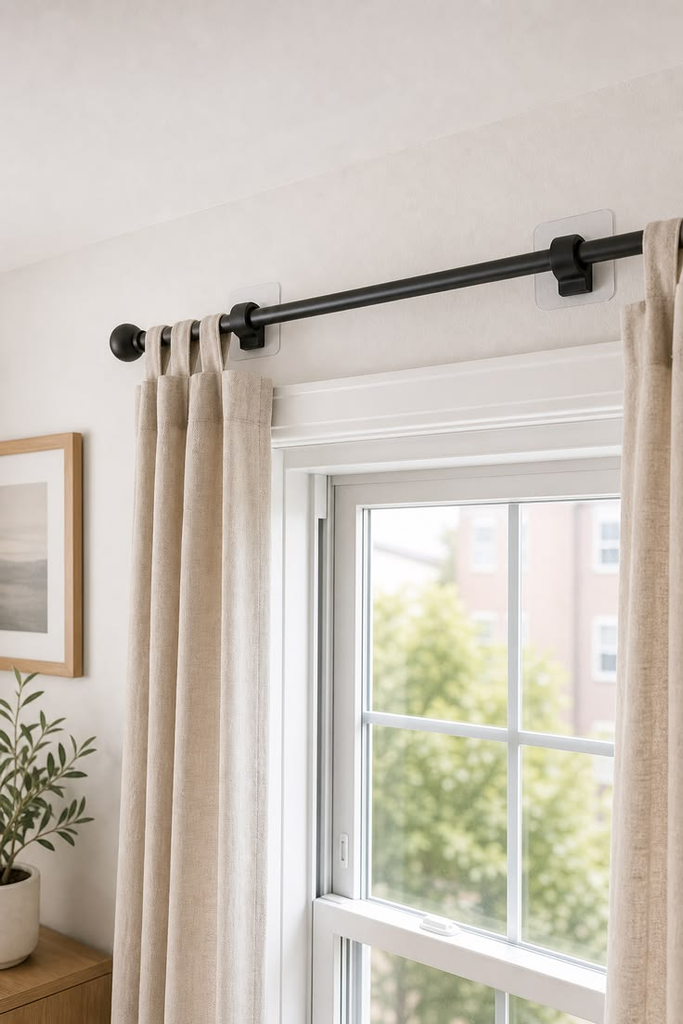
This is the method I use most, and it took me a while to find it because it’s less commonly talked about than tension rods. These are small brackets, usually 3M Command-branded or similar, made specifically to hold a standard curtain rod — you stick them to the wall on either side of the window, then rest or clip the rod into them like you would with a drilled bracket.
The reason I like these over tension rods for actual windows (not doorways) is that you get a real rod sitting in real brackets, which means proper curtain rings, proper pleating, and a rod that can extend the full width of a wide window without bowing.
I used the heavy-duty version — rated for around 7.5 lbs per pair — for medium-weight curtains in my living room, over a wide window with nothing to brace a tension rod against, and it’s outlasted two apartment moves (I just re-stick new adhesive strips at the new place; the brackets themselves are reusable).
The trade-off is removal. Command-style adhesive is designed to come off cleanly if you pull it correctly — slow, straight down, not up and out — but on certain rental paint jobs, especially cheap builder-grade flat paint, it can take a thin layer of paint with it. Test on a hidden spot first, like behind where furniture sits, before committing to the spot you actually want.
| Method | Best for | Weight limit (rough) | Removal risk | Typical cost |
|---|---|---|---|---|
| Tension rod | Doorways, inside window frames, light-to-medium curtains | 5–20+ lbs depending on rod | None — no adhesive or hardware | $10–35 |
| Adhesive hooks | Sheers, cafe curtains, very light panels | 2–5 lbs (check vertical pull rating) | Low, if surface is smooth and cured properly | $6–15 for a pack |
| Adhesive rod brackets | Real curtain rods, medium-weight curtains, wide windows | Up to ~7.5 lbs per pair (heavy-duty) | Moderate on flat/cheap paint — test first | $8–20 |
| Magnetic rod | Metal door frames, metal window frames only | 5–10 lbs depending on magnet strength | None | $15–25 |
| Tension rod + curtain clip rings | Lightweight curtains where you want a “hung” look, not stretched fabric | Matches tension rod limit | None | $15–40 total |
Pro tip: buy the adhesive strip refills separately when you move — the brackets are reusable, but people throw the whole thing away and rebuy, which is a waste of money most posts don’t mention.
Magnetic Rods: The One Nobody Talks About, and It’s Only for Metal Frames
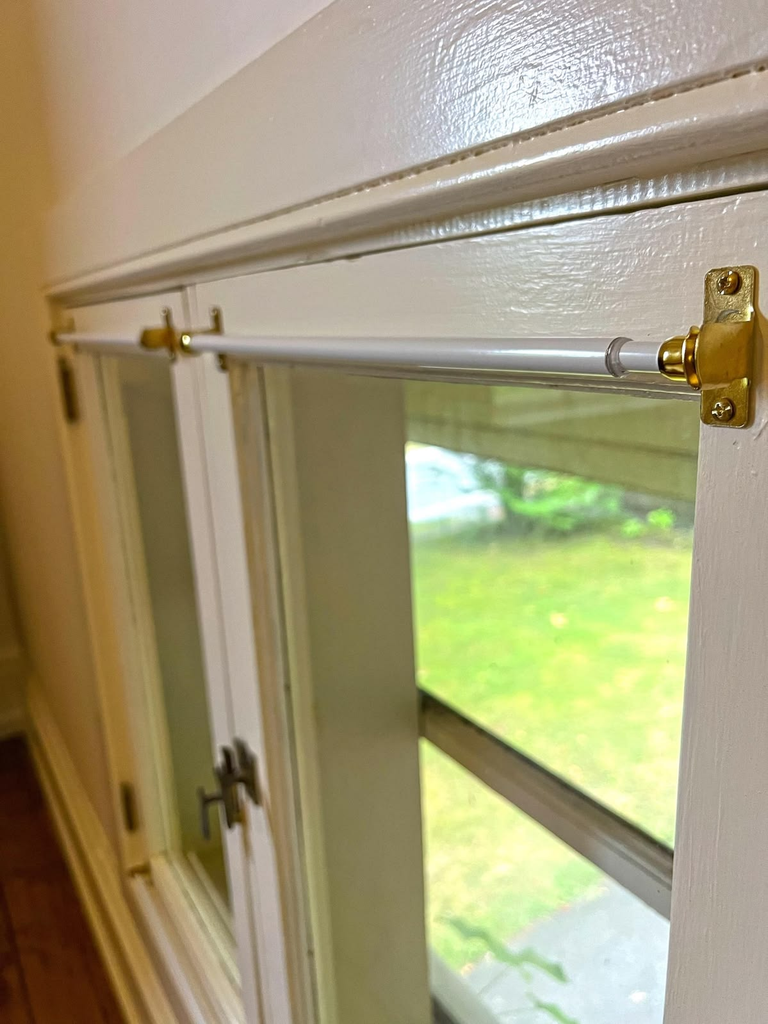
If your window or door has a metal frame — a lot of older apartment buildings have steel-cased windows, and basically every apartment has a metal door frame somewhere — magnetic curtain rods are worth knowing about, even though almost nobody brings them up. They use strong magnets built into the rod ends instead of tension or adhesive.
I used one on a steel security door with a small window in a studio I rented for a year, where a tension rod had nothing to brace against and adhesive would’ve been ugly on the frame. It held a light curtain panel with zero issues the whole lease.
The obvious catch: this only works if you actually have a metal frame, and not all metal is magnetic — some aluminum frames won’t grip at all. Test with a fridge magnet before you buy the rod.
What to Buy: A Realistic Budget Breakdown
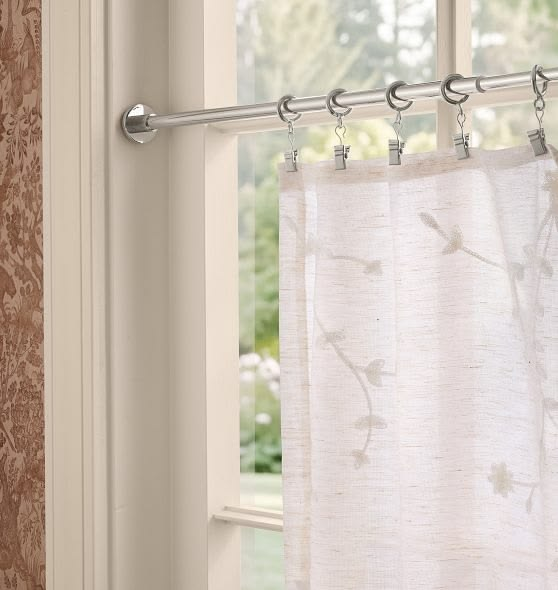
If you want the honest “what will this actually cost me” answer instead of the vague “affordable!” answer: a full no-drill setup for one standard window — rod, method-specific hardware, and basic curtains — runs about $35-60 for a light/sheer setup using tension rods or adhesive hooks, and closer to $50-90 if you’re doing adhesive rod brackets with an actual curtain rod and medium-weight panels. Blackout curtains specifically tend to add $20-40 over sheers because of the lining, regardless of which hanging method you use.
For anyone furnishing a whole apartment — say, 4-5 windows — buying rods and brackets in a multi-pack instead of one at a time usually knocks 15-20% off the per-window cost, which matters more than it sounds like it would once you’re doing more than two rooms.
Common Mistakes I See Constantly (and Made Myself)
- Ignoring the weight rating and just eyeballing it. This is the number one reason any no-drill method fails. Weigh your curtains on a bathroom scale before you buy hardware — it takes two minutes and saves you a hardware return trip.
- Hanging curtains the same day you install adhesive. Cure time isn’t optional, even though it feels like it should be.
- Using adhesive on textured or freshly painted walls. Freshly painted walls (within about 4 weeks) haven’t fully cured either, and adhesive bonds poorly to soft paint.
- Going too narrow on the rod. A rod that’s only as wide as the window makes curtains look like they’re strangling the glass and blocks more natural light when open. Extending 4-6 inches past the frame on each side, when your method allows it, makes a small window look bigger — this isn’t really a “no-drill” tip, it’s just a styling one, but it matters more in a small rental room than people think.
What I’d Do First If I Were Starting Over
Honestly, I’d measure my curtain weight first, figure out whether I’m dealing with a doorway/window-frame situation or a wide-open window, and let that decide the method instead of picking based on whatever’s cheapest at the store. For a normal window with medium curtains, I’d go straight to adhesive rod brackets — it’s the closest you get to a “real” curtain setup without touching a drill, and it’s what’s currently up in my own apartment. For a light sheer situation, tension rod, no question, and I wouldn’t overthink it further than that.
None of this is glamorous. It’s mostly about matching the hardware to the actual weight of the actual fabric, which is a boring sentence, but it’s the entire difference between curtains that last your whole lease and curtains that end up back on the floor with your security deposit still on the line.

Leave a Reply