
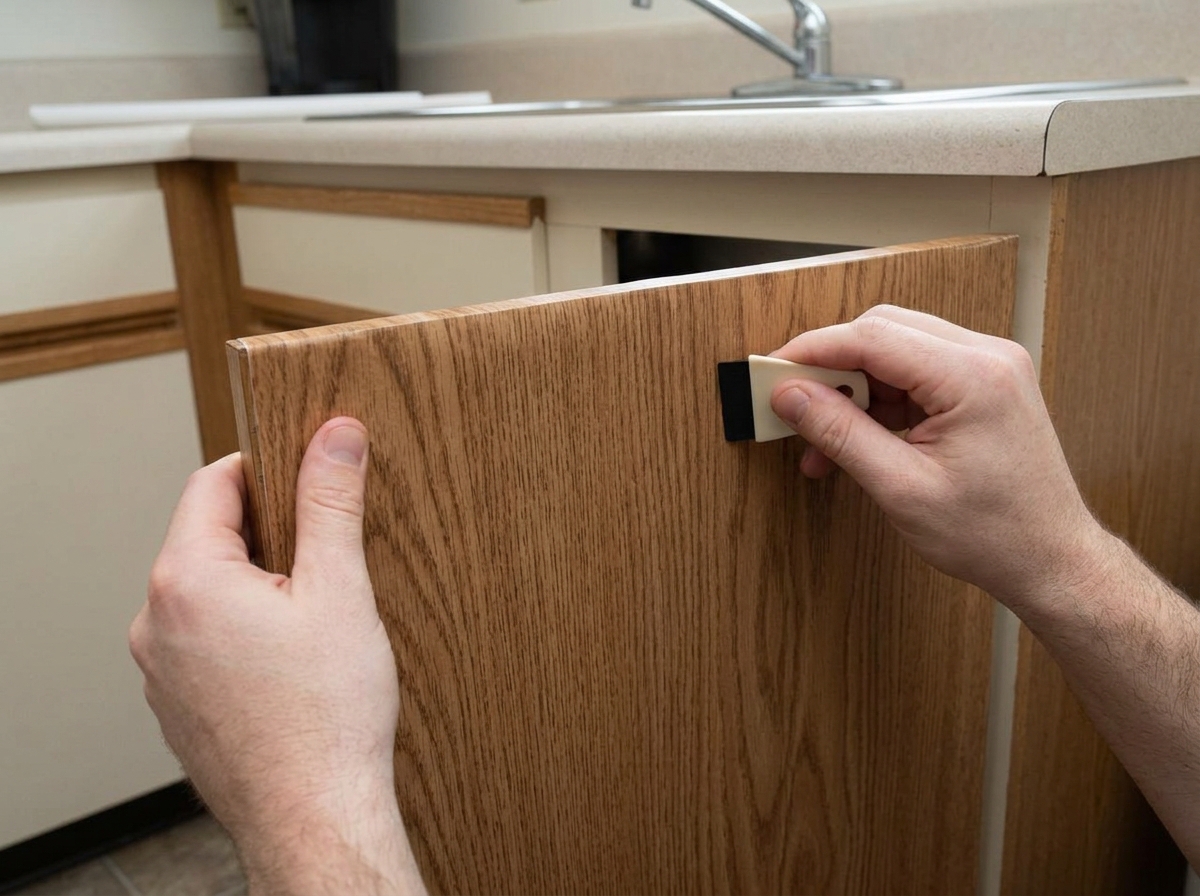
I lived with the same oak cabinets for two years before I did anything about them. You know the ones — orange-y, honey-toned, very 1998, with those scalloped edges that were probably someone’s idea of “character” back when this building was new.
My lease said no painting, no permanent alterations, and a laundry list of other things I definitely wasn’t going to argue with a property manager about. So for a long time I just… lived with it. Then a friend of mine, Priya, did a full cabinet refresh in her rental for under $200 using nothing but contact paper and new hardware, and I finally had proof that “no painting” didn’t mean “no changes.”
If you’re in the same boat — a lease that won’t let you touch the cabinets with a paintbrush, or you just don’t want to deal with the sanding, priming, and inevitable touch-ups that painting cabinets actually requires — there’s a lot you can still do. This isn’t a “just add a throw pillow and call it decorated” post.
I’m going to walk through the methods that actually change how a kitchen looks and feels, what they cost, what they take to install and remove, and where people (myself included) have messed them up.
A quick note before we start: always check your specific lease language. Some landlords are fine with adhesive products and hardware swaps but draw a hard line at anything involving drilling new holes.
Others are more relaxed than the lease actually states, and a quick text to your landlord asking “hey, is it okay if I swap the cabinet knobs and keep the originals to reinstall at move-out?” goes a long way. Most landlords say yes to that one specifically, because it’s genuinely no risk to them.
Why Skipping Paint Isn’t Actually a Downgrade
I want to push back on the assumption that paint is the “real” upgrade and everything else is a consolation prize. Painting cabinets well is a multi-day job — you’re talking degreasing every surface, sanding down the factory finish, priming with something that’ll actually bond (regular primer often doesn’t), then two coats of a durable enamel with dry time in between.
Do it wrong and you get chipping at the corners within a few months, which I’ve seen happen to more than one friend’s kitchen. Renters also lose their security deposit more often over botched paint jobs than almost anything else — a landlord can tell the difference between “removed cleanly” and “we tried to paint over this and it looks worse than before.”
The methods below are lower-risk, often cheaper, and in a lot of cases faster to execute on a random Saturday.
Removable Wallpaper or Contact Paper (The One Everyone Should Try First)
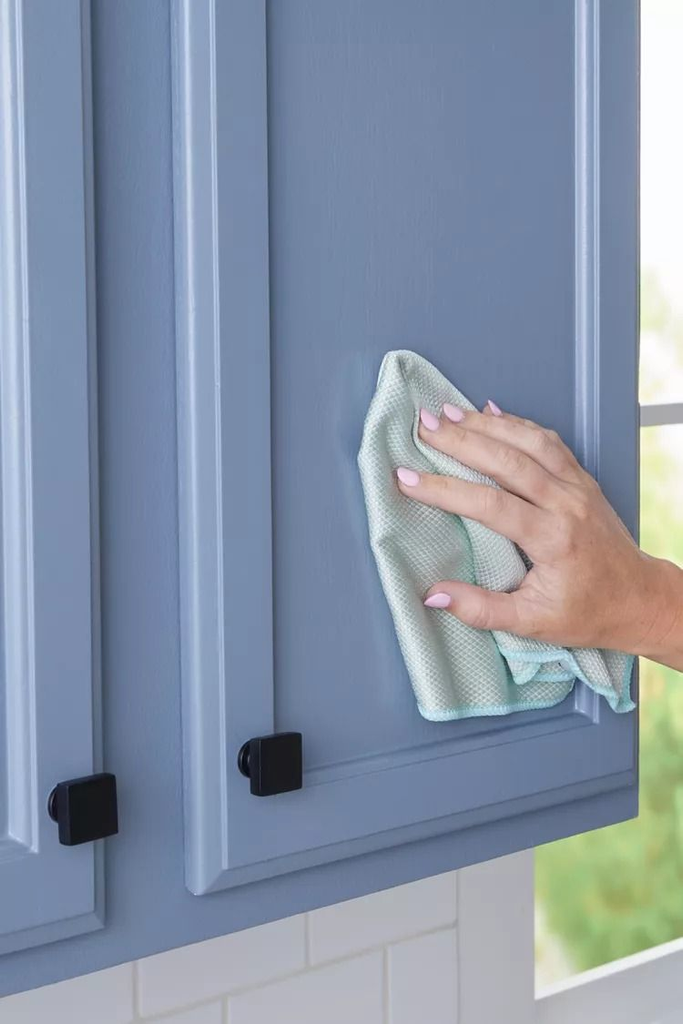
This is genuinely the highest-impact, lowest-cost option, and it’s the one Priya used. Peel-and-stick wallpaper or contact paper in a solid color, a faux-wood grain, or a subtle texture can cover the cabinet faces completely and change the whole tone of a kitchen.
Good brands use a repositionable adhesive that comes off clean from a smooth, painted, or laminate surface, though it’s worth doing a test patch in an inconspicuous spot first — inside a cabinet door, for instance — and leaving it for 48 hours to make sure it lifts off without pulling finish with it.
Application matters more than people think. Wipe every surface down with rubbing alcohol first (not just soap and water — grease from cooking sits on cabinet faces even if they look clean), and use a plastic smoothing tool, not your hand, to push out air bubbles as you go.
I did my first attempt with just a credit card and ended up with a faint ripple pattern across one door that bugged me for months.
Pro tip: Order 10-15% more material than your measurements say you need. Seams matching up on a pattern (like a faux wood grain or marble look) eats more material than a solid color, and running short mid-project means waiting on a reorder with one bare cabinet door staring at you the whole time.
Cost-wise, a roll typically covers one or two upper cabinet doors depending on size, and a full kitchen — uppers, lowers, and the island if you have one — usually lands somewhere between $80 and $250 depending on the brand and how much surface area you’re covering.
Swap the Hardware (and Keep the Originals)
This is the lowest-effort, highest-satisfaction move on this whole list. Builder-grade cabinets almost always come with cheap brass or plain knobs, and swapping them for something with actual weight and finish — matte black, brushed brass, unlacquered brass that’ll patina — changes the whole read of a kitchen in under an hour.
Keep a labeled ziplock bag with the original hardware; when you move out, you screw the originals back in and take your new pulls with you to the next place.
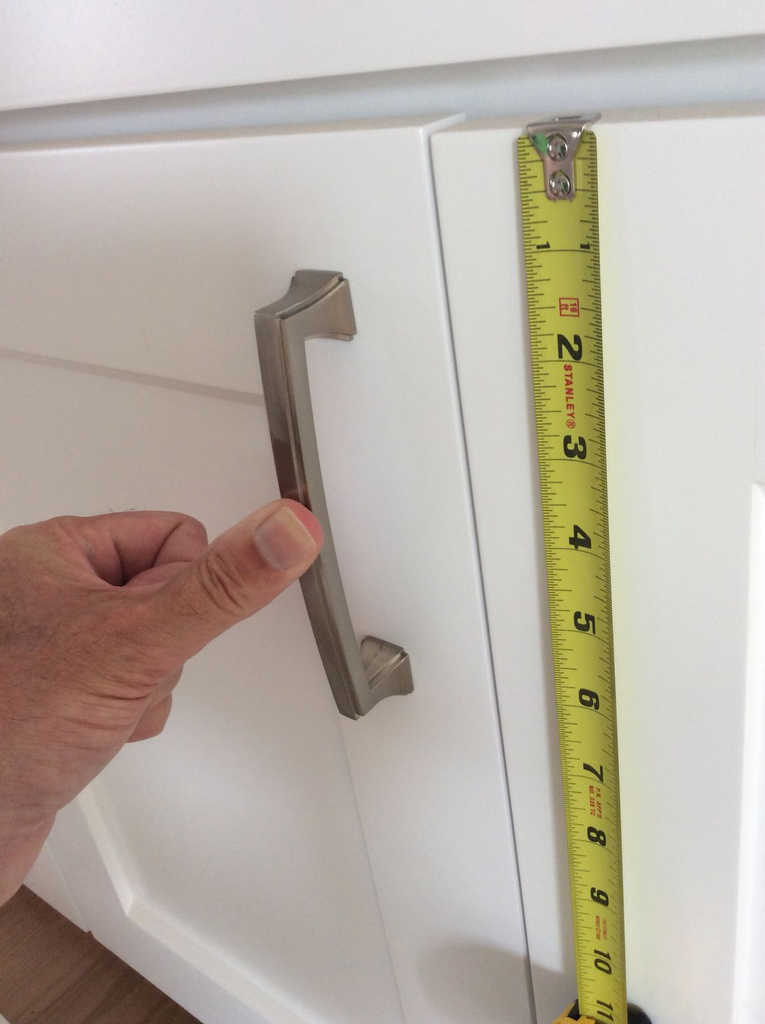
The one snag people run into is hole spacing. If your new pulls use a different distance between screw holes than your existing knobs, you’re drilling new holes, which is a bigger ask of your landlord and not reversible without a wood filler touch-up.
Stick to single-hole knobs if you want zero drilling, or measure your existing hole spacing (center to center) before you shop if you want bar pulls.
Pro tip: A lot of hardware sold as “brass” is actually a cheap coating that’ll show brassy-yellow wear spots within a year of hand contact — check for “solid brass” or “unlacquered brass” in the listing if you want something that ages well instead of looking worn out.
Add Removable Trim or Molding to Flat Cabinet Doors
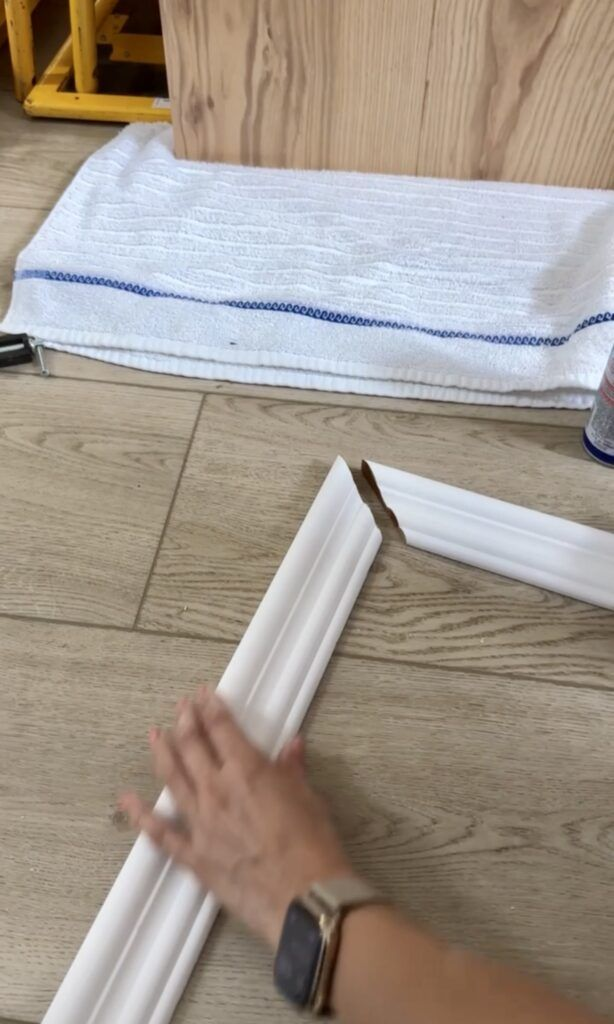
If your cabinets are flat-front slab doors — common in newer apartment builds — adding a simple picture-frame molding detail can make them look custom-built instead of builder-basic.
There are pre-cut molding kits designed for exactly this, using a strong double-sided mounting adhesive instead of nails, and they typically come off cleanly if you don’t leave them up for years in a humid kitchen.
This one’s a bigger time investment than wallpaper or hardware — expect an afternoon, not twenty minutes — and it works best on doors with some flat real estate to work with. It looks a little odd on doors that are already heavily detailed or have raised panels, since you’re adding a line on top of an existing line.
Pro tip: Paint or finish the molding pieces before you stick them on, not after. Trying to cut in paint neatly around adhesive trim that’s already attached to the door is much harder than finishing five flat strips on a drop cloth beforehand.
Film for Glass-Front Cabinets
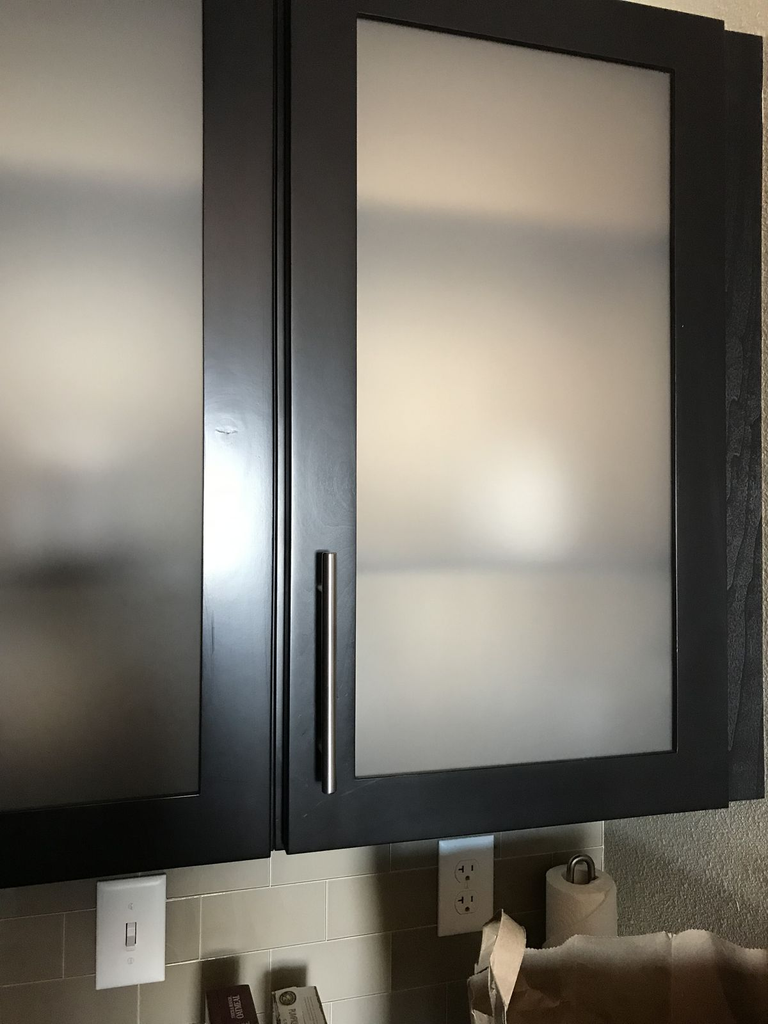
If part of your kitchen has glass-front upper cabinets, there’s a whole category of removable window film made for exactly this — frosted, textured, or stained-glass-look options that stick to the inside of the glass and peel off without adhesive residue.
It’s a nice option if you don’t love the idea of everyone seeing your mismatched dish collection every time they’re in your kitchen, and it’s fully renter-safe since it’s not touching the wood at all.
I’ll be honest, this is a smaller-scale project than the others on this list, but it’s often the detail that makes the rest of a cabinet refresh look finished rather than half-done.
Open Shelving Without Drilling
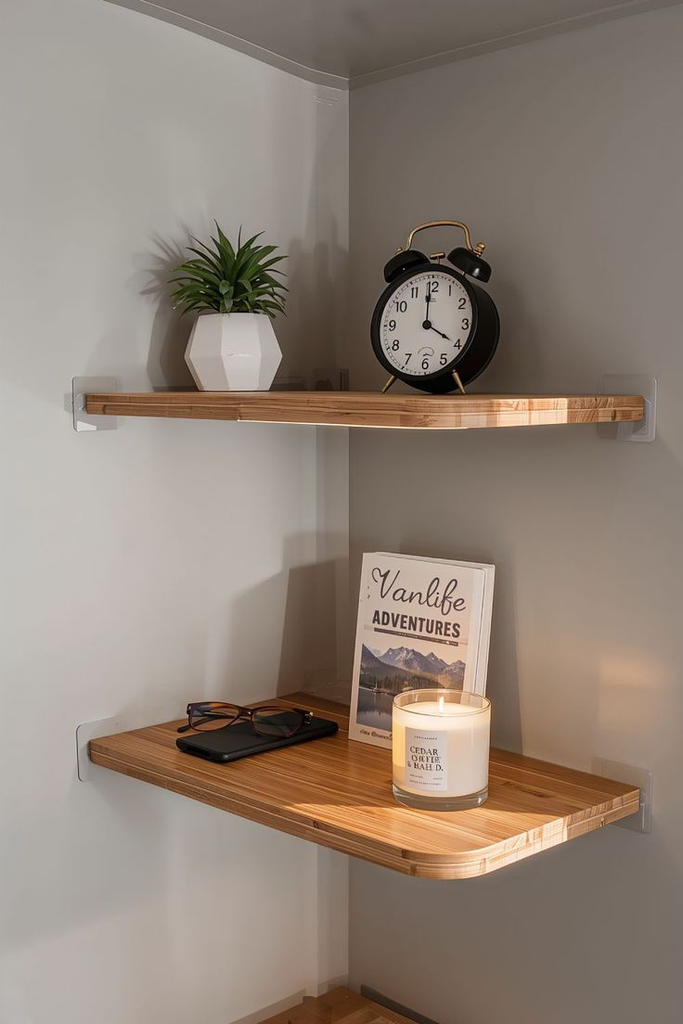
A lot of “renter-friendly open shelving” content skips the part where most tension-mounted or adhesive shelving brackets have weight limits that are lower than what people actually load onto them — a shelf full of ceramic plates and mugs is heavier than it looks.
That said, done within its limits, a small floating shelf using a heavy-duty adhesive mounting strip (rated for interior use, the kind that holds several pounds per strip) can work well for lightweight, decorative items — a few cookbooks, a small plant, glass jars. I wouldn’t trust it with your everyday dinnerware.
Pro tip: Test the adhesive strips on the wall material first. They grip painted drywall well but tend to fail faster on textured or heavily primed surfaces, which a lot of rental walls have.
Under-Cabinet Lighting
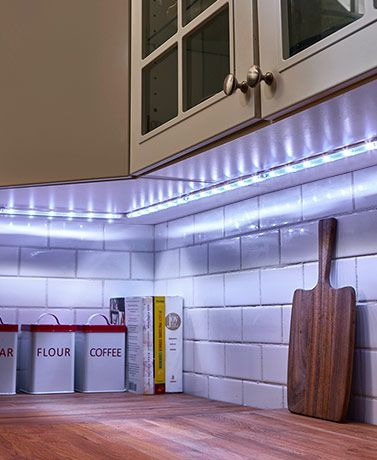
This one surprises people with how much of a difference it makes for so little effort. Adhesive-backed LED strip lighting, run along the underside of your upper cabinets and plugged into a nearby outlet (or battery-powered, if there’s no outlet close by), makes counters look intentional and finished in a way that overhead lighting alone rarely does.
It’s genuinely a fifteen-minute install, fully renter-safe, and it’s one of those upgrades that photographs really well if you’re the type to post your kitchen.
Don’t Ignore the Inside of the Cabinets
Everything above deals with what people see from across the room, but the inside of your cabinets matters too, especially if you’re someone who actually organizes your kitchen rather than shoving things in and hoping.
A layer of adhesive shelf liner (the grippy, non-slip kind, not the old-school contact paper that curls at the edges within a month) protects the cabinet interior from spills and makes it look considered when you open the door.
Pull-out drawer organizers, tension-rod dividers for baking sheets, and stackable risers for cups and plates don’t touch the cabinet structure at all and make a real difference in how usable the space feels day to day.
Pro tip: Measure the depth of your cabinets before buying organizers — a lot of “universal” pull-out shelves are designed for standard 24-inch-deep cabinets, and older rental kitchens are sometimes shallower than that.
Comparing Your Options
| Method | Typical Cost | Time to Install | Reversibility | Visual Impact |
|---|---|---|---|---|
| Removable wallpaper / contact paper | $80–$250 (full kitchen) | 1–2 afternoons | High, if tested first | High |
| Hardware swap | $30–$150 | Under 1 hour | Full (keep originals) | Medium-High |
| Removable molding/trim | $40–$120 | Half a day | High, if adhesive-rated for it | Medium |
| Glass film | $15–$40 per door | 15–20 min per door | Full | Medium |
| Open shelving (adhesive/tension) | $20–$80 | Under 1 hour | High, within weight limits | Medium |
| Under-cabinet LED lighting | $20–$60 | 15–30 min | Full | Medium-High |
| Interior liners/organizers | $25–$100 | 1–2 hours | Full | Low visually, high functionally |
If you’re working with a tight budget, hardware plus under-cabinet lighting gets you the most visible change for the least money and effort. If you have a full weekend and want the kitchen to look genuinely different, wallpaper is where the real transformation happens.
What I’d Do First, Starting From Scratch
If I were moving into a new rental with cabinets I couldn’t stand tomorrow, I’d do the hardware first — it’s cheap, fast, and low-stakes enough that you can course-correct if you don’t love your first pick.
Then I’d move to wallpaper on the lower cabinets specifically, since those take the most visible daily wear and tear from cooking, and they’re what you actually look at while you’re standing at the stove.
Everything else — the trim, the lighting, the organizers — I’d add in over the following weeks as I figured out what the kitchen actually needed, rather than trying to do it all in one exhausting weekend.
None of this requires a single can of paint, a security deposit gamble, or a property manager’s permission slip beyond a quick “hey, is this okay?” text. It just requires picking the right tool for what your lease — and your patience — will actually allow.

Leave a Reply