
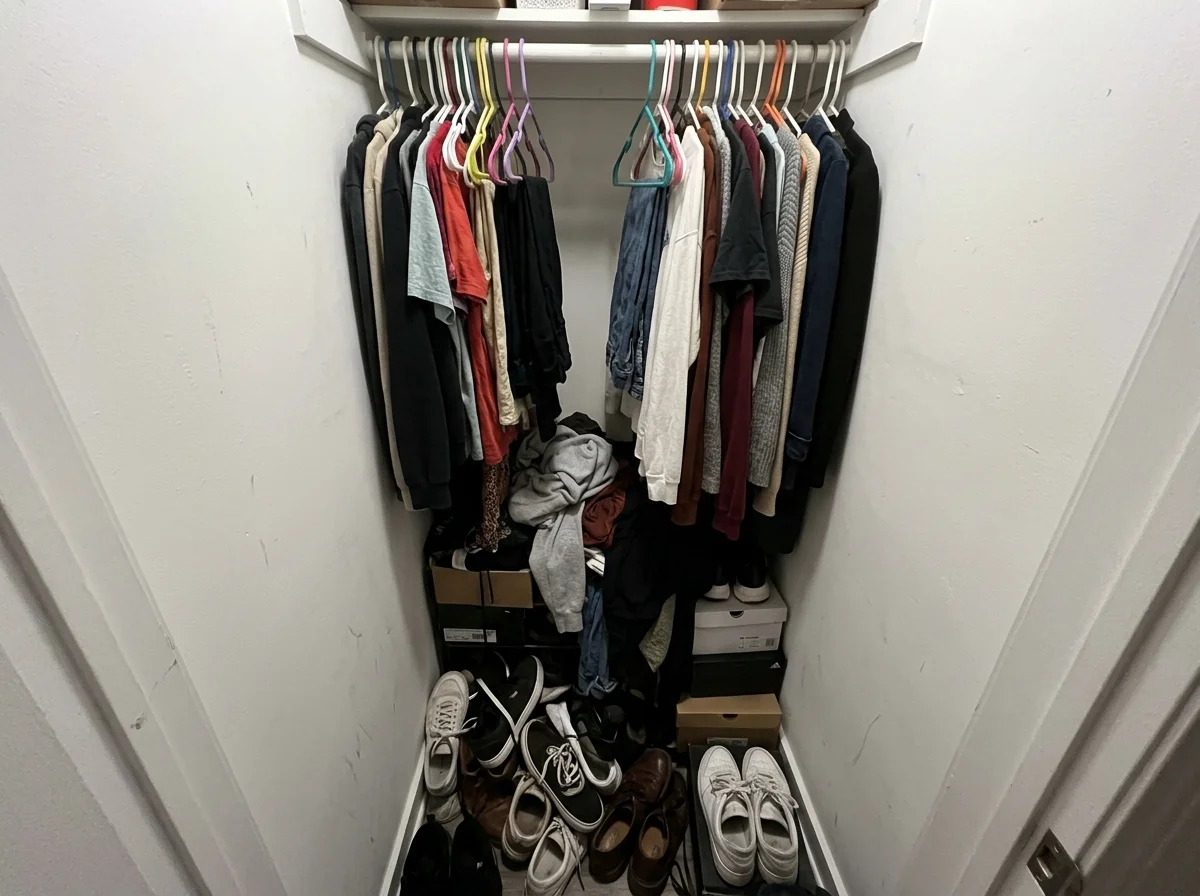
I used to open my closet door every morning, look at the pile of stuff avalanching off the top shelf, and just… close it again and pick something off the chair instead.
That went on for probably eight months before I finally admitted the problem wasn’t that I needed a bigger closet — my closet is 22 inches deep and about four feet wide, so “bigger” was never happening — it was that I’d never actually organized it. I’d just shoved things in.
If you’re dealing with a small apartment closet, a studio reach-in, or a dorm closet that’s basically a vertical shoebox, this is the process I landed on after redoing mine twice (the first attempt lasted about six weeks before it fell apart, literally and figuratively — more on that later).
This isn’t a “buy this $400 closet system” post. Most of what worked for me cost under $150 total, and a few of the best fixes were free.
Quick note on approach: closet organization has a natural order to it, and skipping steps is why most people’s closets fall back into chaos within a month.
Purge before you buy anything, categorize before you install anything, and only then think about products. I’m going to walk through it in that order because doing it out of order is exactly how I ended up with an over-the-door shoe rack I never used.
Step 1: Take Everything Out Before You Organize a Small Apartment Closet
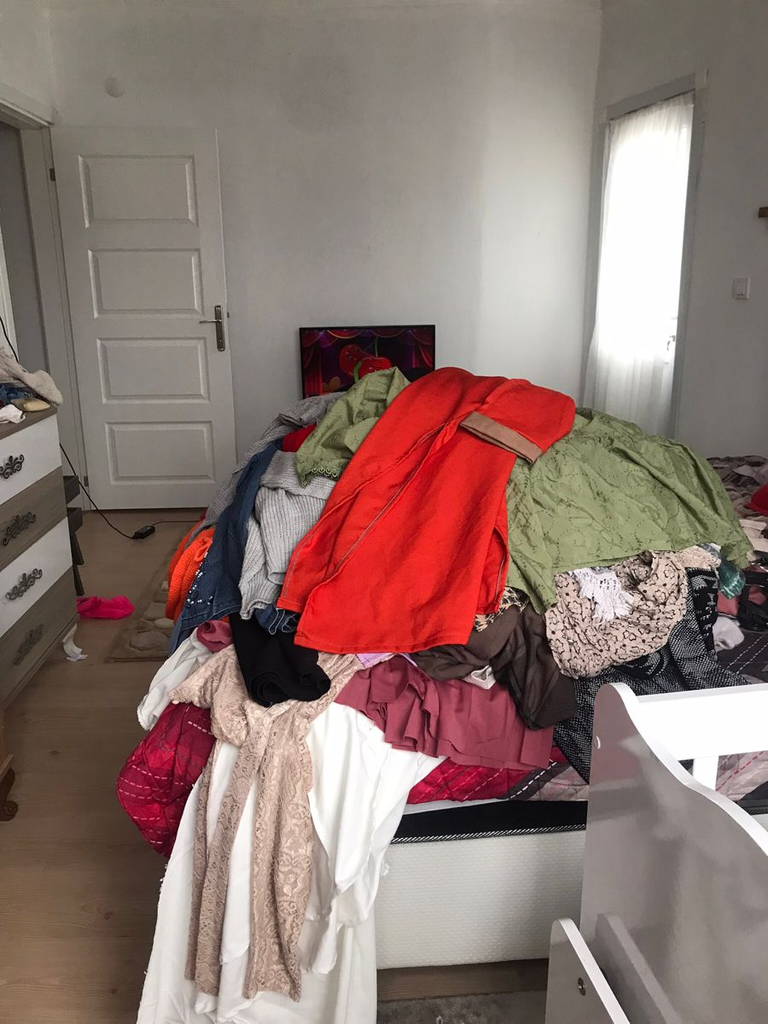
This is the step everyone wants to skip, and it’s the one that actually matters most.
You cannot organize a small apartment closet by shifting things around inside it — there isn’t enough room to create clarity while everything’s still in there.
Pull it all out. Every hanger, every shoebox, every mystery bag on the floor.
Put it in three piles: keep, donate, and “I forgot I owned this and need to actually decide.” That third pile is usually the biggest one, and that’s normal.
Pro tip: Do this on a bed, not the floor. If everything’s on your bed, you’re physically motivated to finish before bedtime instead of stepping over a pile for three days.
My friend Mara did this in her Chicago studio last spring and found four unworn dresses with tags still on, a winter coat she’d bought two winters in a row because she forgot she already owned one, and enough tote bags to open a small gift shop. She didn’t need more closet space — she needed to see what she had.
The Realistic Purge Rule for Small Closets
In a small apartment closet, the math is unforgiving: every item you keep is inches you don’t have for something else.
A rule that’s worked better for me than “does it spark joy” is more concrete — if I haven’t worn it in a full cycle of that season (so, a full summer, or a full winter) and I can’t name a specific upcoming event I’m keeping it for, it goes in the donate pile. Vague future potential doesn’t survive a 4-foot closet.
Step 2: Categorize by How You Actually Get Dressed, Not by Garment Type
This is the part most closet organization advice gets wrong, and it’s the single biggest thing I changed on my second attempt.
The standard advice is “group by category — all shirts together, all pants together.” That’s fine as a baseline, but in a genuinely small closet, the better system groups by how you get dressed in the morning, because that’s when you’re actually retrieving things.
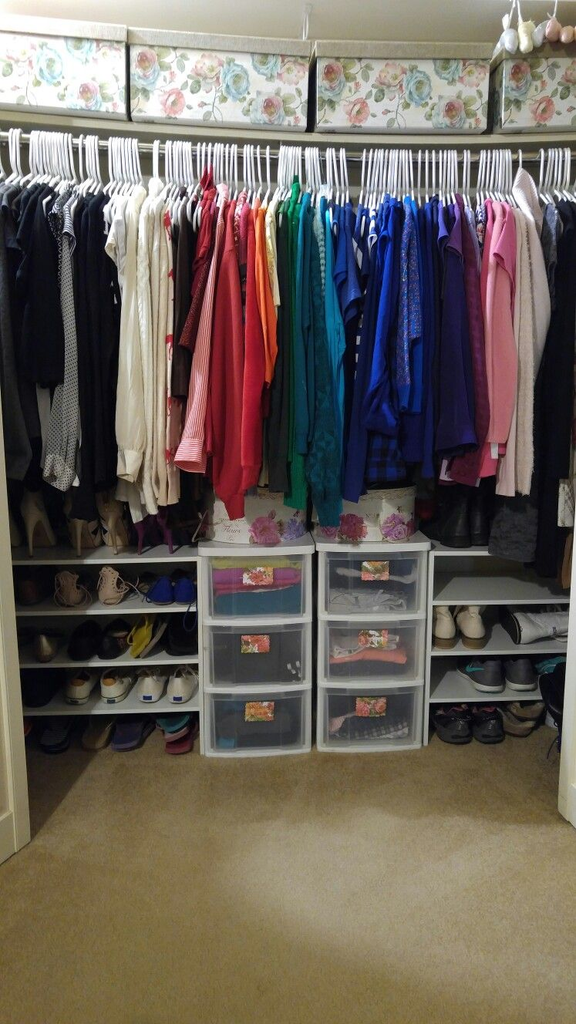
I split mine into: work outfits (a full hanging section, top to bottom paired mentally even if not physically), weekend/casual, “one nice thing for when I get invited somewhere last minute,” and workout stuff.
Within work outfits, I hang by color, light to dark, left to right — not because it looks nice on Instagram, but because I can find a specific blazer in four seconds instead of thirty.
Pro tip: If you share a closet with a partner or roommate, split by person first, category second — never interleave by color across two people’s wardrobes. It looks organized for about a day and then nobody can find anything because you’re each scanning a rainbow that’s half not yours.
Step 3: Use Vertical Space — This Is Where Small Closets Actually Gain Room
Here’s the thing about a small apartment closet: the square footage on the floor is fixed, but the vertical space almost never is.
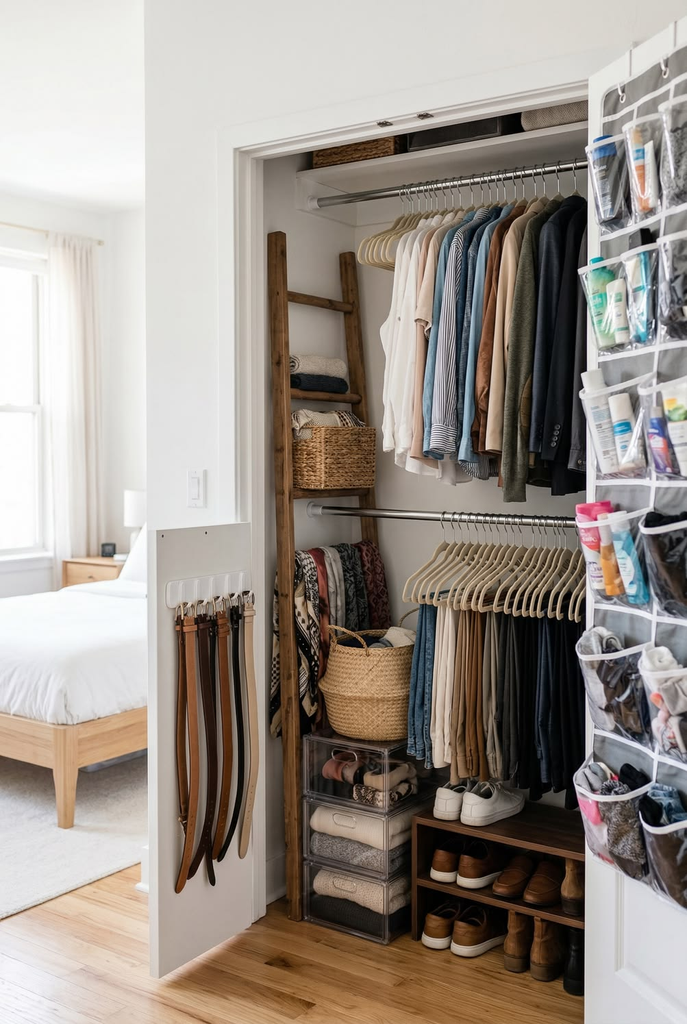
Most reach-in closets have a single rod at 66-68 inches and then dead air both above and below it. That’s the space you’re missing.
Double-hang rods are the single highest-impact, lowest-cost fix I made.
I added a second tension rod about 40 inches below my existing rod and moved all my shirts, folded pants, and skirts down there — doubled my hanging capacity without touching a wall. It took maybe fifteen minutes and cost $14.
Above the top shelf, I added a second shelf using L-brackets (renter-friendly command-strip versions exist too, though they hold less weight) for off-season storage — bins that I’m not opening weekly, so I don’t care that they’re slightly out of easy reach.
Pro tip, and this is the mistake I made the first time: don’t put your everyday shoes on the floor of the closet if you can avoid it. Floor space in a small closet is the most valuable real estate you have because it’s the only spot that fits tall items (boots, a vacuum, a laundry hamper). Shoes belong on a rack or shelf, even a cheap stacking one.
Comparing Small-Closet Storage Solutions by Cost and Effort
There’s a lot of noise online about closet systems, and most of it assumes you own the space and have a weekend to spare. Here’s how the realistic options actually stack up for a small apartment or rental closet.
| Solution | Cost (approx.) | Install Time | Renter-Friendly? | Best For |
|---|---|---|---|---|
| Tension rod (double-hang) | $12–$20 | 15 min | Yes | Doubling hanging space instantly |
| Stackable shoe shelves | $20–$40 | 5 min | Yes | Getting shoes off the floor |
| Command-strip hooks/racks | $10–$25 | 10 min | Yes | Bags, scarves, robes on the back of the door |
| Fabric hanging shelves | $15–$30 | 5 min | Yes | Folded items without a dresser |
| Wire closet system (DIY kit) | $80–$180 | 3–5 hrs | Sometimes (check lease) | Long-term homes, full redesign |
| Custom built-in closet system | $600–$2,500+ | Professional install | No | Owned homes, permanent renovation |
If you’re renting, I’d genuinely start with the top four rows and only consider the wire system if you’re staying put for at least two more years — it’s not worth the install time and potential wall damage otherwise.
Step 4: Fold, Don’t Just Fold — The Difference Between Stacking and Filing
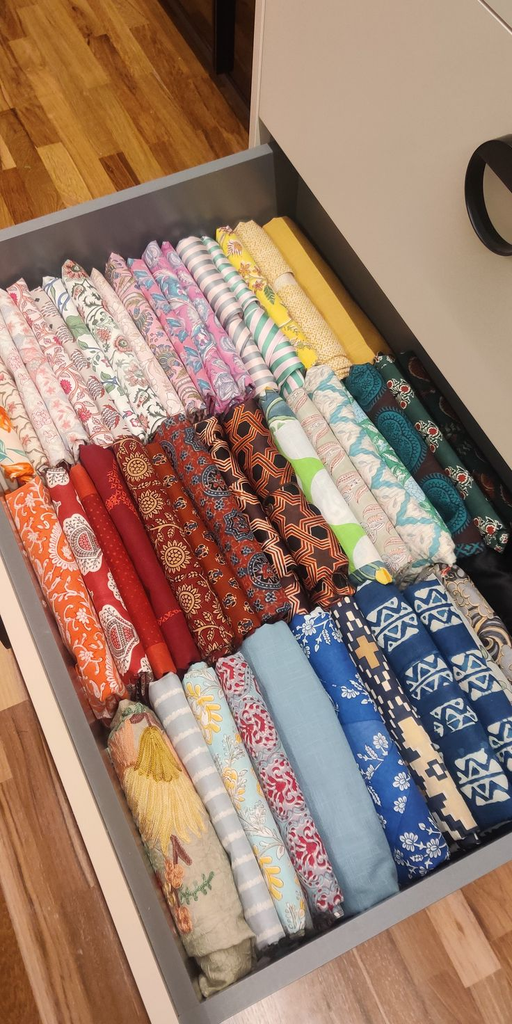
I resisted the whole “file, don’t stack” folding trend for a long time because it seemed like a lot of effort for something I couldn’t see the point of.
Then I actually tried it in my dresser drawers that overflow into closet shelf space, and I got it: when clothes are stacked flat, you can only see the top item, which means you dig, which means the stack collapses within a week.
When they’re filed vertically (folded into thirds, standing up like folders), you can see every item at a glance and pull one without disturbing the rest.
It genuinely takes longer to fold this way the first time — probably 20 extra minutes for a full drawer — but it holds its shape for months instead of days.
My reader Priya emailed me after trying it in her dorm closet and said it was the first system that survived past move-in day, which, if you’ve done the dorm-closet thing, you know is a real bar to clear.
Pro tip: This only works with drawers or bins that are shallow enough that things don’t tip over sideways. If your bin is deep and narrow, filing doesn’t hold — go back to stacking but stack by category in separate small bins instead of one big one.
Step 5: Rotate Seasonally — Because a Small Closet Can’t Hold Both Seasons at Once
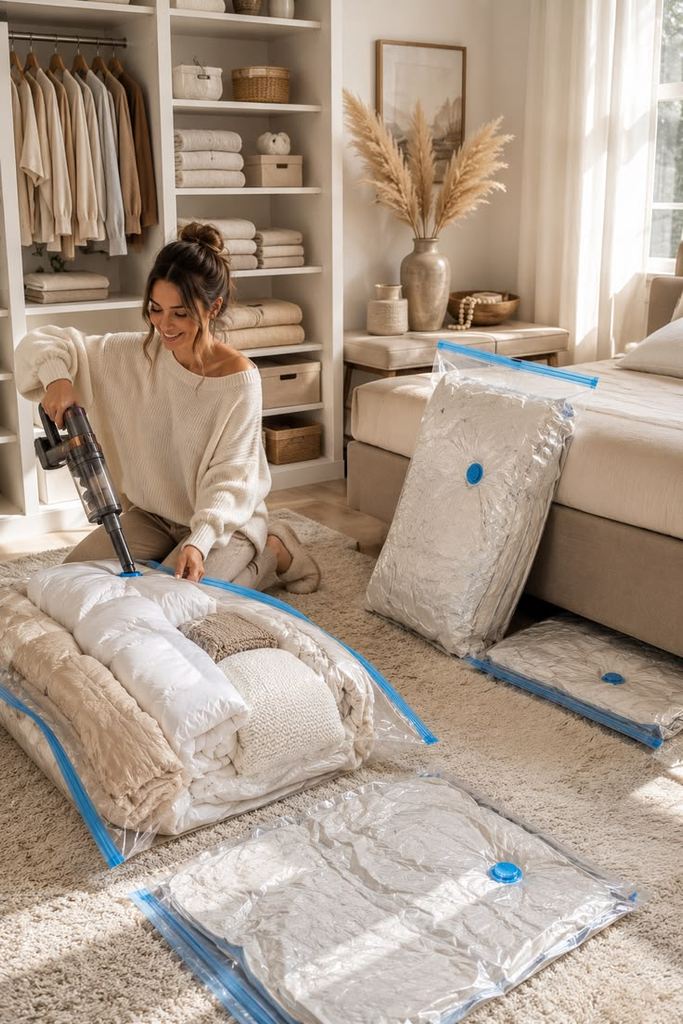
This is the step people skip because it feels like extra work, but it’s actually the thing that makes a small closet function like a bigger one.
A small apartment closet genuinely cannot hold your full summer and winter wardrobe simultaneously and still be usable — something has to go into off-site storage, whether that’s under-bed bins, a hall closet, or vacuum bags in the top of the closet itself.
I do this twice a year, and I use it as a second, smaller purge — anything I pull out that I didn’t wear that season gets a second look before it goes back in. Vacuum-seal bags work well for bulky winter items like coats and sweaters and can shrink a season’s worth of bulk down to about a third of the space.
Pro tip: Label the bins with the season and the year, not just “winter clothes.” I found a bin last fall labeled only “winter” that turned out to be from two apartments ago and had clothes that didn’t fit anymore. A year on the label keeps you honest about whether you actually need to keep re-storing something.
Step 6: Maintain It — The 2-Minute Rule That Actually Works
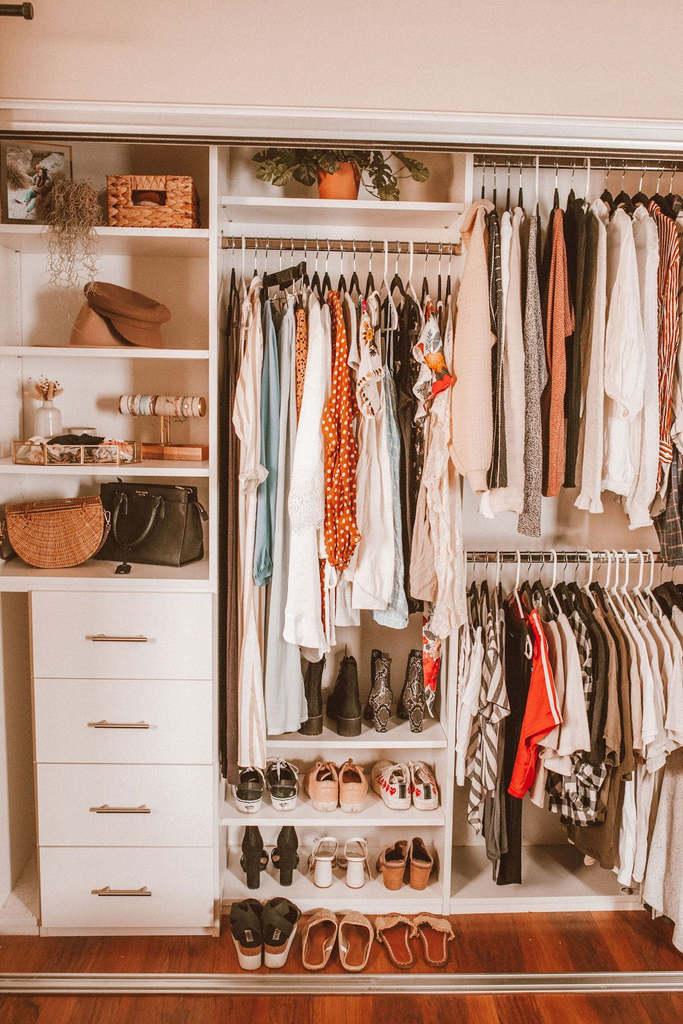
Every closet organization post ends with some version of “and now maintain it!” without saying how, so here’s the actual mechanism that’s kept mine intact for over a year now: anything that comes out of the closet either goes back in its exact spot or into the laundry within the same day — never onto the chair, the floor, or the door hook “just for now.”
The chair is where systems go to die.
The other piece: I do a five-minute closet check every Sunday, mostly just re-hanging anything that’s slipped and re-filing anything that’s slumped over in a drawer.
It’s small enough that it never feels like a chore, and it means the twice-a-year seasonal rotation is a light lift instead of a full redo.
What I’d Do First If I Were Starting Over
If I were doing this again from scratch, tomorrow, in a brand-new small apartment closet, I’d skip buying anything on day one.
I’d empty it, purge honestly, categorize by how I actually get dressed, and live with it bare for a few days to see where the real gaps are — where I keep reaching for something that isn’t easy to grab.
Then I’d buy exactly two things: a tension rod for double-hanging, and a stacking shoe shelf. Everything else I added after that was solving a problem I could actually see, instead of a problem I assumed I’d have.
A small closet isn’t a smaller version of a big closet’s problems — it’s a completely different puzzle, and most of the fix is in the system, not the square footage.

Leave a Reply