
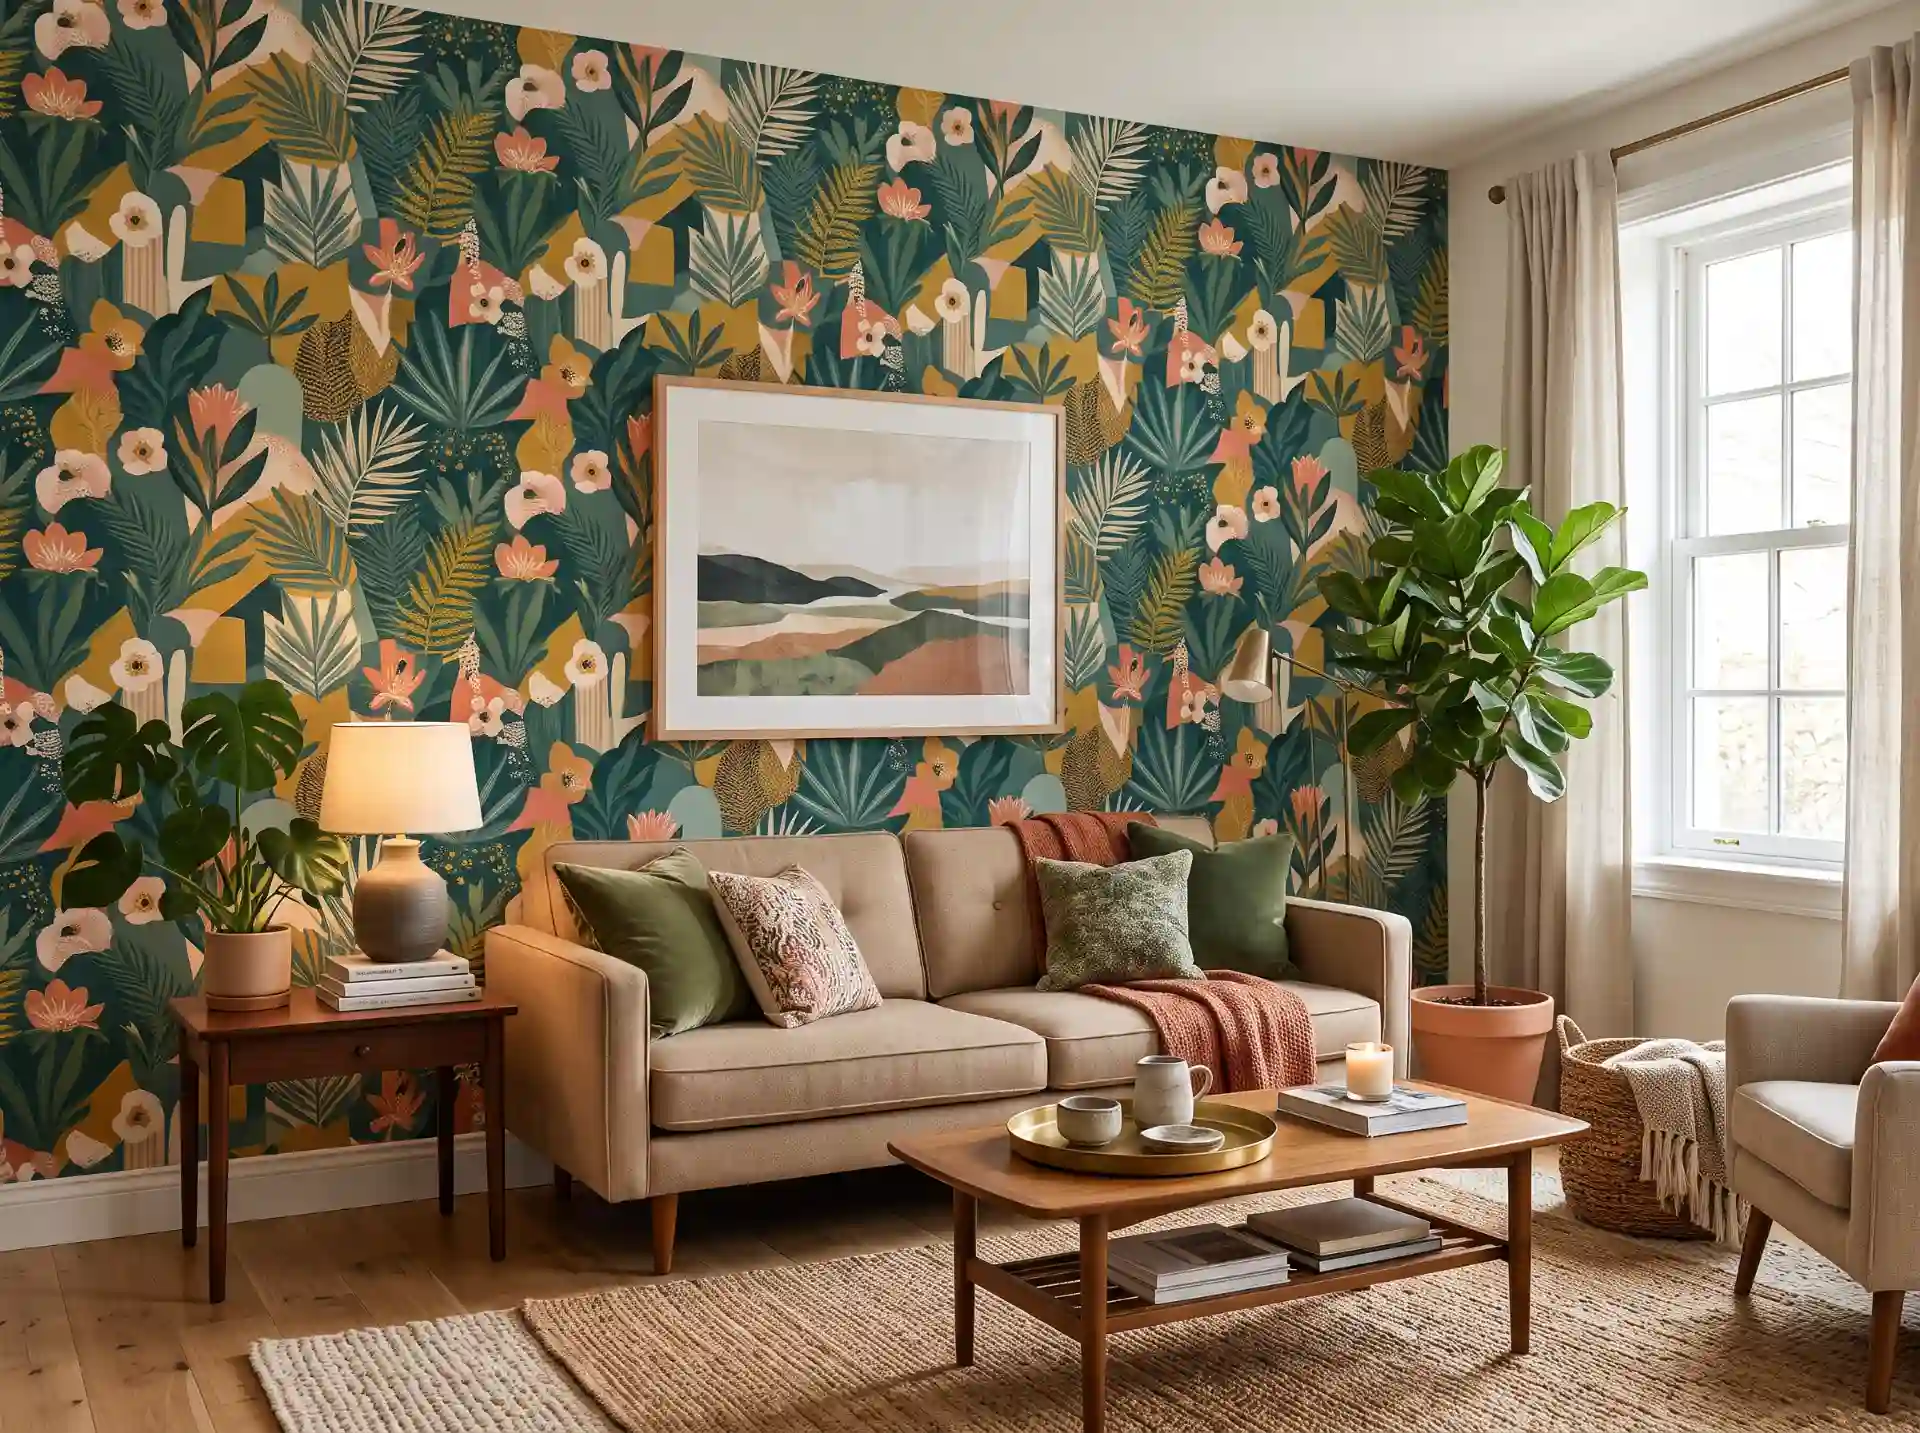
I moved four times in six years of renting, and every single lease had the same clause buried in it: no permanent alterations, no paint without approval, patch every hole before move-out.
By apartment number three, I’d basically given up on my walls looking like anything other than “landlord beige.” Then a friend talked me into trying peel-and-stick wallpaper on one wall of my kitchen — a cheap $34 roll of a small green leaf print — and I remember standing back after an hour of work thinking, wait, this actually looks like a room someone lives in on purpose.
That’s the thing nobody tells you about removable wallpaper: it’s not a compromise version of “real” decorating. Done right, it looks just as intentional as paint, and it comes off clean at the end of your lease (as long as you follow a few rules I learned the hard way).
A quick note on the keyword you’re probably here for: everything below is peel-and-stick or otherwise removable wallpaper for renters — no wheat paste, no permanent adhesive, nothing that voids your security deposit if you do it correctly.
Before You Buy: What “Removable” Actually Means
Not all wallpaper marketed as removable behaves the same way once it’s been on your wall for eight months. There are two main categories, and mixing them up is the single most common regret I hear about in comments on decorating threads.
- Peel-and-stick (self-adhesive) wallpaper — has a built-in adhesive backing, no paste required. This is what most renters mean when they say “removable wallpaper.” Quality varies enormously by brand.
- Traditional pre-pasted removable wallpaper — requires water activation or a separate liner. Better for bigger, more permanent-feeling installs, but a bigger commitment for a first try.
Pro tip: Always test a palm-sized piece in an inconspicuous spot (behind a door, inside a closet) for 48 hours before committing to a whole wall. Some rental wall paints — especially the flat, cheap kind builders use for turnover — will pull off with the adhesive if the paint itself wasn’t cured or bonded well. I found this out on a hallway closet door and spent a Saturday touching up paint that wasn’t even mine to begin with.
| Wallpaper Type | Cost per Roll (approx.) | Best For | Removal Difficulty |
|---|---|---|---|
| Budget peel-and-stick (Amazon/Walmart brands) | $18–$35 | Accent walls, small rooms, testing a pattern | Easy, but check for residue |
| Mid-range peel-and-stick (Spoonflower, Tempaper) | $45–$90 | Full rooms, high-traffic areas, kitchens/baths | Easy, minimal residue |
| Designer peel-and-stick (Chasing Paper, Hygge & West) | $85–$160 | Statement walls, entryways, single “hero” moments | Easy, cleanest removal |
| Traditional removable (paste-required) | $40–$120 | Renters staying 2+ years, larger installs | Moderate, needs a steamer |
If this is your first time doing this at all, start with a budget peel-and-stick roll on the smallest wall in your apartment. That’s genuinely the best $25 you can spend to find out whether you like doing this before you commit real money to a whole room.
Bedroom Ideas (1–7)
Your bedroom is the room where a bold pattern makes the most sense, because you’re not trying to impress guests — you’re trying to make the one room you see first and last every day feel like it’s actually yours.
1. Headboard wall only.
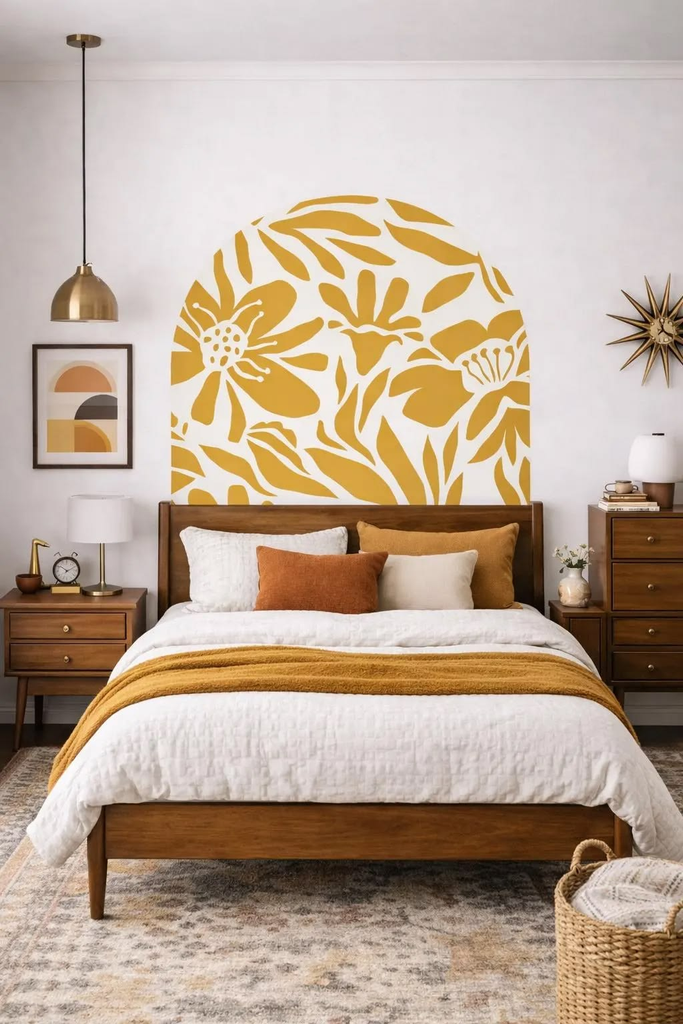
Instead of papering the whole room, paper just the wall behind your bed, floor to ceiling, and leave the other three walls plain. This is the single most common “why does your room look so put together” trick, and it uses the least amount of wallpaper, which matters if you’re going for something pricier.
2. Vertical stripe in a muted tone.
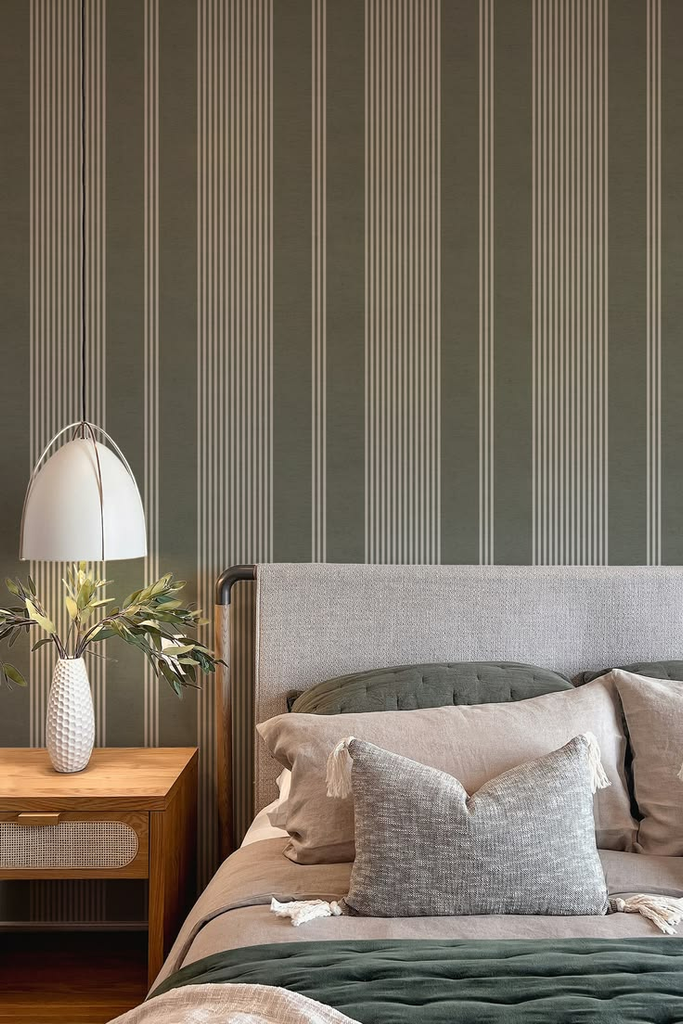
A soft stripe (think sage and cream, or two close shades of the same color) reads as calm and expensive, not busy. It’s also one of the more forgiving patterns to hang yourself since slight seam mismatches disappear into the repeat.
3. Ceiling only.
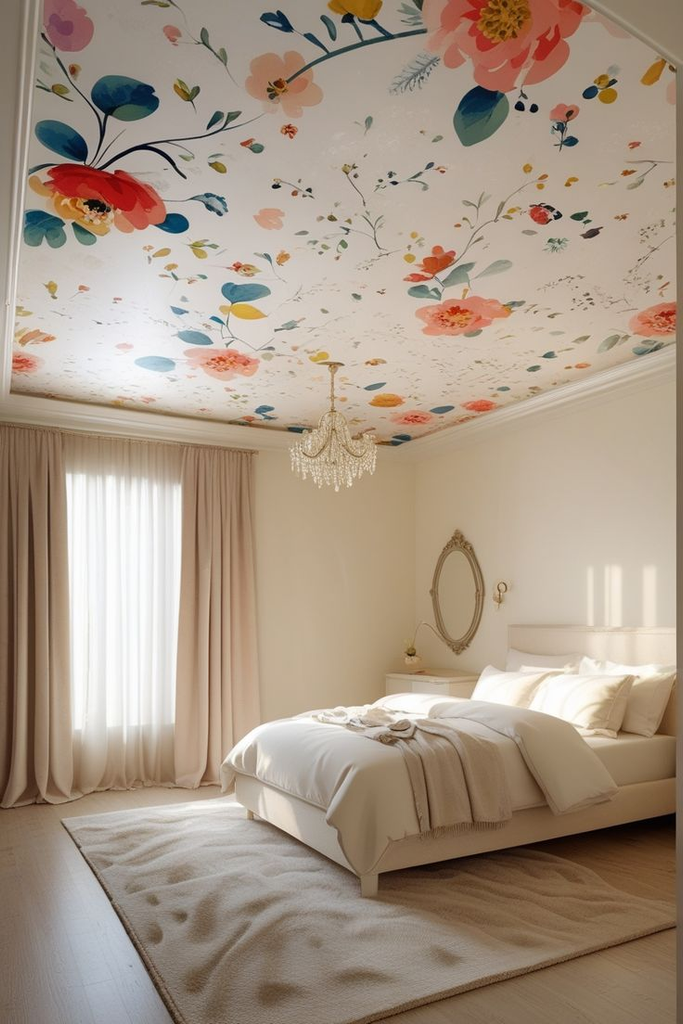
This one surprises people every time I bring it up — wallpapering just the ceiling of a bedroom, especially a small one, adds drama without eating into your limited wall space for art or shelving. A small floral or cloud print overhead is a genuinely underused trick.
4. Botanical print behind a reading nook.
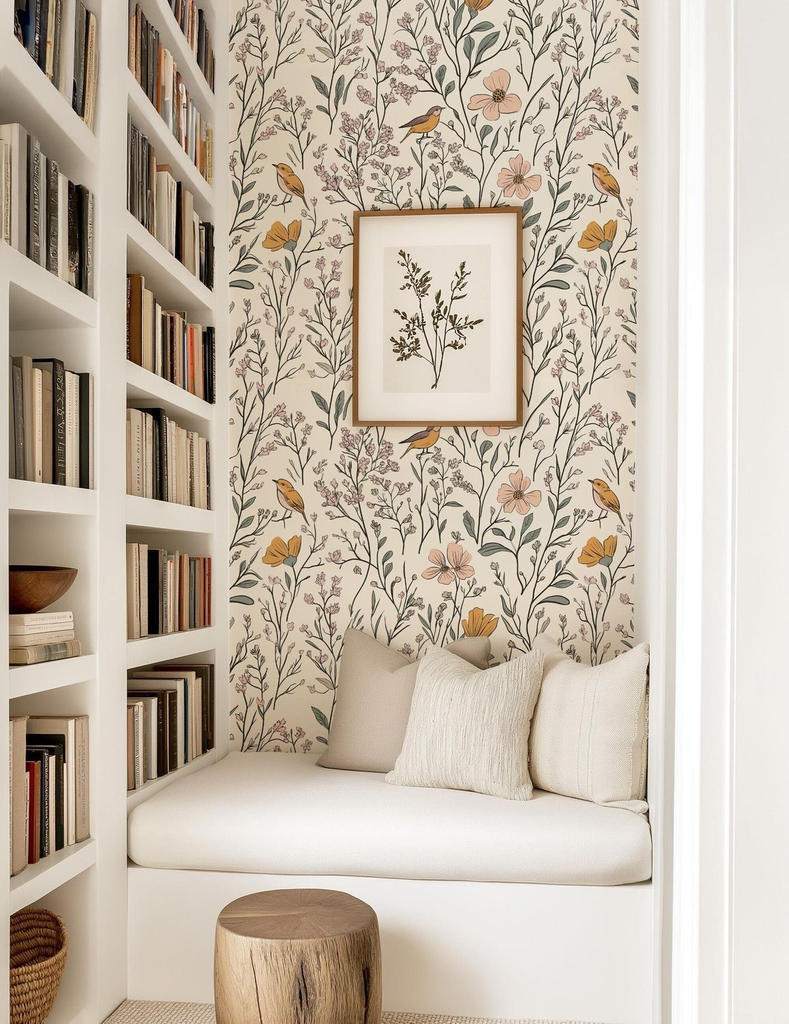
If you have a chair or a daybed tucked in a corner, a leafy or botanical pattern on just that nook wall turns an afterthought corner into the best-looking part of the room.
5. Closet interior.
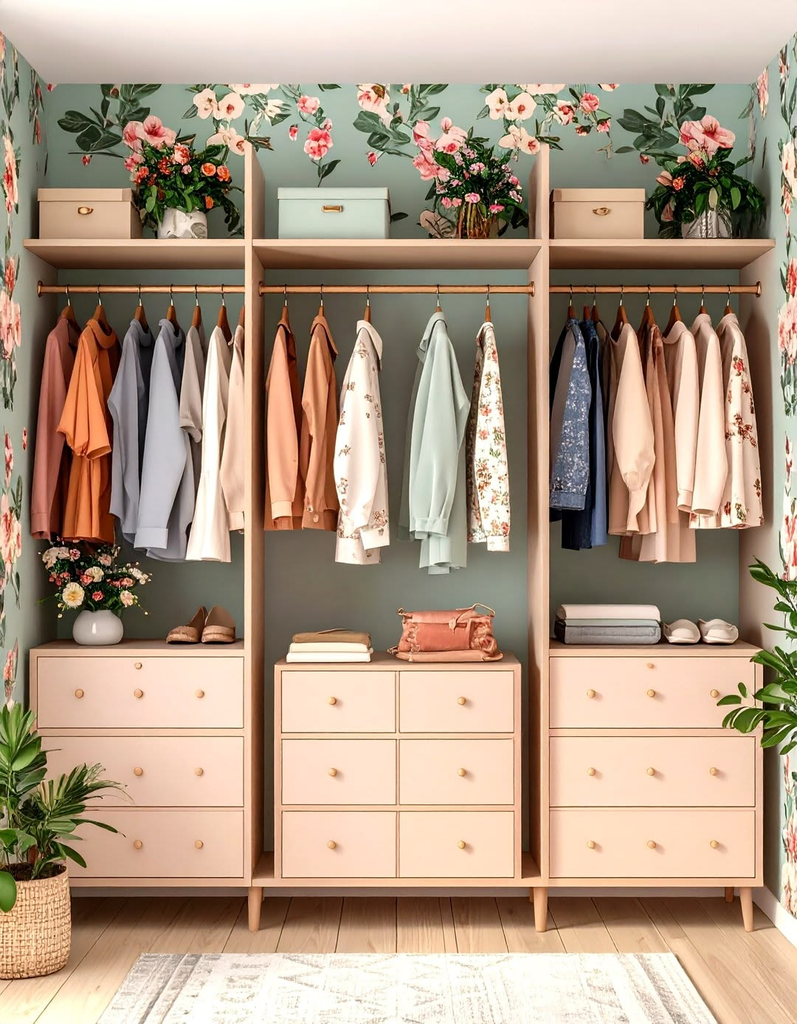
Open your closet door in a rental bedroom and it’s almost always the same flat white as everywhere else. Papering just the inside — even a loud, saturated print you’d never put on a main wall — is basically zero-risk since it’s hidden most of the time.
6. Textured grasscloth-look vinyl.
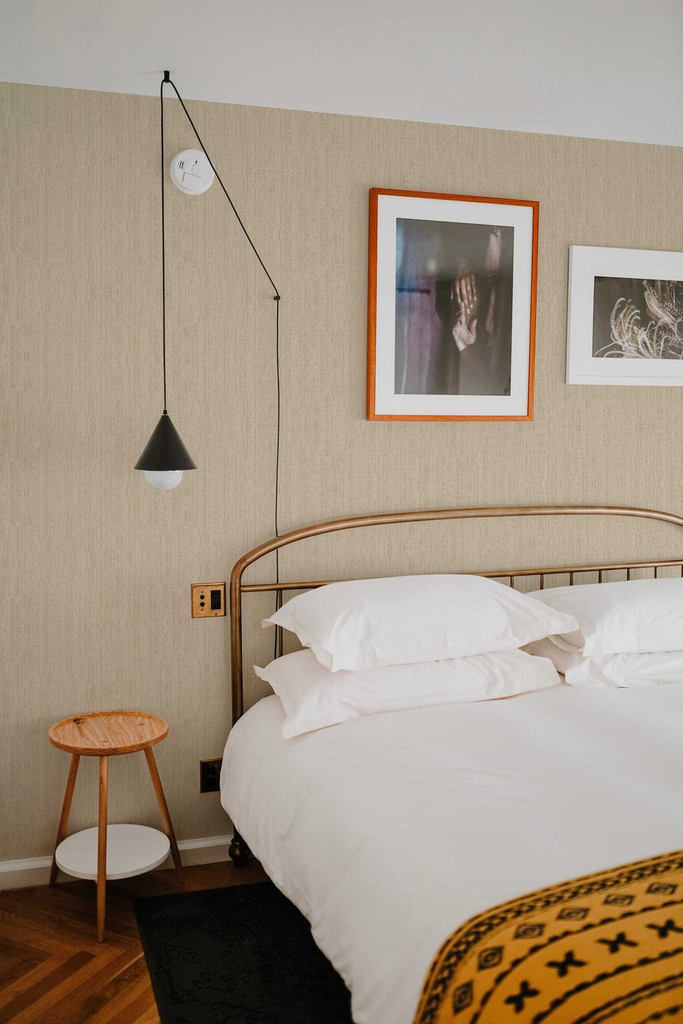
If you want something that reads as more expensive and less “pattern,” the woven-texture peel-and-stick styles (they mimic real grasscloth without the fragility) give a bedroom a hotel-room calm. This is the one splurge-tier pick I’d actually recommend paying for — the cheaper textured versions tend to look flat and printed rather than woven.
7. Behind open shelving.
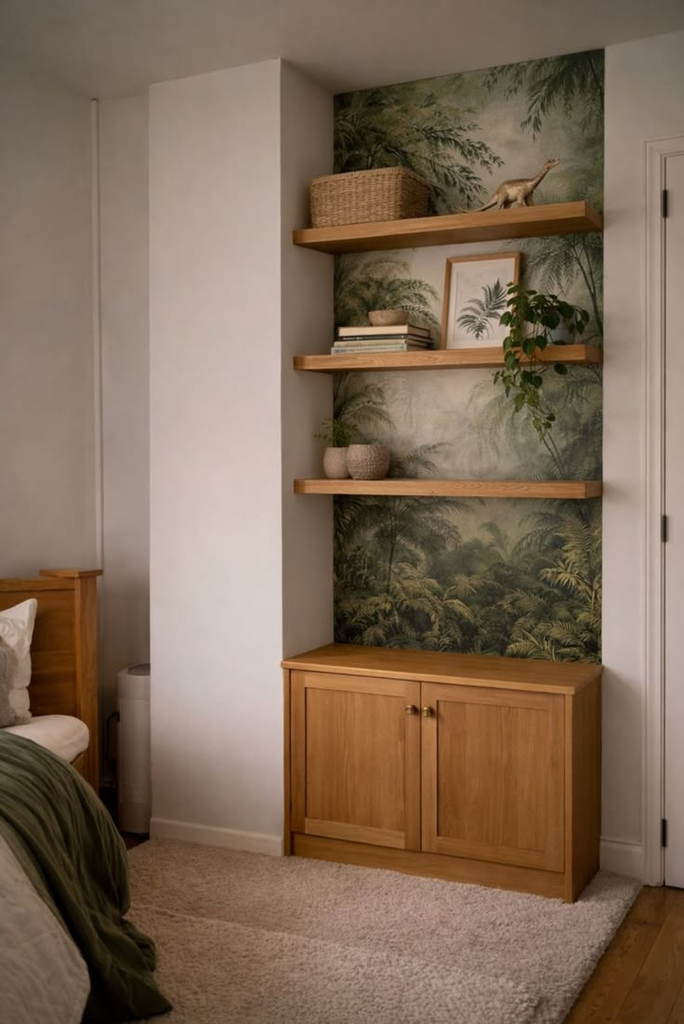
If you have a floating shelf or two on one wall, paper just the section behind them before you hang the shelves back up. You get pattern peeking out around your books and plants without covering an entire wall.
Pro tip: Bedrooms are the one room where I’d actually push you toward a bolder print than feels comfortable in the store. Fabric swatches and small wallpaper samples always read as “too much” in isolation — on an actual wall, at scale, in your actual lighting, the same print reads as intentional, not overwhelming.
Kitchen Ideas (8–13)
Kitchens are trickier because of grease, steam, and the fact that landlords tend to inspect kitchens closest at move-out. Stick to smaller, contained areas here.
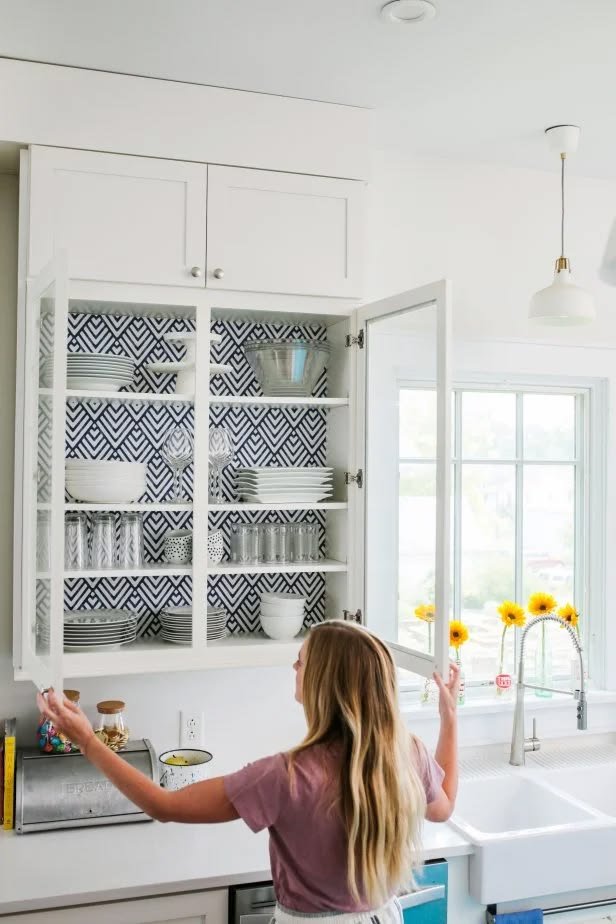
8. Inside open cabinets or glass-front cabinets.
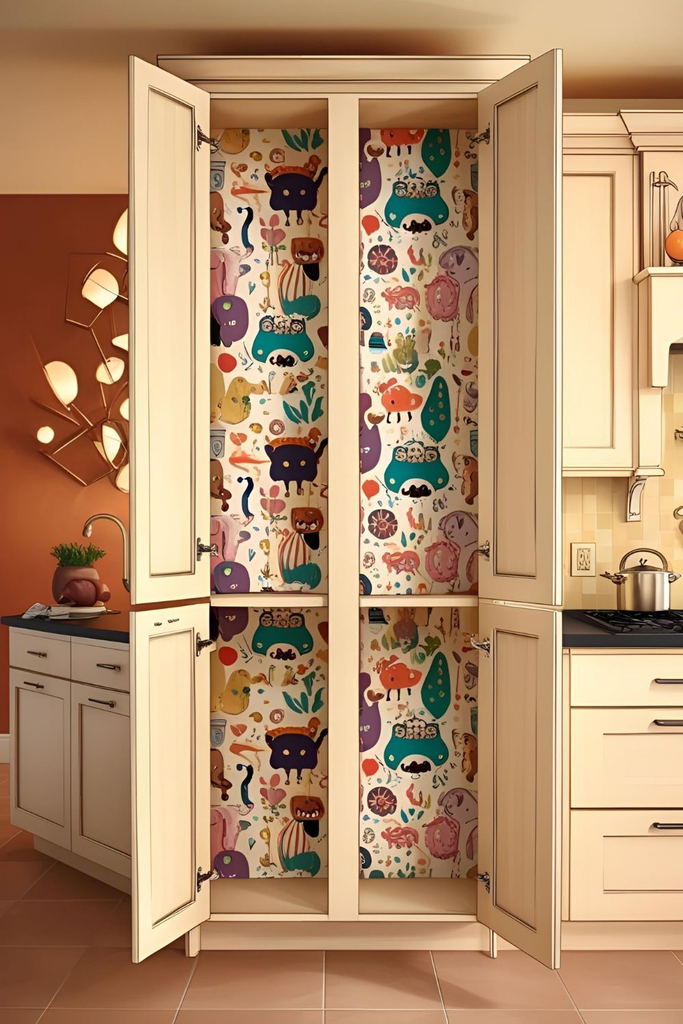
This is the safest kitchen application because it’s not exposed to direct grease or heat. A small tile-look or gingham print inside glass-front cabinets makes your dishes look styled even when they’re just… your dishes.
9. Backsplash-look peel-and-stick (behind the stove is the exception — skip it there).
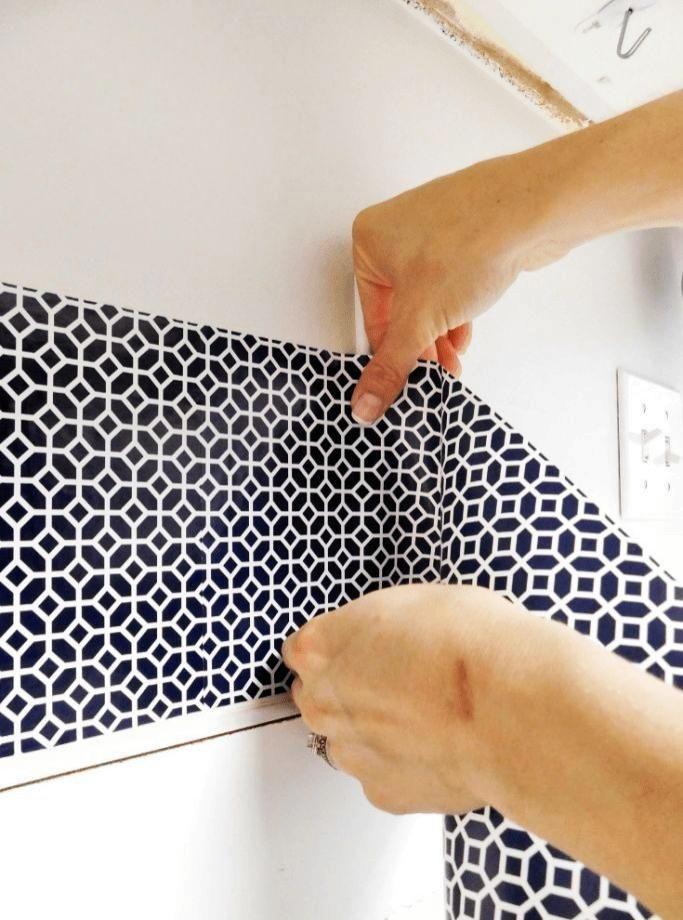
There are entire lines of peel-and-stick tile-effect wallpaper made to mimic subway tile or Moroccan zellige tile. Use it on a dry section of backsplash away from your actual stovetop, where grease buildup and heat won’t degrade the adhesive.
10. Pantry door or interior.
Same logic as the bedroom closet — a pantry door gets opened and closed but isn’t a “presentation” surface, so it’s a low-stakes place to try a print you’re not 100% sure about.
11. Below open shelving in a kitchen.
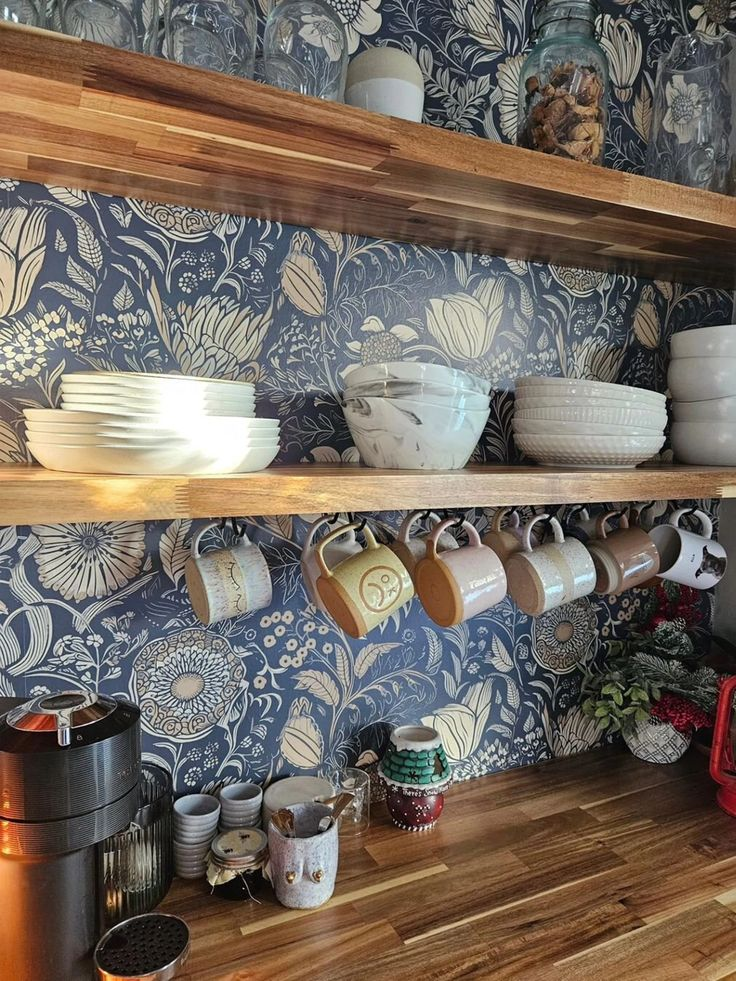
If your rental kitchen has open shelves (a lot of newer builds do), papering the wall behind them the same way as the bedroom shelf trick works here too, and it’s genuinely one of the highest-impact, lowest-cost updates I’ve made in any kitchen I’ve rented.
12. Small peninsula or bar-cart nook.
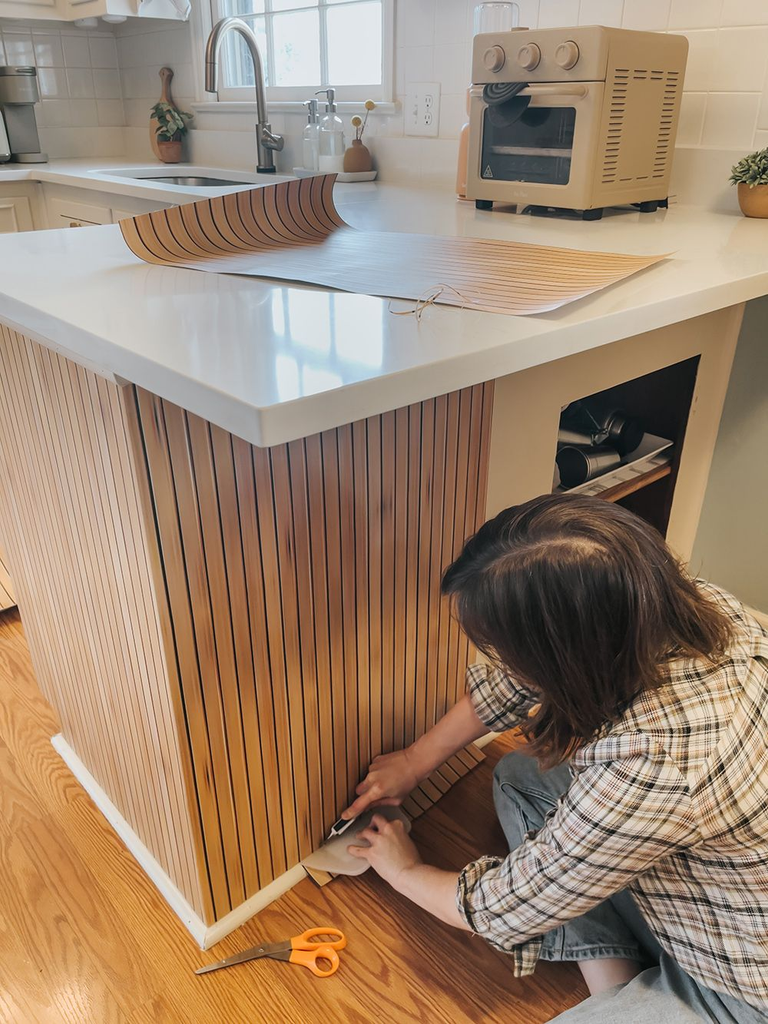
If you have any kind of small transitional wall — between the kitchen and a dining nook, for example — that’s a great, low-traffic spot for a fun print you wouldn’t want covering an entire kitchen.
13. Fridge side panel (if it’s exposed).
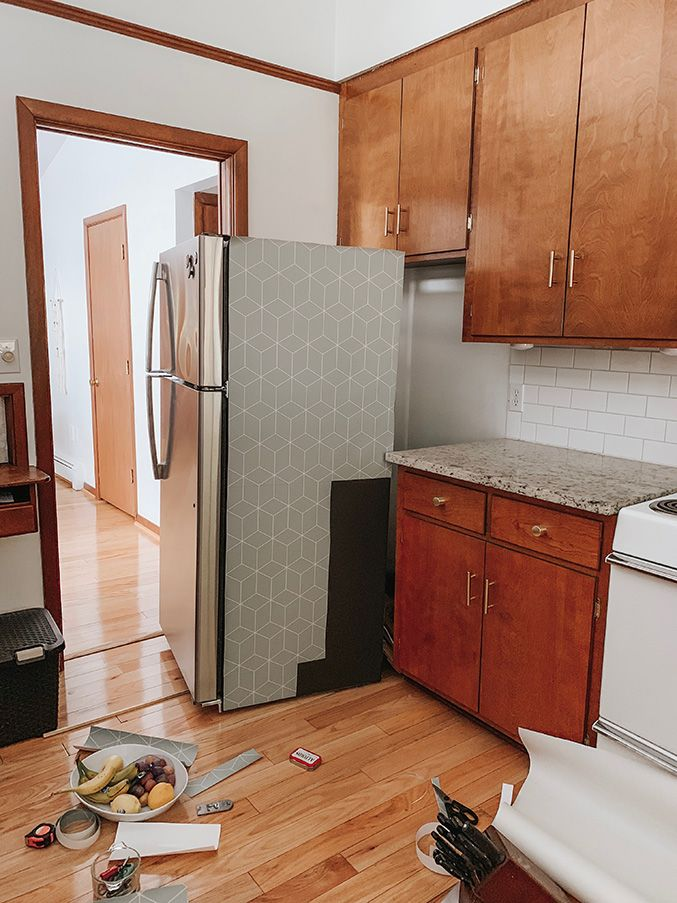
A lot of rental kitchens have the fridge sitting with one side panel visible in the walkway. That blank appliance side is an oddly perfect spot for a small removable wallpaper remnant, and it uses almost nothing — you can often do it with sample-size pieces instead of buying a whole roll.
Pro tip: For any kitchen application, spend the extra money on a wipeable, laminate-finish peel-and-stick rather than a plain matte paper one. My first kitchen attempt was a matte finish print behind open shelves, and cooking oil splatter over about four months left faint marks that never fully wiped clean. The laminate versions cost maybe $10 more per roll and it’s worth every cent.
Bathroom Ideas (14–18)
Moisture is the enemy here, so the name of the game is picking the right product and the right spot, not avoiding bathrooms entirely.
14. Powder room, full room.
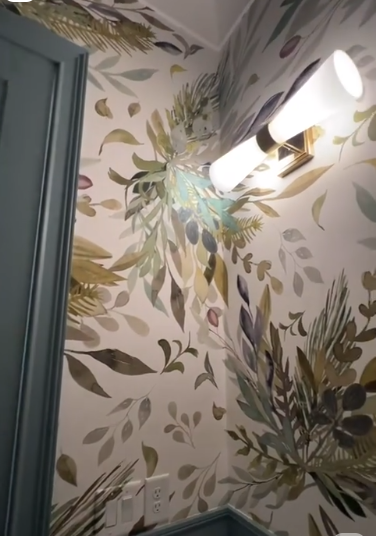
If you have a small guest bathroom without a shower or tub, that’s actually the single best room in a rental apartment to go all-in on wallpaper. No steam, no daily moisture exposure, and it’s a small enough space that even a pricier designer roll doesn’t cost much to fully cover.
15. Vanity mirror surround.
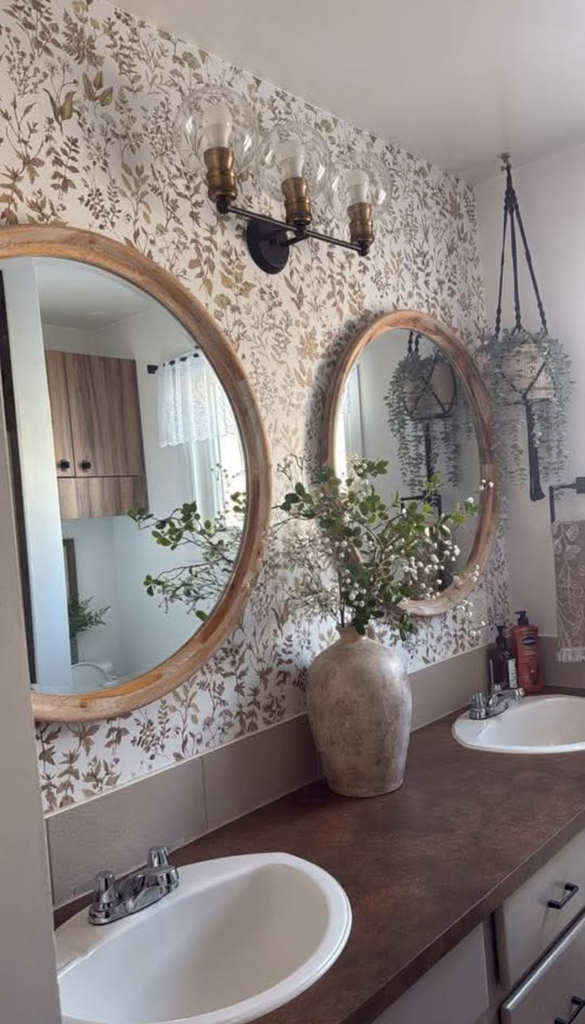
Papering the wall directly around a vanity mirror, rather than the whole bathroom, limits your moisture exposure to a smaller, easier-to-maintain area while still giving the room a real focal point.
16. Ceiling in a full bath.
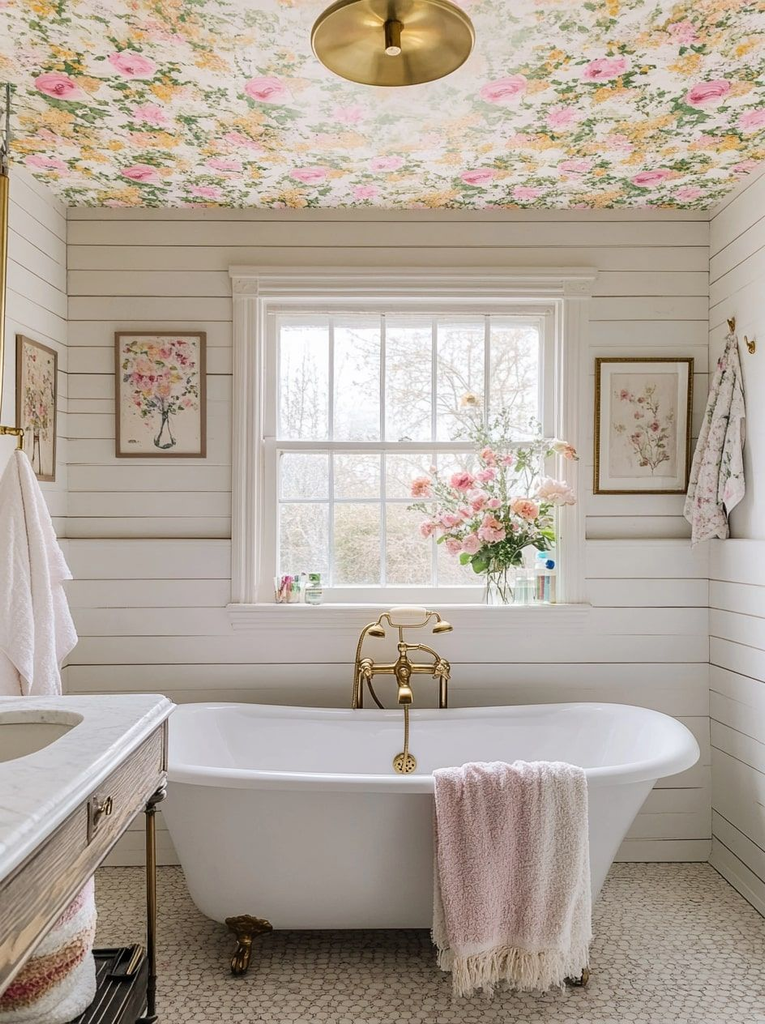
Same idea as the bedroom ceiling trick — steam rises, so a ceiling print in a shower-equipped bathroom will see more moisture than a wall would. Choose a vinyl-coated, moisture-rated peel-and-stick specifically, not a standard paper one, if you go this route.
17. Inside a linen closet or medicine cabinet back panel.
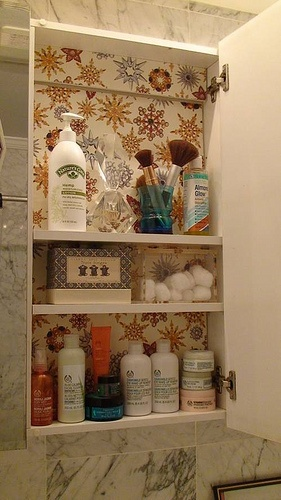
Zero moisture exposure, zero risk, and it’s a nice surprise every time you grab a towel.
18. Behind a freestanding shelf unit.
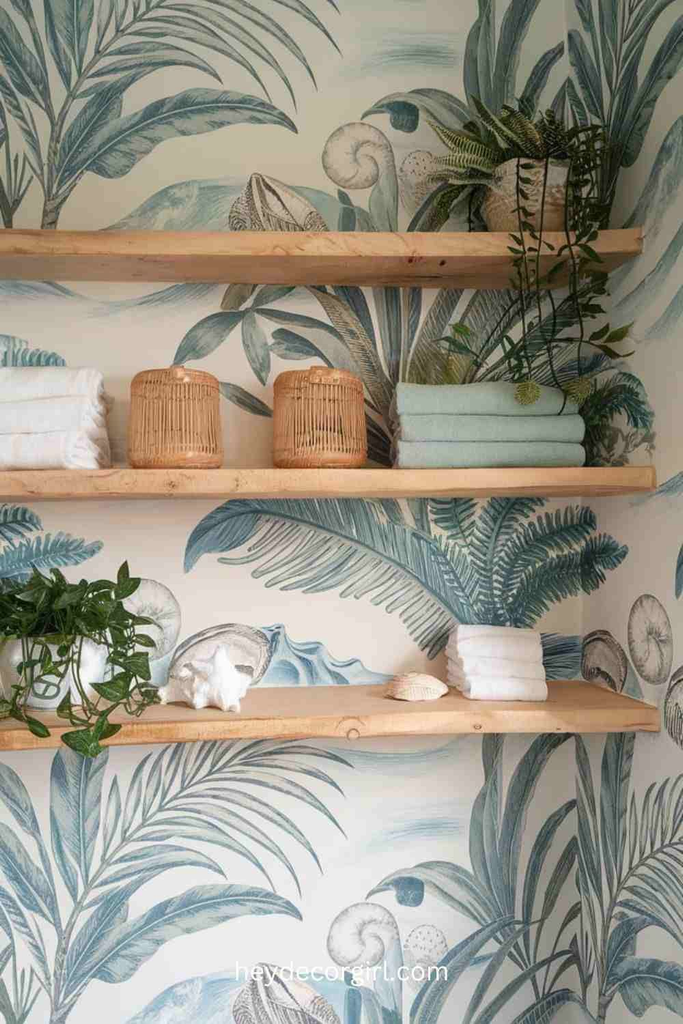
If your bathroom storage is a freestanding shelf rather than built-ins (common in older rental buildings), the wall directly behind it is protected from most direct splash and steam, making it a reasonably safe spot for pattern.
Pro tip: Skip full wallpaper on any wall that’s inside the direct spray zone of your shower, even with a “moisture-resistant” label. I tried this once in a small apartment bathroom with a rated product, and after about a year, the bottom third of the paper near the tub started lifting at the seams. It’s not that the product failed — it’s that no peel-and-stick adhesive is designed to compete with a daily direct water hit for years on end.
Living Room & Entryway Ideas (19–23)
These are the rooms guests actually see, so this is where the “does it look intentional” question matters most.
19. Entryway focal wall.
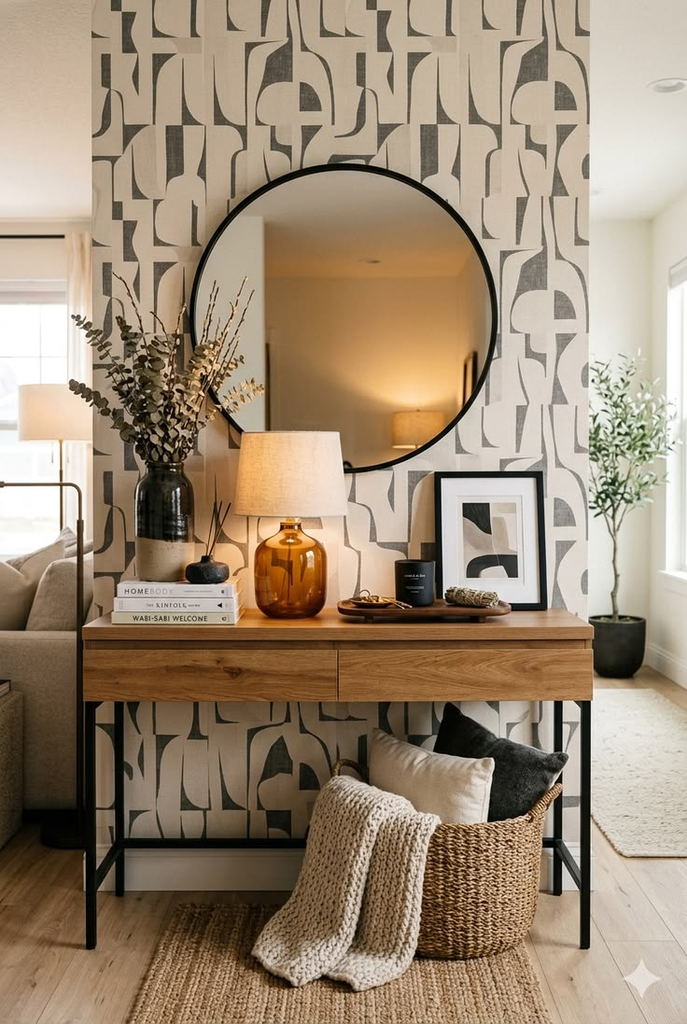
The wall you see first when you walk in the door is the highest-impact, lowest-square-footage place to make a real statement. Because entryways in most apartments are small, this is often a one-roll project.
20. Behind a media console or bookshelf.
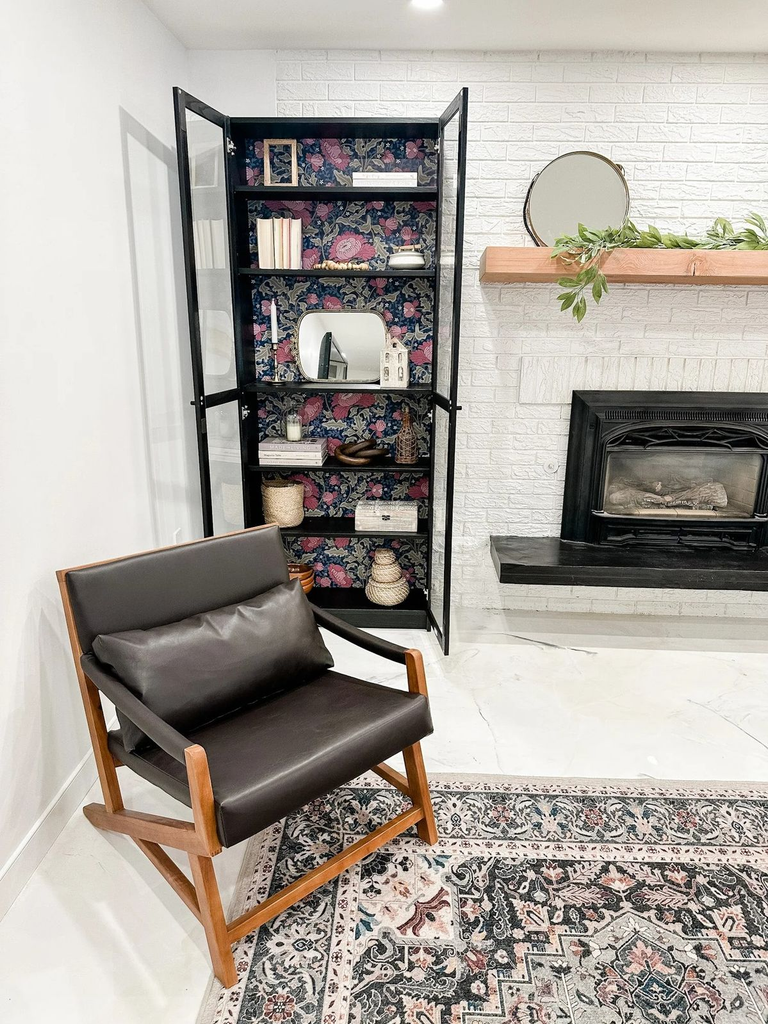
Rather than a full accent wall, paper just the section that will be partly covered by furniture. You get texture and color peeking out on either side without a big financial or time commitment.
21. Inside a built-in nook or arched alcove.
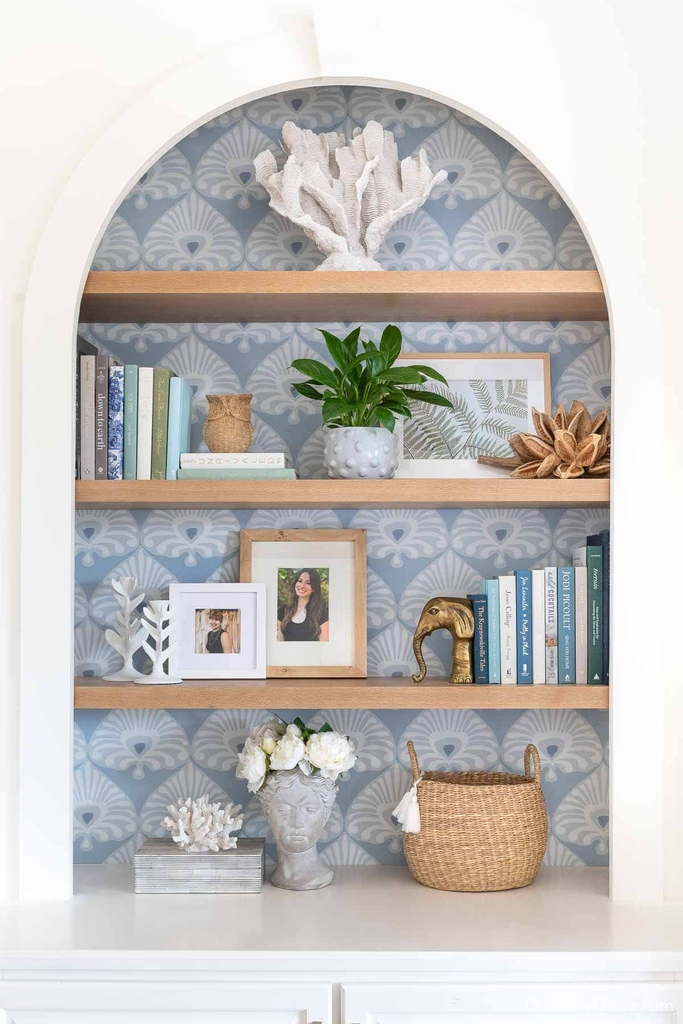
If your rental has any kind of architectural niche — a lot of pre-war and mid-century buildings do — that’s an ideal small, contained spot to go bold.
22. Faux molding or paneling look.
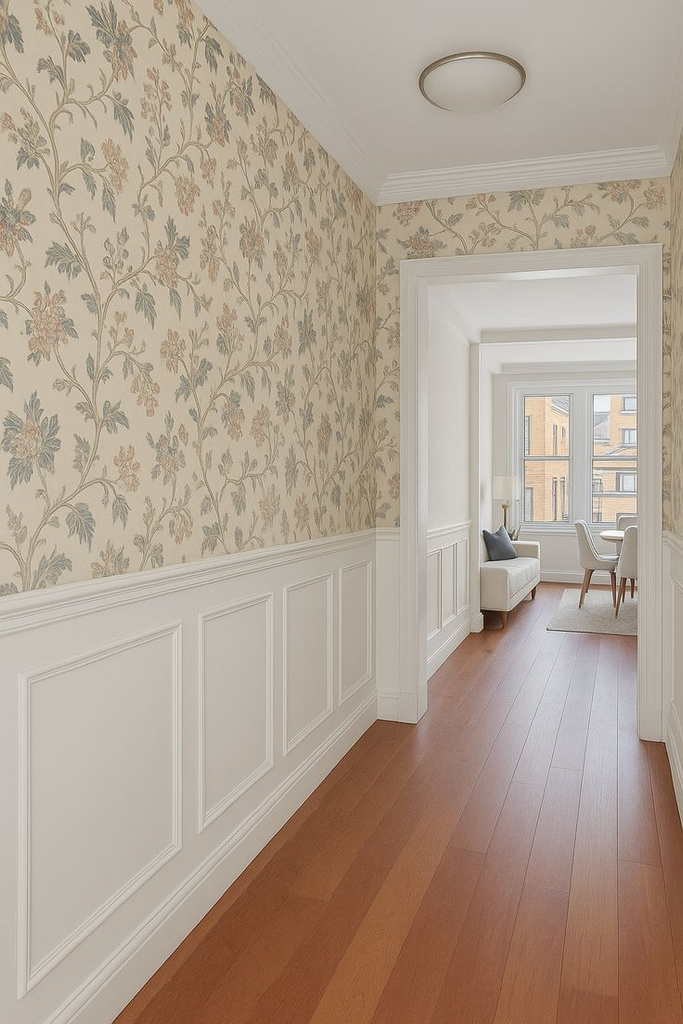
There’s a specific category of peel-and-stick that mimics wainscoting, board-and-batten, or picture-frame molding using a printed pattern instead of actual applied trim. It’s one of the more convincing “this doesn’t look like wallpaper” options and reads as a real architectural upgrade from a few feet away.
23. Stair riser panels (if you have interior stairs).
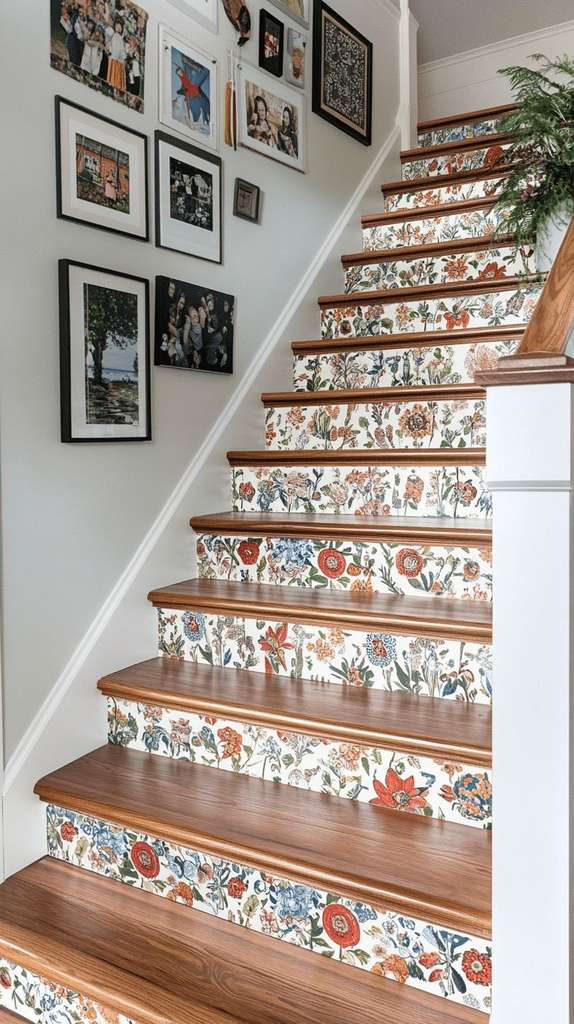
This one’s specific to townhouse or duplex-style rentals, but if you’ve got a staircase, papering just the vertical riser part of each step (not the horizontal tread you walk on) is a classic, low-cost, high-impact project that doesn’t touch your actual flooring.
Pro tip: For any focal wall a guest will see head-on when they walk in, hang the paper so the pattern is centered on your eye-line as you enter, not centered on the wall itself. It’s a small adjustment that makes a huge difference in how “designed” the room feels, and it’s the kind of detail a professional installer does automatically that most first-timers skip.
Home Office & Small-Space Ideas (24–27)
If you’re working with a studio, a shared space, or a home office corner rather than a dedicated room, these are the ones that punch above their square footage.
24. Video-call background wall.
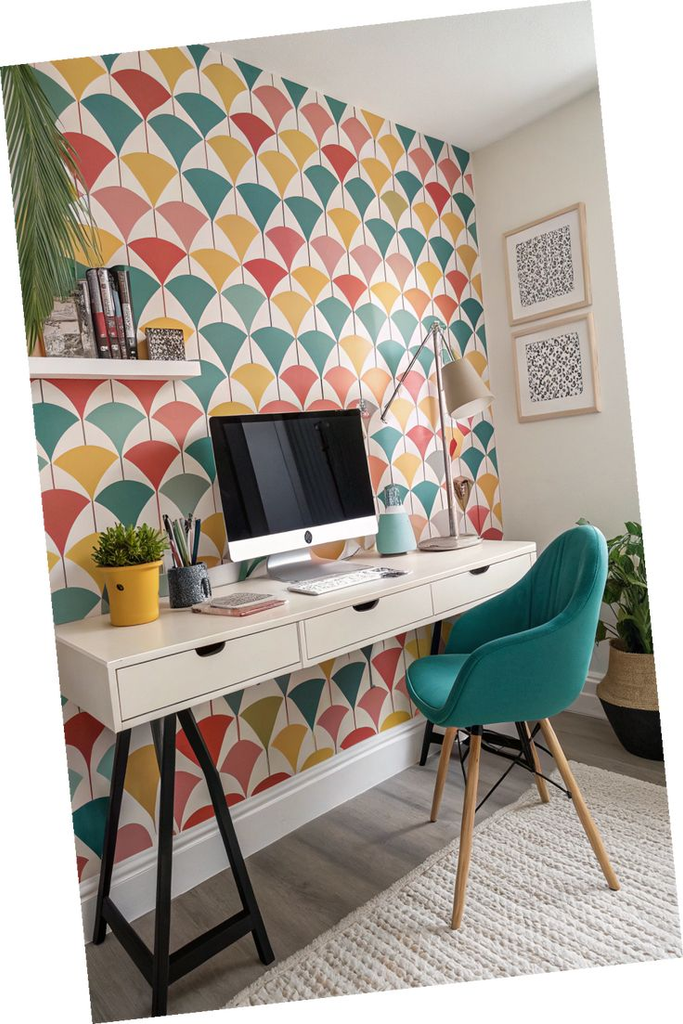
If you work from home even part-time, the wall behind you on calls is one of the most-seen surfaces in your entire apartment. A grasscloth-look or subtle geometric pattern reads as professional on camera in a way that a blank rental wall never quite does.
25. Inside a Murphy bed or foldout desk unit.
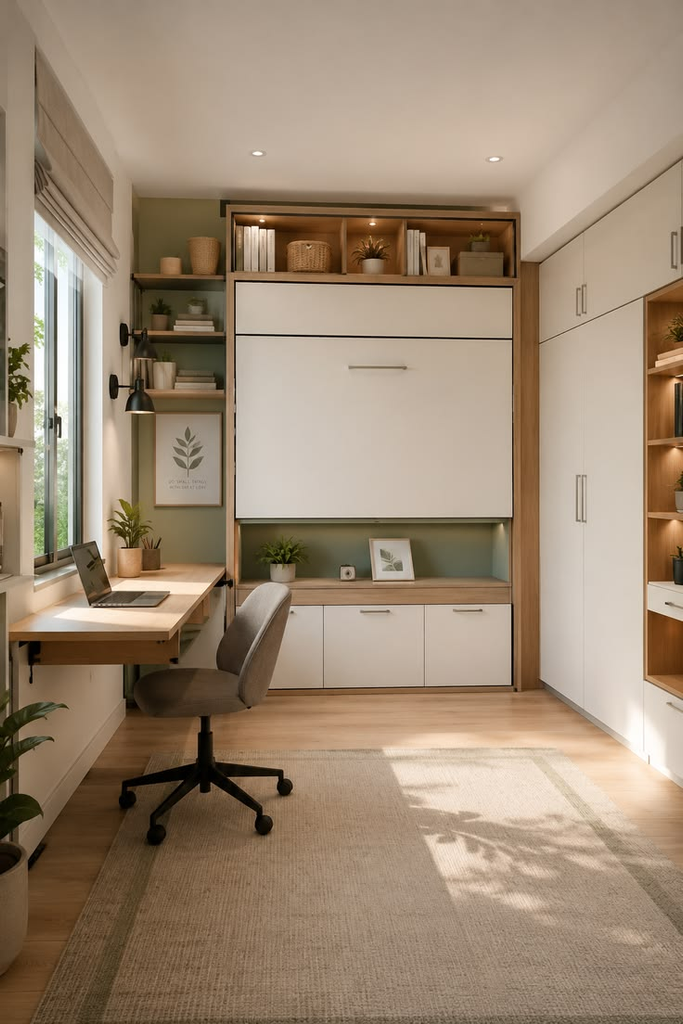
If you’ve got a fold-down piece of furniture, the interior back panel that’s only visible when it’s open is a fun, zero-risk spot to use a leftover remnant piece from another project.
26. Room divider or folding screen.
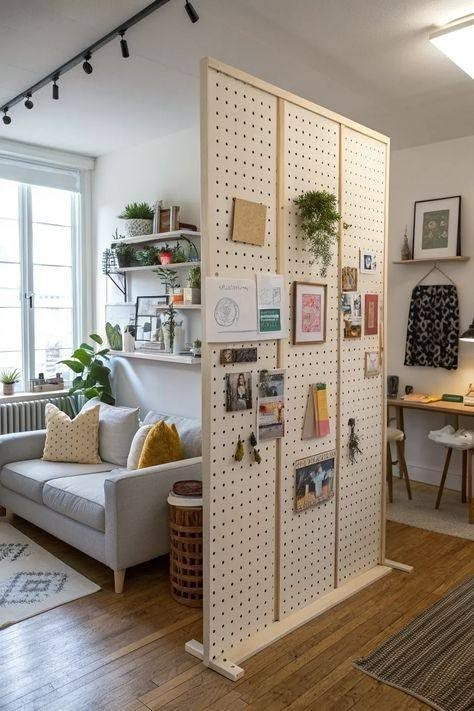
Instead of applying wallpaper to an actual wall at all, apply it to a plain folding screen or room divider. This sidesteps the entire security-deposit conversation, and you can take the whole thing with you when you move.
27. Single “gallery” panel behind art.
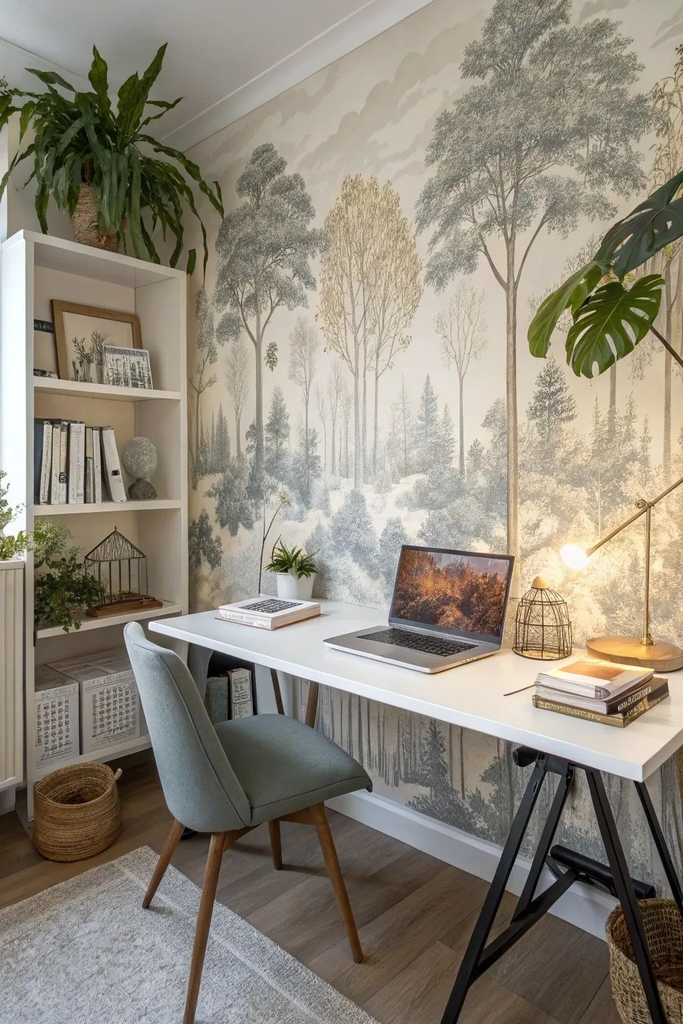
Cut a piece of wallpaper to roughly the size of a large frame or a cluster of smaller frames, and hang it as a backdrop before you put the art up. From a normal viewing distance it reads as a wallpapered wall, but it uses a fraction of a roll and takes about fifteen minutes.
What I’d Actually Do First
If I were starting completely over in a new rental tomorrow, I’d do the closet-interior trick first, purely because it’s free of risk and tells you fast whether you actually like working with peel-and-stick before you spend real money on a whole wall.
Then I’d move to one true focal wall — either the entryway or the bedroom headboard wall, whichever room I walked into and felt least like myself in. Everything else on this list is genuinely optional, but those two moves are the ones that make a rental start to feel less like a placeholder and more like your actual home.

Leave a Reply