
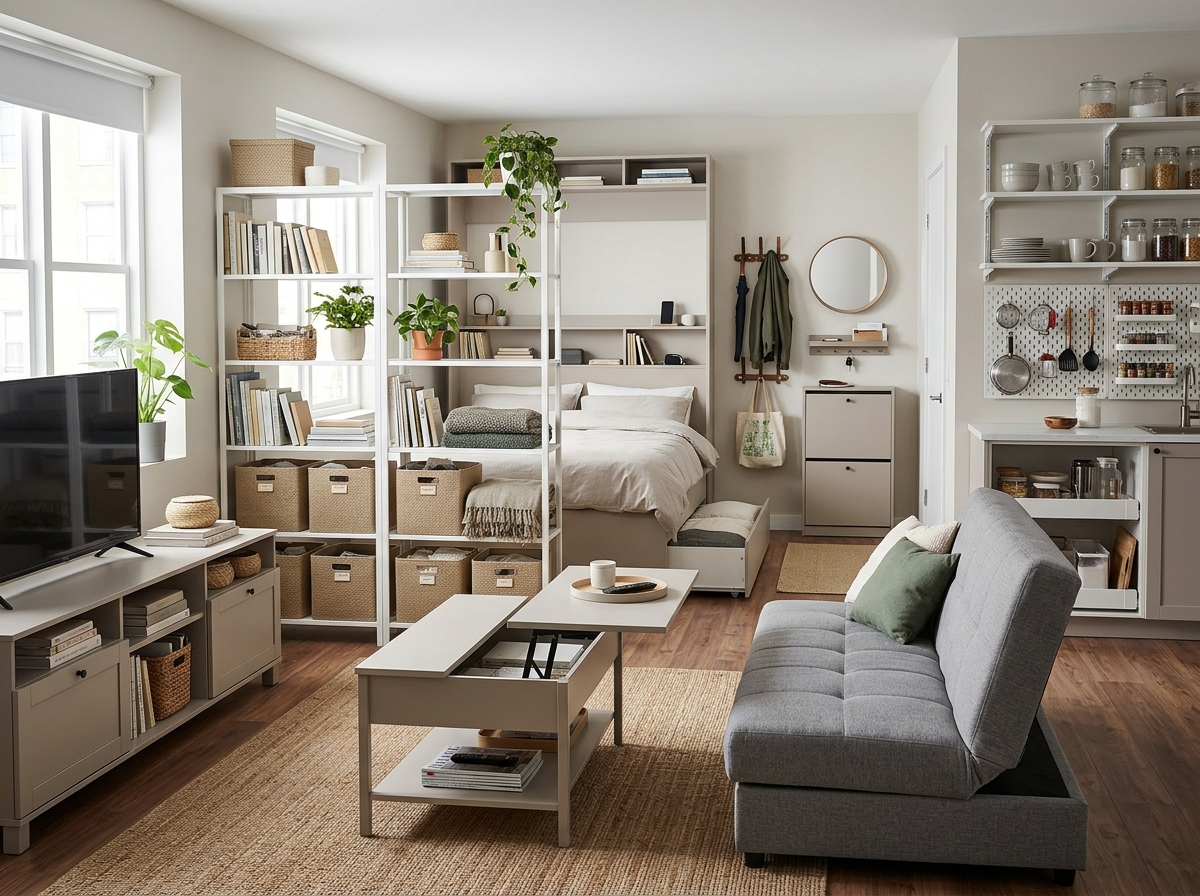
I lived in a 410-square-foot studio for three years, and for the first six months of it, my bike lived in my kitchen.
Not leaning against a wall in some cute, curated way — just parked next to the stove, because there was genuinely nowhere else for it to go.
I share that because a lot of studio apartment storage content out there is written by someone with a 900-square-foot “small” apartment and a walk-in closet they’re calling cramped. This is not that.
If you’re in an actual studio — one room doing the job of a living room, bedroom, office, and sometimes dining room all at once — the problem isn’t that you own too much stuff.
It’s that every square foot has to pull double or triple duty, and most furniture just isn’t built for that.
The good news is that studio apartment storage has gotten a lot smarter in the last few years, and a lot of the best fixes are renter-friendly, meaning no drilling, no landlord fights, and no security deposit anxiety.
I’ve broken this down by the actual problem areas in a studio — walls, furniture, the bed, the kitchen, the entry, the bathroom, and all the weird dead space in between — because that’s how you’ll actually shop for this stuff, not by scrolling through 34 random photos with no logic to them.
Some of these I’ve used myself, some came from friends who’ve done small-space living way longer than I have, and a couple are things I saw in a reader’s apartment tour photos and immediately stole the idea from.
One quick note before we get into it: I’m going to flag which of these are fully renter-safe (no wall damage) versus which assume you can drill or paint, because that distinction matters a lot more once you’re actually trying to get your deposit back.
Vertical & Wall Storage That Renters Can Actually Use
When you can’t expand a studio outward, the only direction left is up, and most people use maybe 30% of their vertical wall space. This is usually the single highest-impact category for a studio, square-foot for square-foot.
1. Command strip shelving, but the good kind.
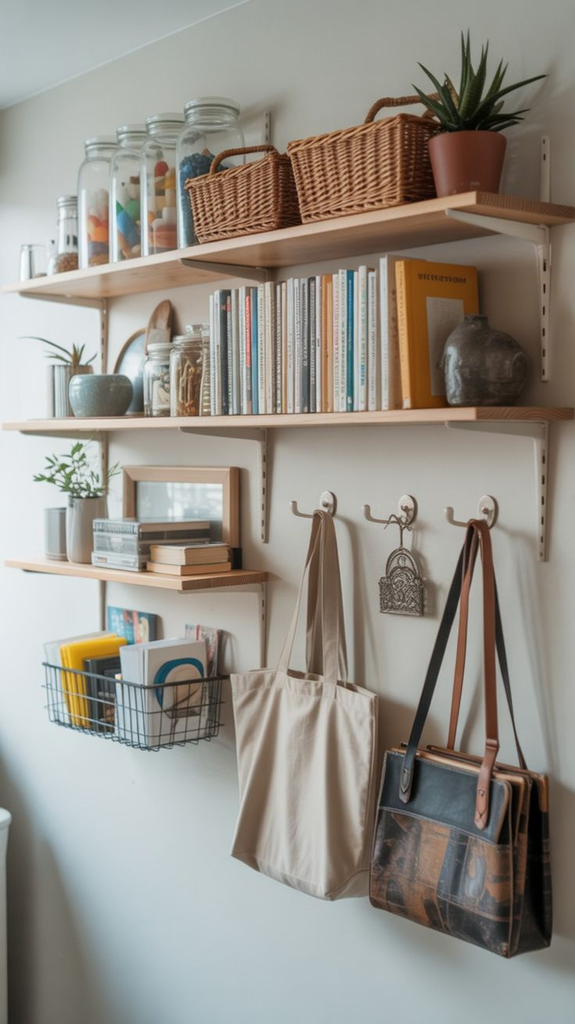
Skip the flimsy floating shelves that come in a 3-pack from the clearance aisle — I did that in my first studio and watched a shelf full of books slowly bow in the middle over about four months.
Look for shelves rated for at least 15–20 lbs per bracket and use the actual heavy-duty Command strips (the ones rated for shelving, not the picture-hanging ones).
It’s the difference between a shelf that holds books and one that holds decorative air.
2. A wall-mounted pegboard for the kitchen or craft corner.
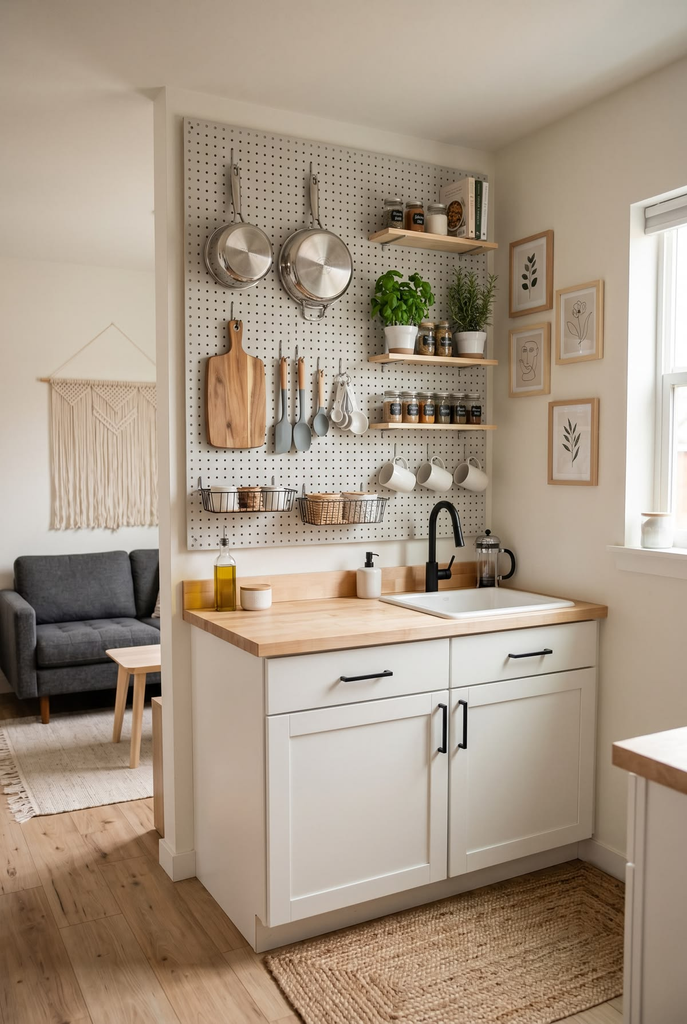
This is the one piece of advice I give every studio-dwelling friend now.
A pegboard turns a blank wall into adjustable storage for pots, utensils, mail, keys, whatever — and you can rearrange it in five minutes instead of re-drilling shelves.
Renter-safe if you mount it with a tension rod frame or Command strips rather than screws into drywall.
3. Over-the-door organizers — but test them before you commit.
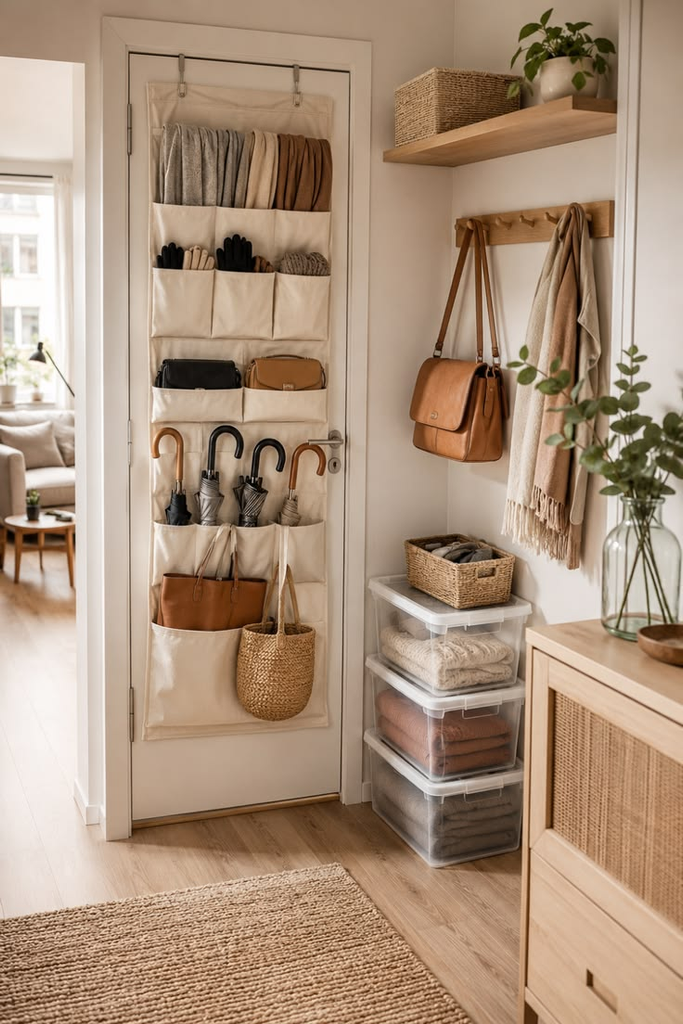
My friend Priya bought the cheap $12 over-the-door shoe organizer for her closet and it tore off the hook within a week under the weight of actual shoes. The trade-up is worth it: a canvas one with a rigid top bar and metal grommets holds up under real use.
Great for shoes, but also underrated for cleaning supplies, bathroom stuff, or craft bins.
4. A ladder shelf leaned against the wall instead of a bookshelf.
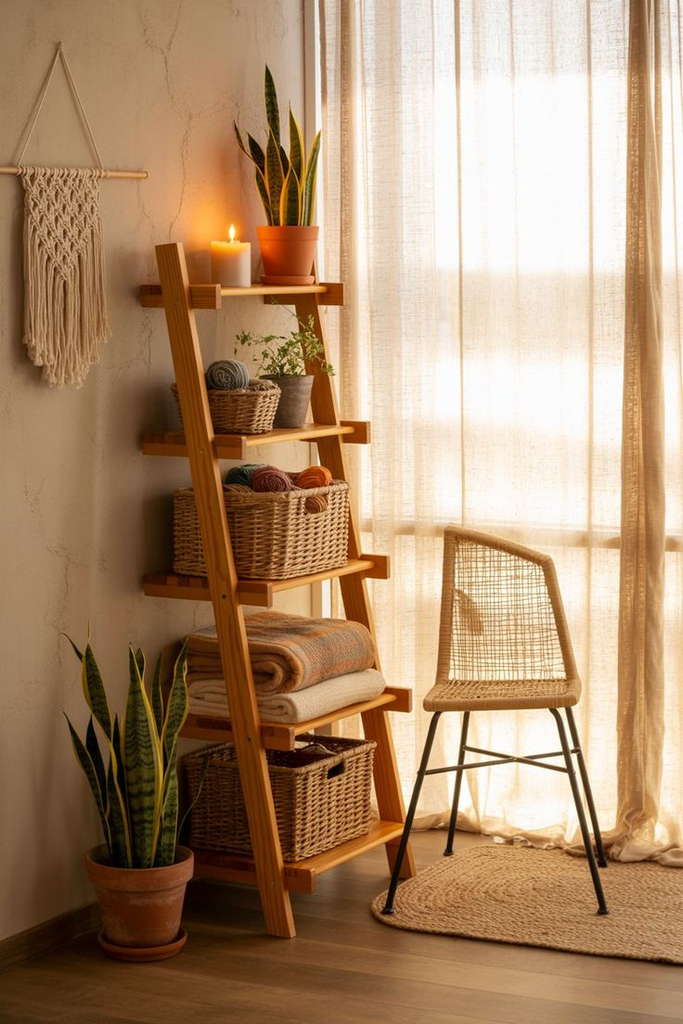
It takes up almost no floor footprint compared to a traditional bookshelf, requires zero mounting, and looks intentional instead of like a dorm room.
This is one of those pieces that photographs like a design choice but is really a storage hack in disguise.
5. Wall grid panels (the metal mesh kind) for a rotating display-slash-storage wall.
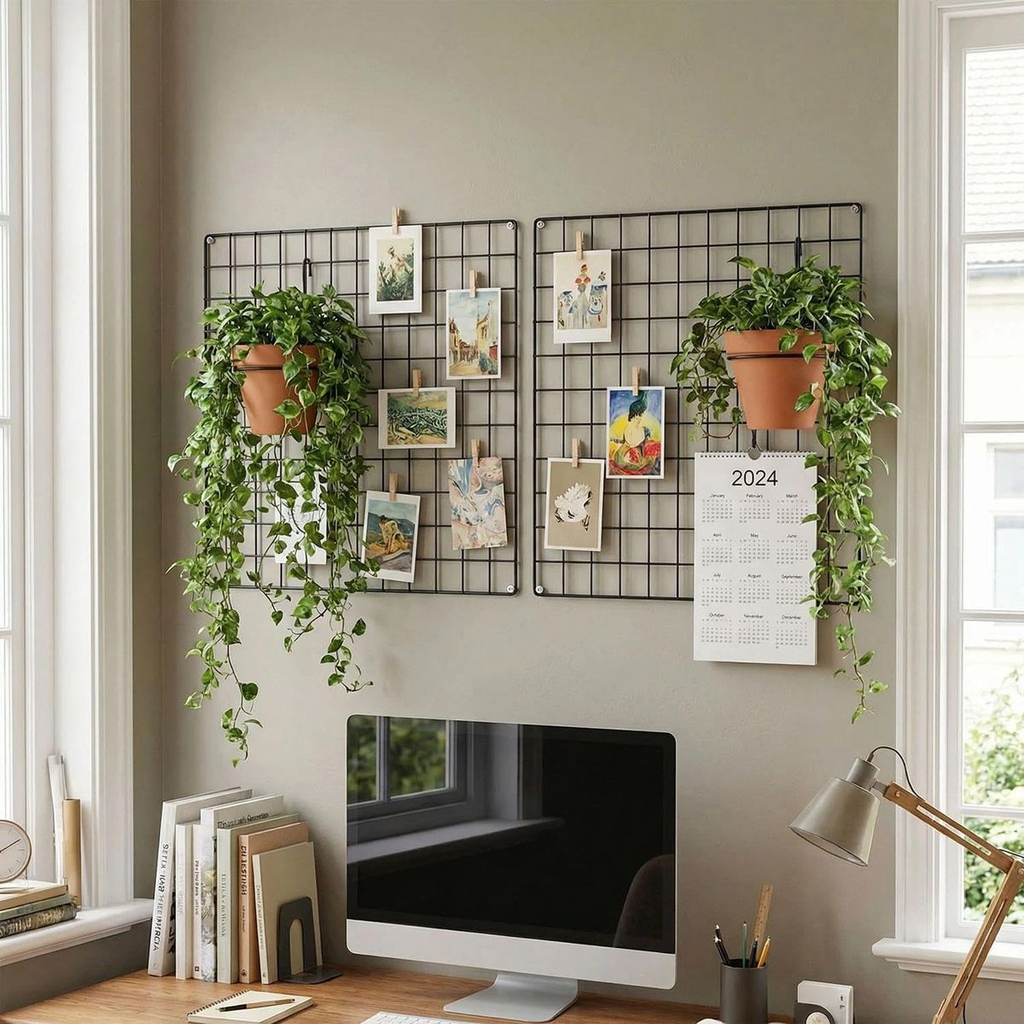
These have picked up serious traction on home organization TikTok over the last year or so, and the reason they work for studios specifically is that they hold weight without needing more than a couple of anchor points, and you can hang baskets, hooks, and small shelves off the grid wherever you need them that week.
6. Magnetic strips for anything metal.
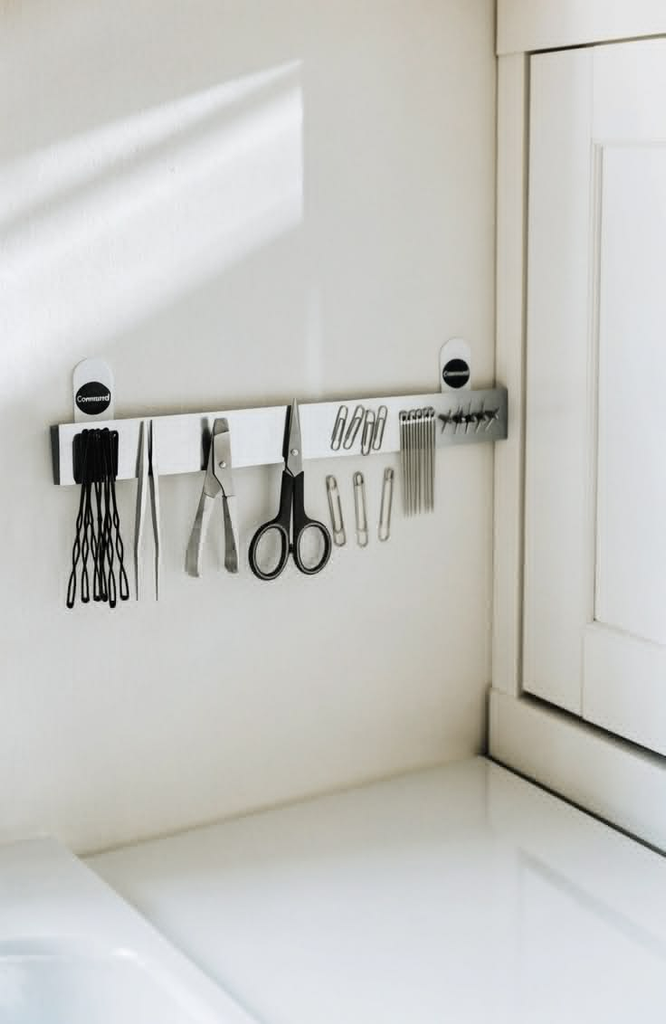
Knives, scissors, bobby pins, small tools — a magnetic strip clears clutter off a counter or vanity in a way that feels almost too simple to work, but it does. Ten dollars, no drilling required if you use adhesive-backed strips.
Pro tip: Before you mount anything, measure your actual wall space in linear feet, not just “there’s a blank wall over there.” Most people underestimate how much they have because they’re only looking at wall space at eye level — the space above a door frame or above a window is almost always wasted in a studio, and it’s some of the easiest to use for lightweight storage like baskets or seasonal items.
Furniture That’s Actually Doing Two Jobs
This is where studio apartment storage lives or dies, honestly. If your furniture only does one thing, you’re losing square footage you don’t have to spare.
7. A storage ottoman instead of a coffee table.
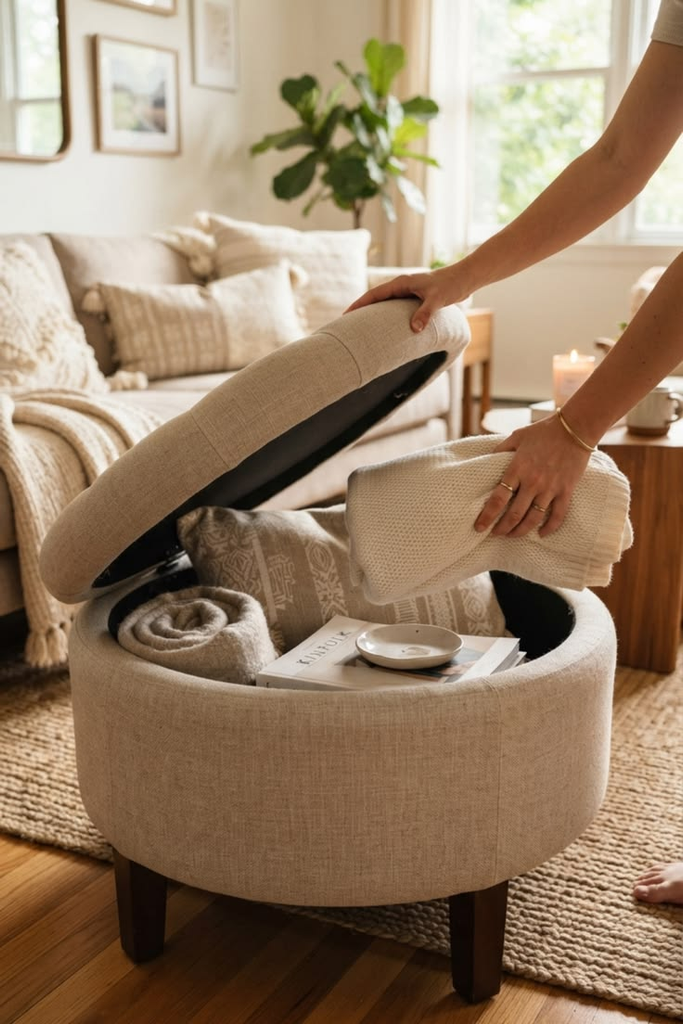
This is the single most common upgrade I recommend to people furnishing a studio for the first time, because it replaces both your coffee table and a chunk of your closet in one purchase.
Look for one with a removable lid (not a side-zip, which is annoying to access) and a weight capacity high enough to double as extra seating when people come over.
8. A bed frame with drawers built into the base.
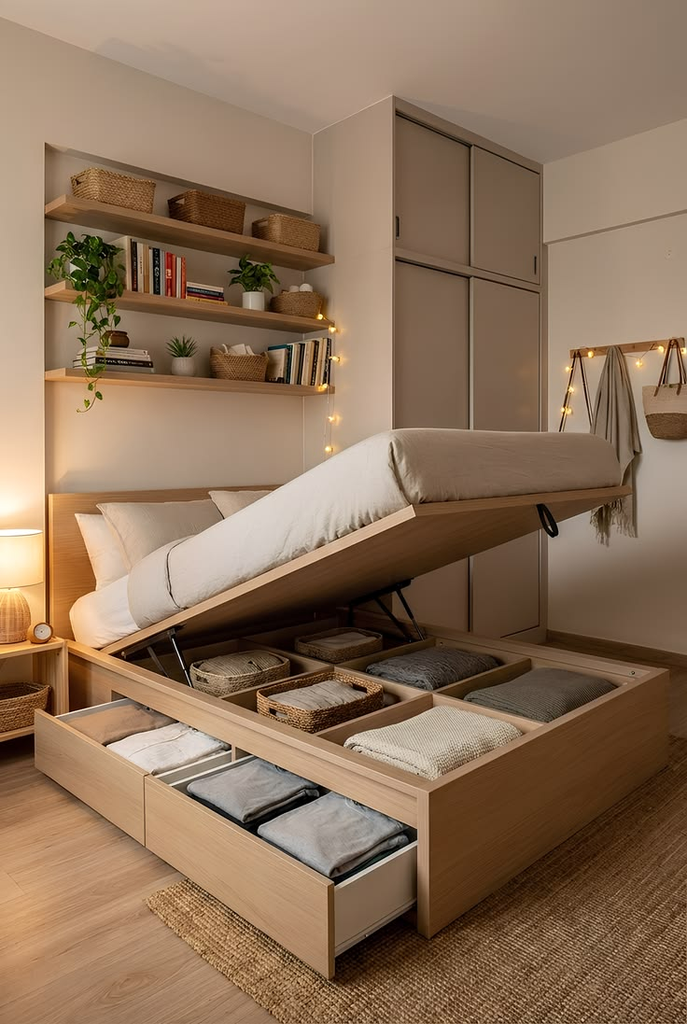
I put off buying one of these for way too long because they run $200–400 more than a basic frame, but it effectively gave me back a dresser’s worth of storage without using any extra floor space.
If you can’t swing the cost, a bed riser kit paired with under-bed bins gets you 70% of the benefit for a fraction of the price — more on that in the next section.
9. A daybed or trundle setup if you host overnight guests often.
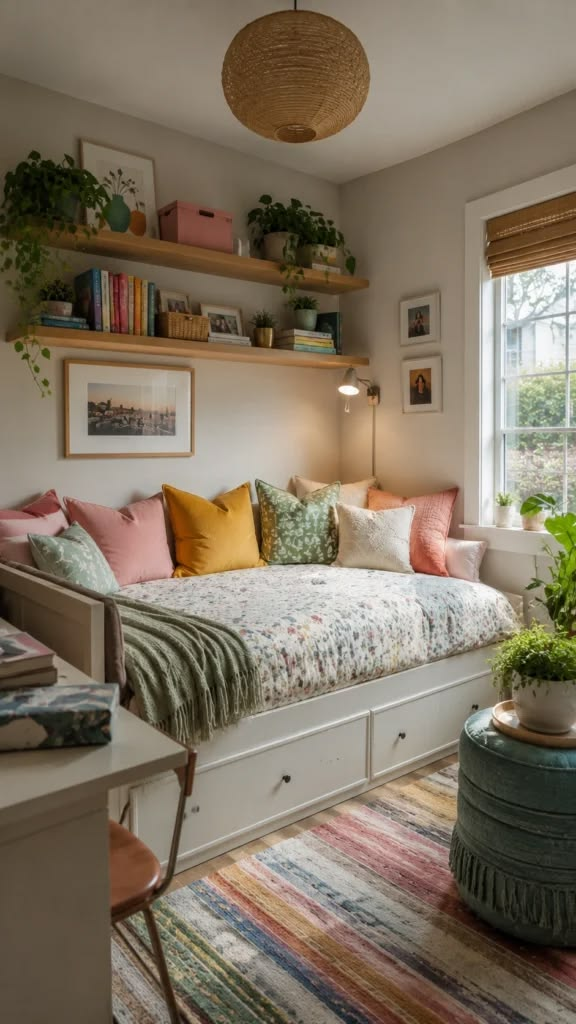
It’s a bigger investment, but it solves two studio problems at once: seating during the day, sleeping for guests at night, without needing a separate guest bed frame taking up storage-closet space you don’t have.
10. Nesting tables instead of one big side table.
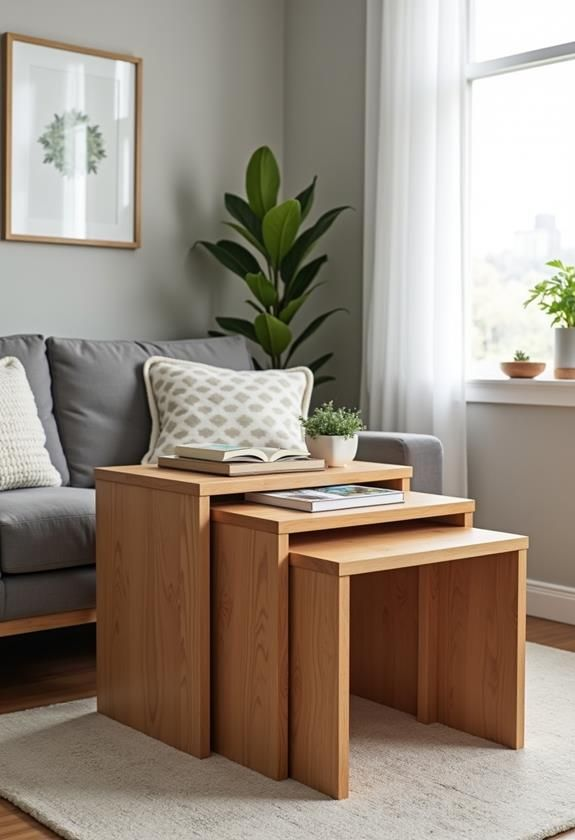
Three tables that stack into the footprint of one when you’re not using them.
I use mine constantly for laptop work, plates when I’m eating on the couch, or extra surface space when I have people over, and they disappear back into a single stack the rest of the time.
11. A console table behind the couch, used as a room divider and storage.
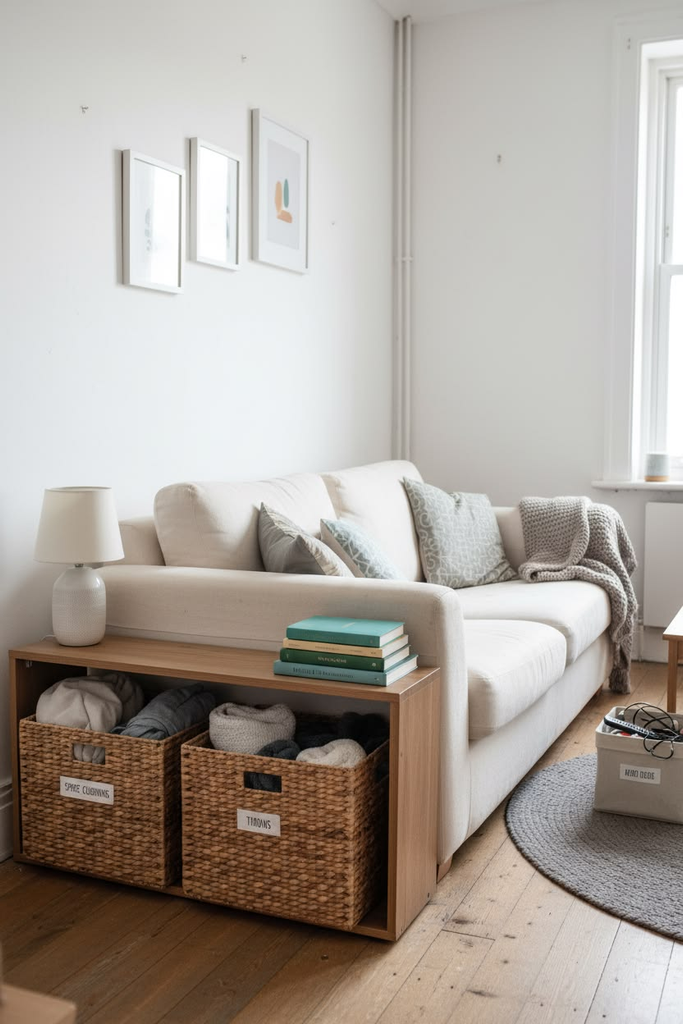
If your studio has a couch that floats in the middle of the room (mine did, because there was no wall to push it against), a slim console table behind it does double duty — it visually separates the “living room” zone from the rest of the studio, and it’s storage you wouldn’t otherwise have.
12. A murphy bed or wall bed if you’re willing to invest.
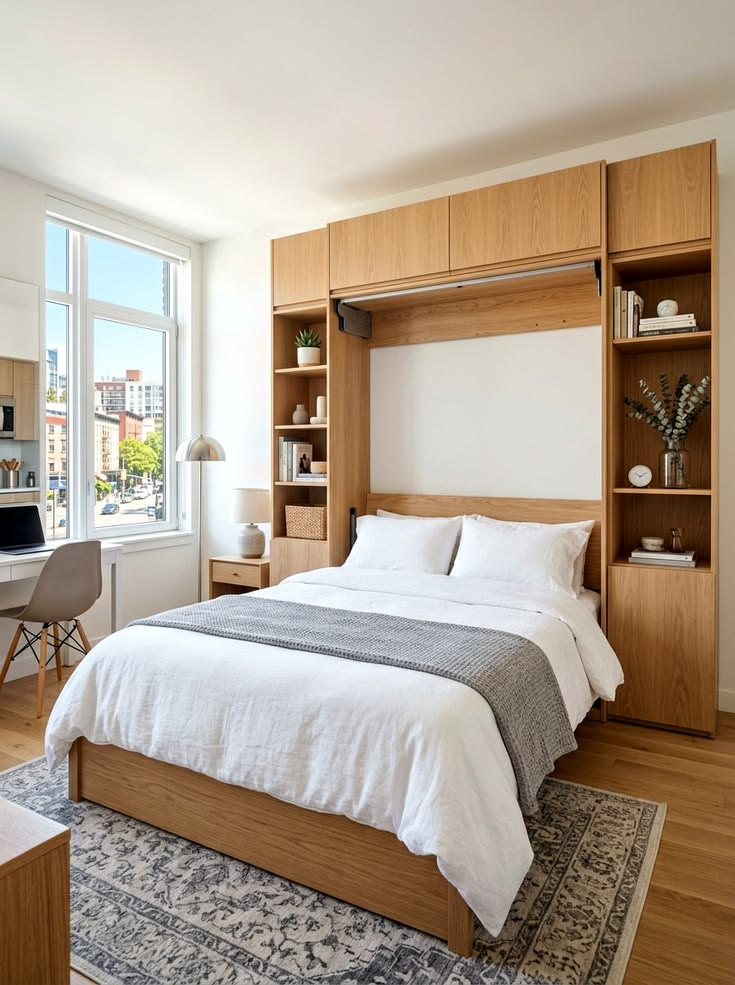
This is the most expensive item on this list by far, often $1,000+ installed, and it’s not renter-friendly unless your building specifically allows it.
But if you own your place or you’re in a long-term lease, it’s the closest thing to actually adding a room to a studio, because your “bedroom” disappears entirely during the day.
13. A TV stand or media console with closed cabinet storage, not open shelving.
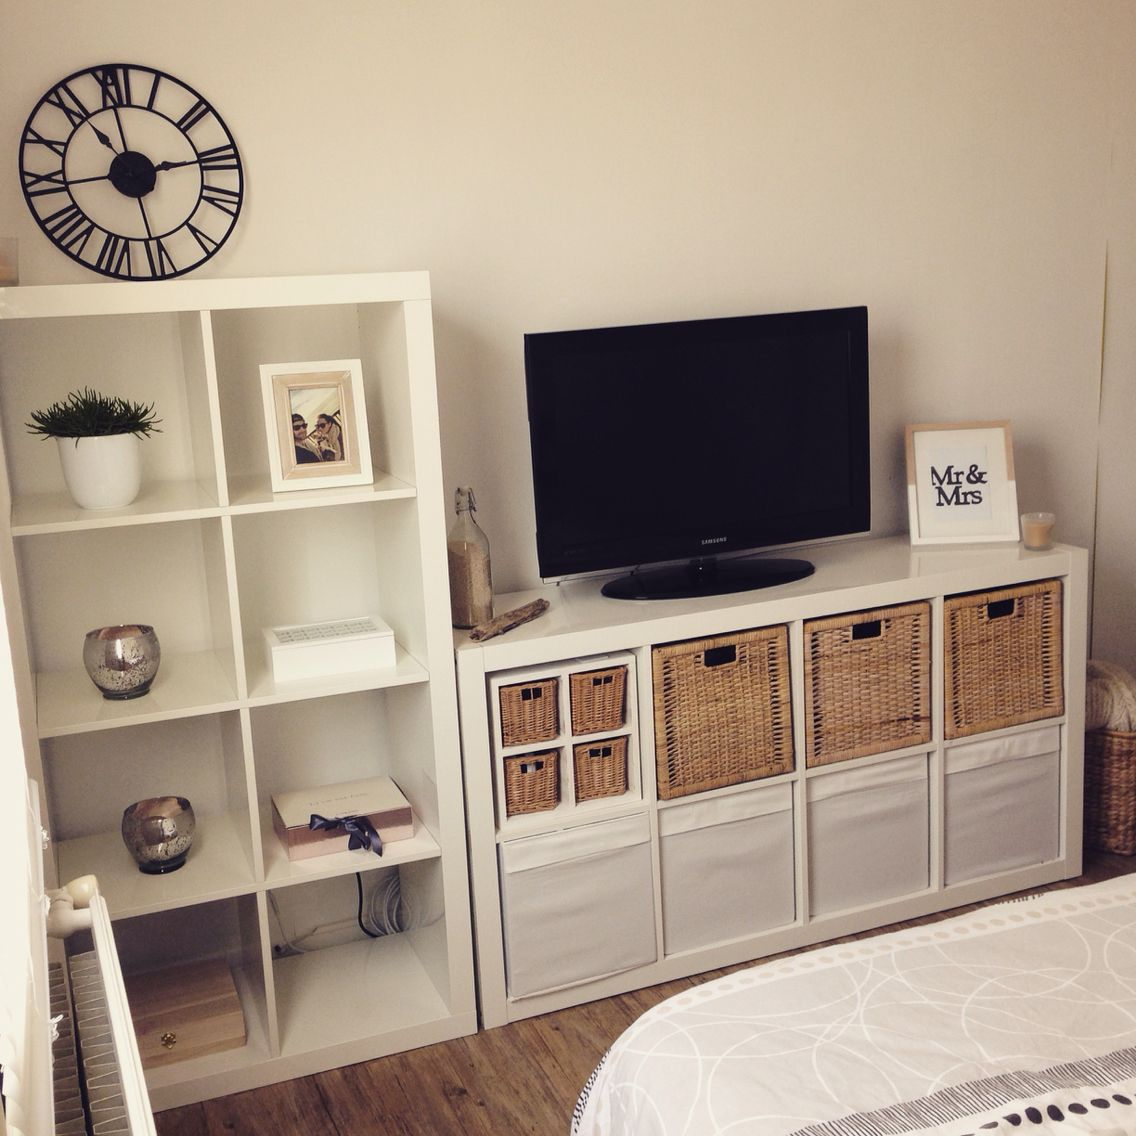
Open shelving looks nice in photos and is a nightmare to keep tidy in real life when it’s also your only storage for remotes, cables, games, and the odd junk drawer item. Closed doors hide the chaos.
14. Bar carts as a mobile storage-slash-styling piece.
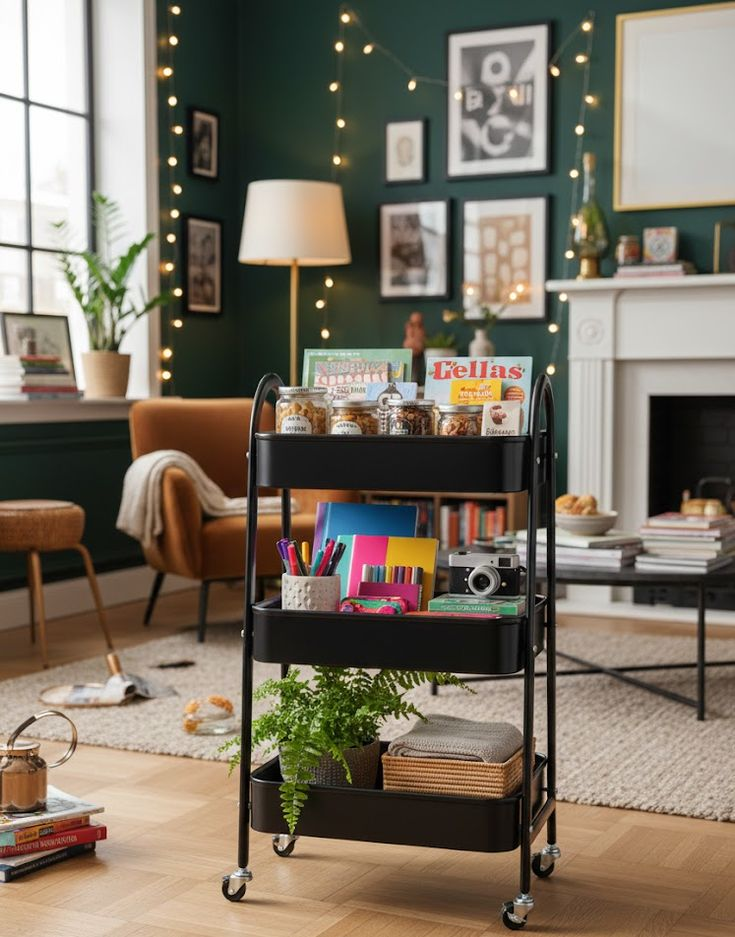
Not just for actual bar stuff — I’ve seen people use them for plants and gardening supplies, for a rotating “coffee station,” even for extra bathroom storage rolled into a bedroom corner.
The wheels are the whole point in a studio: you can move it wherever the day’s need is.
| Furniture Type | Approx. Cost | Best For | Trade-off |
|---|---|---|---|
| Storage ottoman | $60–150 | Coffee table + soft goods storage | Limited weight capacity, not great for heavy items |
| Storage bed frame | $250–600 | Clothing, linens, seasonal items | Higher upfront cost, harder to move later |
| Nesting tables | $80–200 | Flexible surface space | Not real “storage,” more space efficiency |
| Bar cart | $50–150 | Mobile, rearrangeable storage | Open storage still needs to look tidy |
| Murphy bed | $1,000+ | Reclaiming an entire “room” during the day | Expensive, usually not renter-friendly |
Pro tip: When you’re furniture shopping for a studio, measure the item’s storage volume, not just its footprint. Two nightstands with the same floor footprint can have wildly different usable interior space — I learned this the hard way after buying a “storage bench” that looked deep in photos and turned out to have a 4-inch-tall interior good for basically nothing but scarves.
Under-Bed and Bed-Adjacent Storage
Your bed is probably the single largest piece of furniture in your studio, and the space underneath it is almost always underused.
15. Rolling under-bed bins instead of loose boxes.
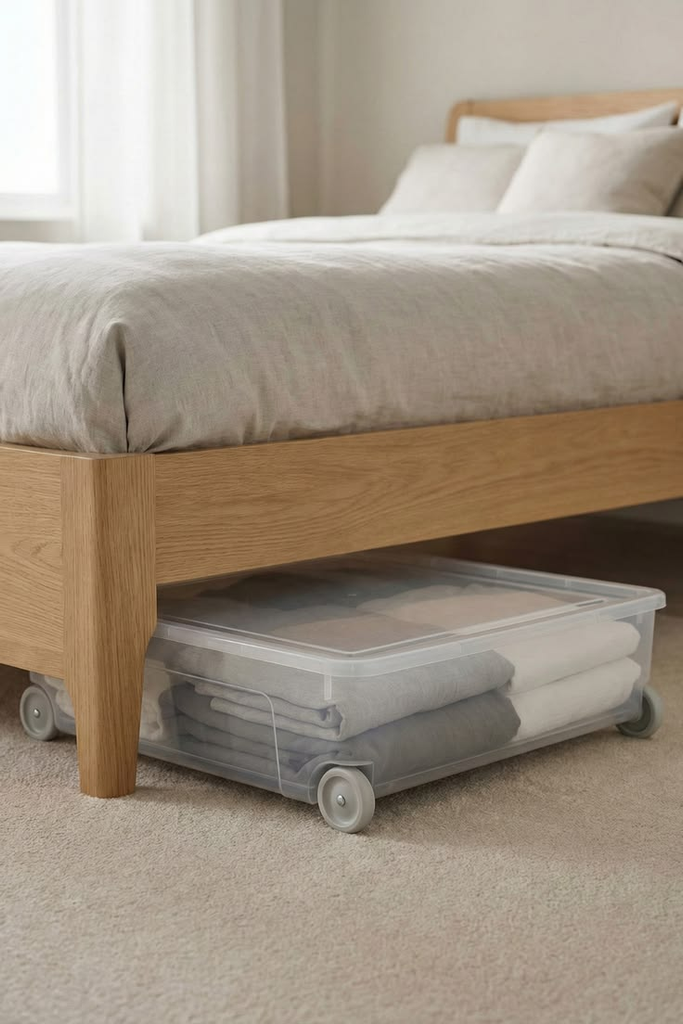
The rolling part matters more than people think — I switched from stacked shoeboxes to a set of rolling bins with lids, and it turned “dig through everything to find the thing I need” into “pull the bin out, grab it, push it back,” which sounds small but changes whether you’ll actually keep it organized long-term.
16. Vacuum-sealed bags for out-of-season clothing under the bed.
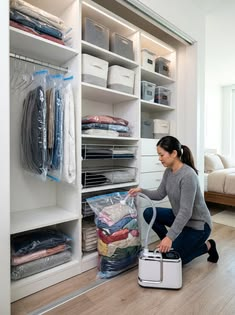
This is specifically for bulky stuff — winter coats, comforters, extra bedding — that you don’t need access to year-round.
It compresses down to a fraction of the space and keeps things dust-free, which matters if you’re sliding bins in and out from under a bed that’s low to the ground.
17. A bed riser kit if your frame sits low.
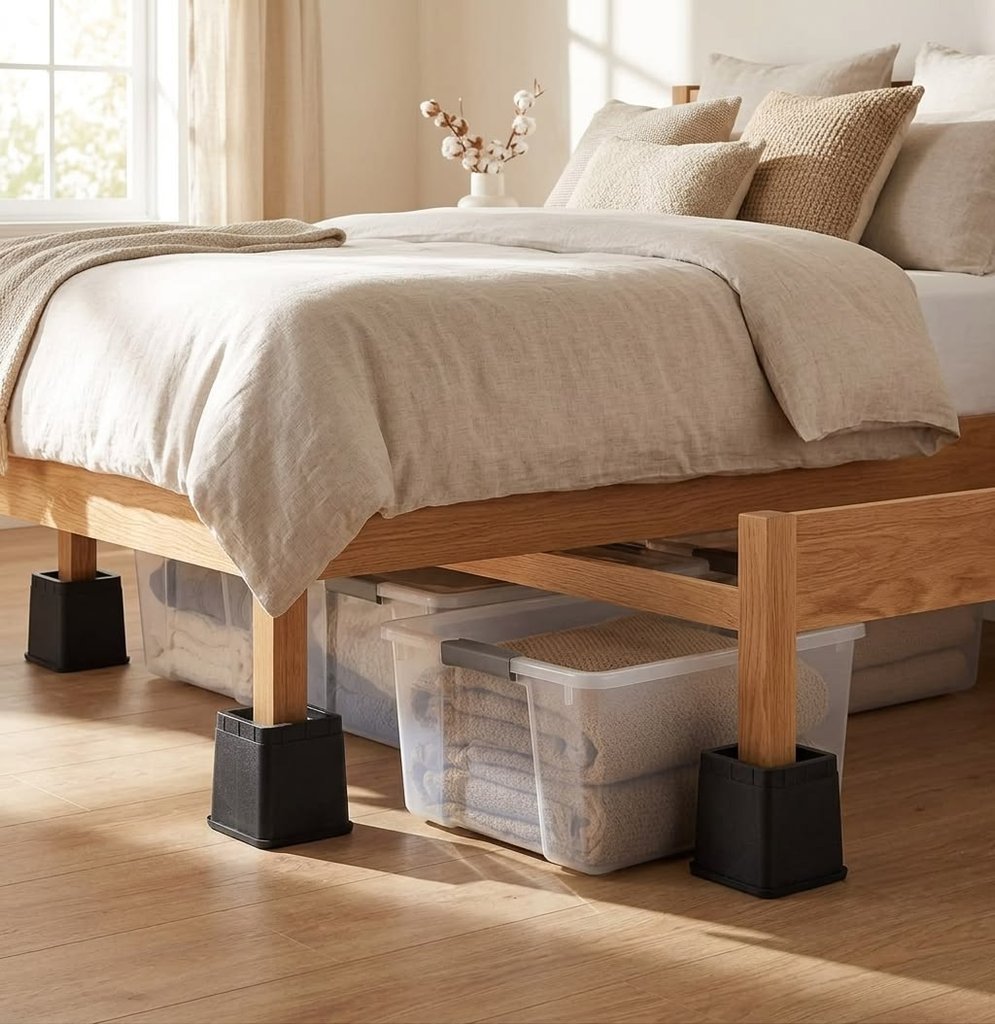
For about $20–30, risers can add 4–6 extra inches of clearance under a bed frame, which is often the difference between “nothing fits under there” and “a full row of bins fits under there.” Just double-check your mattress and frame combo can handle the extra height without feeling unstable.
18. A storage bench at the foot of the bed.
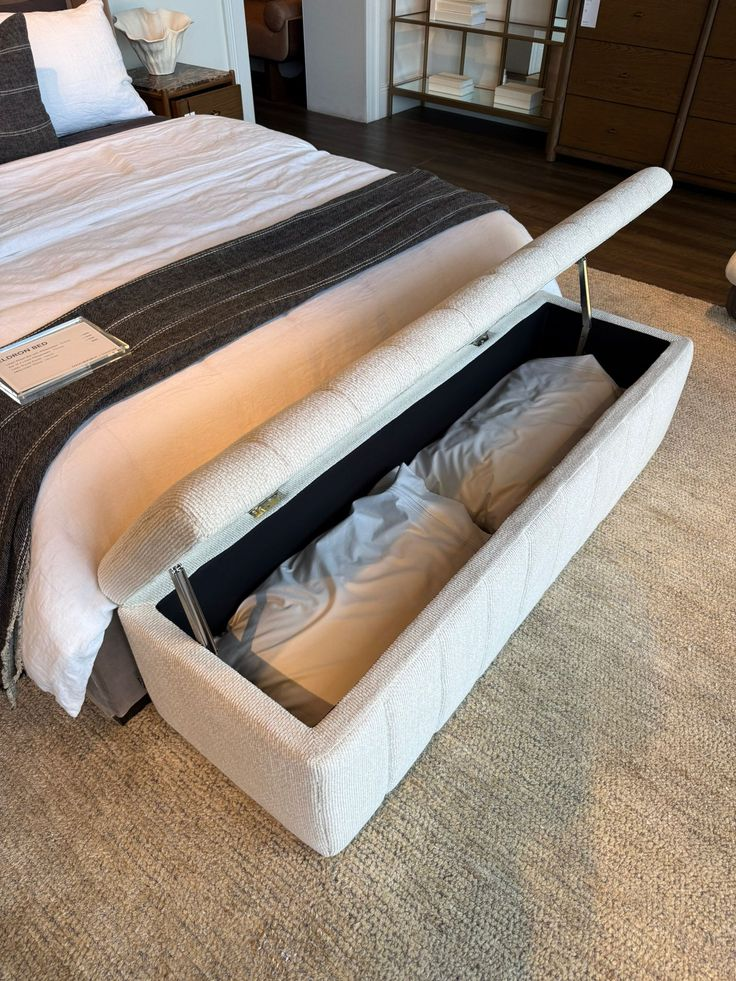
This works especially well in a studio because it doubles as a spot to sit while putting on shoes — something you’d otherwise have nowhere to do if your only seating is a couch across the room.
Pro tip: Measure your actual clearance under the bed before buying bins — most “under bed storage” bins on the market assume a 7-inch clearance, but plenty of bed frames only have 5 or 6 inches once you account for the mattress sagging slightly. Bring a tape measure before you buy, not after.
Kitchen Storage for Genuinely Tiny Kitchens
Studio kitchens are usually the smallest room-within-a-room in the whole apartment, and they get the least storage-content attention because most decor blogs are writing for people with a full kitchen to work with.
19. A rolling kitchen cart if you have zero counter space.
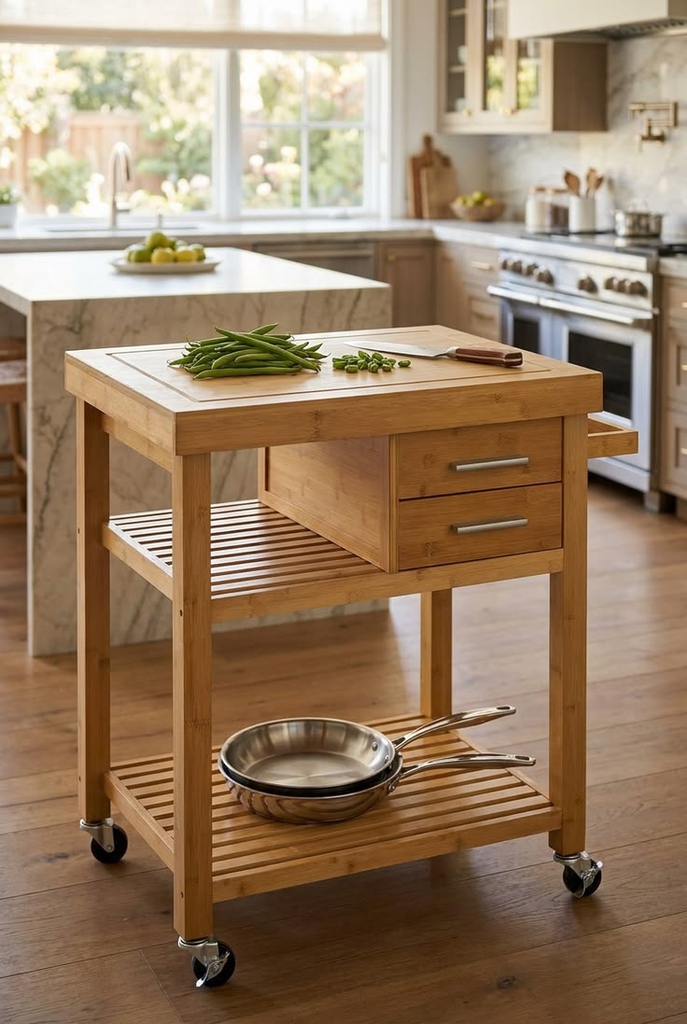
This was the single biggest upgrade in my kitchen — it added counter space, storage shelves, and in my case, a spot for my microwave, which previously lived on top of my fridge because there was nowhere else for it.
20. Tension rods inside cabinets to create a second shelf level.
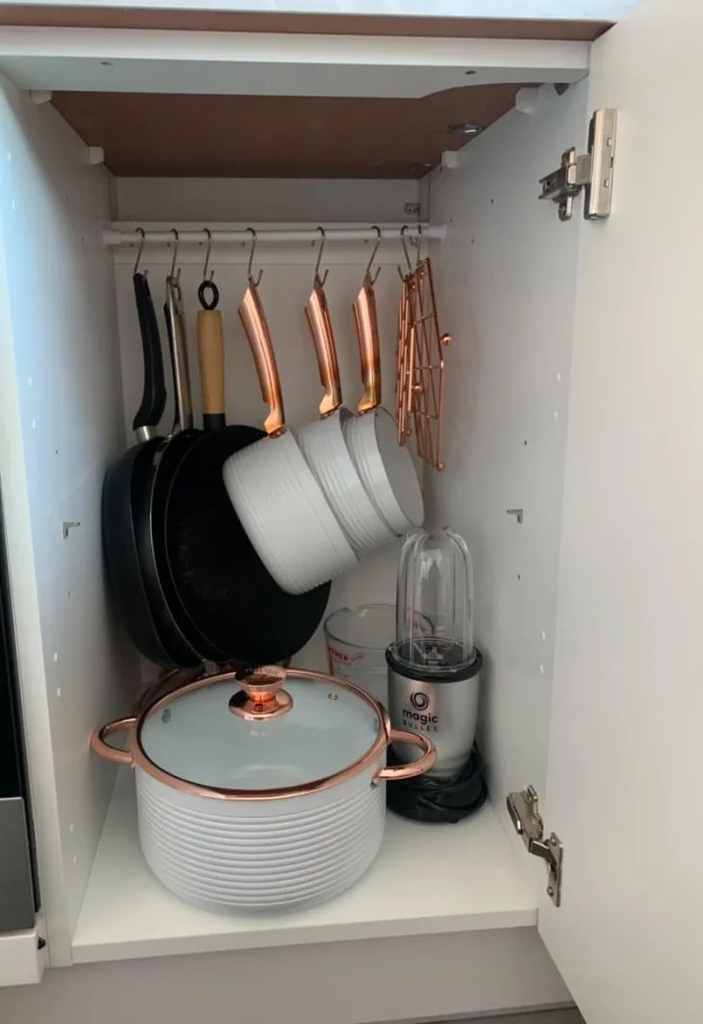
A cheap tension rod mounted horizontally inside a cabinet creates a spot to slide cutting boards or baking sheets vertically underneath it, using dead space that would otherwise just be a stack of pans you have to dig through.
21. Adhesive hooks inside cabinet doors for lids and small tools.
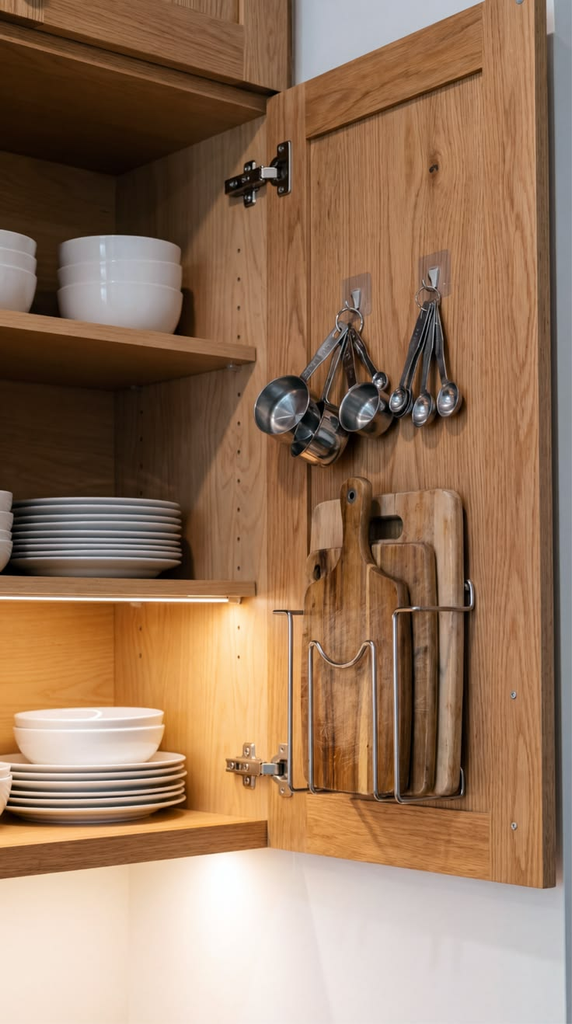
Pot lids are one of the most annoying things to store in a small kitchen because they’re an awkward shape. A row of small hooks on the inside of a cabinet door solves it without taking up any interior shelf space at all.
22. A hanging pot rack if you have even a little ceiling clearance.
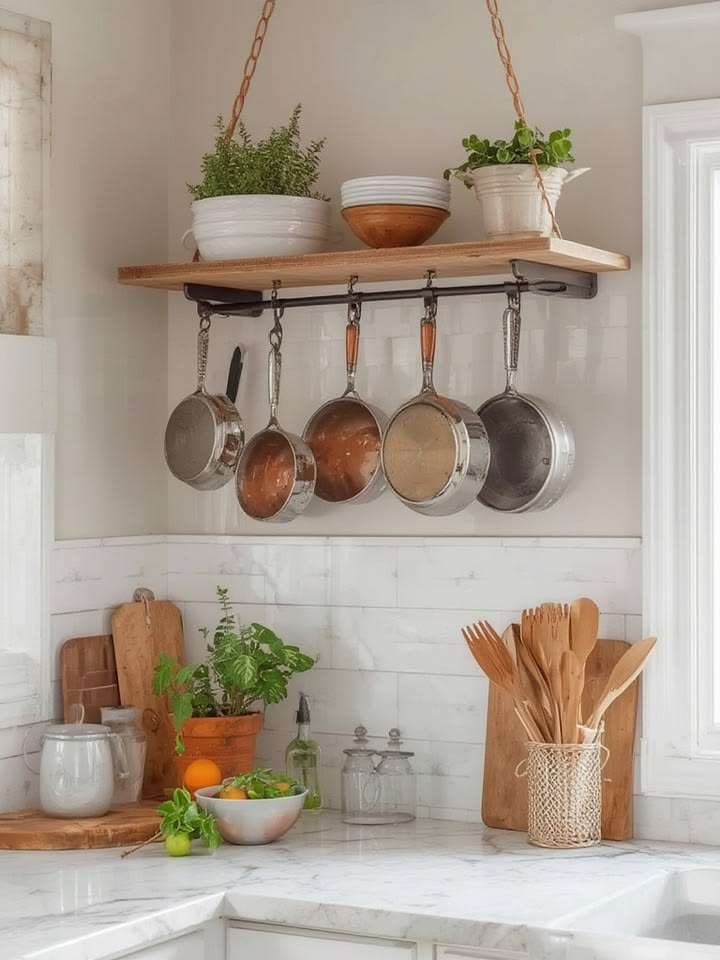
Not every studio kitchen can fit one, but if yours can, it frees up an entire cabinet’s worth of space and keeps your most-used cookware within reach instead of buried in a stack.
23. Stackable, uniform food storage containers instead of mismatched Tupperware.
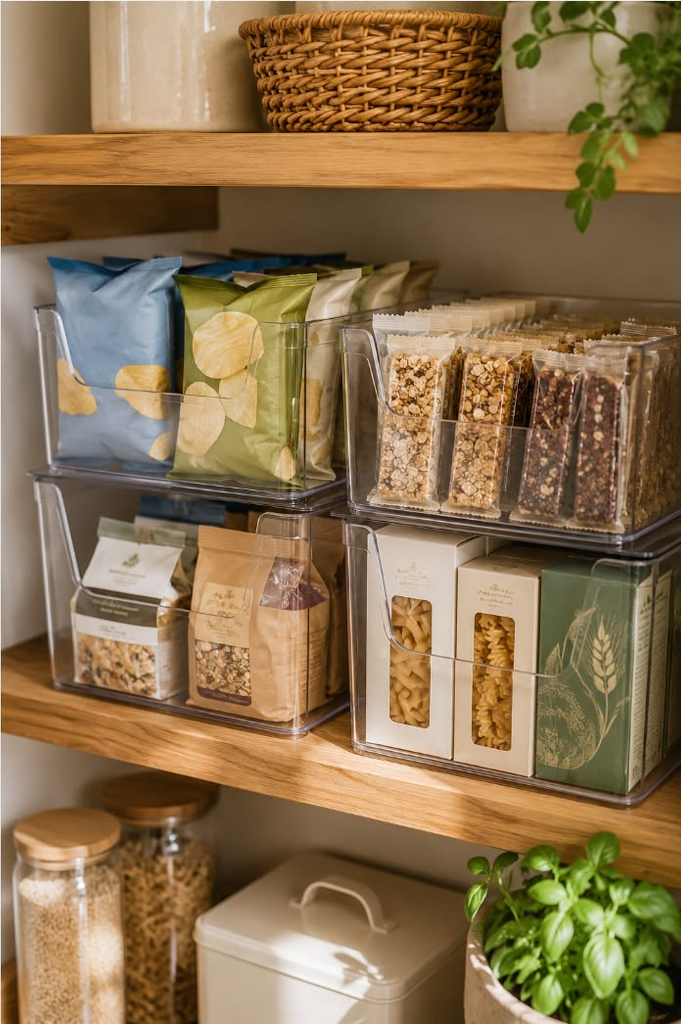
This sounds like a minor aesthetic thing, but uniform containers stack predictably, which means they actually use your cabinet’s vertical space instead of leaving gaps because every lid is a slightly different shape.
Pro tip: Before buying any kitchen organizer, do a “one week audit” — just notice what you actually reach for every day versus what sits untouched. In my case it was a Dutch oven I used maybe twice a year taking up my most accessible cabinet space, while my everyday pan was buried behind it. Rearranging based on actual use, not assumed use, solved more of my kitchen clutter than any product did.
Entryway and Closet Fixes
Most studios don’t have a real entryway — you just walk in and you’re already in the living room — which makes shoe and coat storage a bigger design problem than in a full apartment.
24. A slim console table by the door for keys, mail, and a catch-all tray.
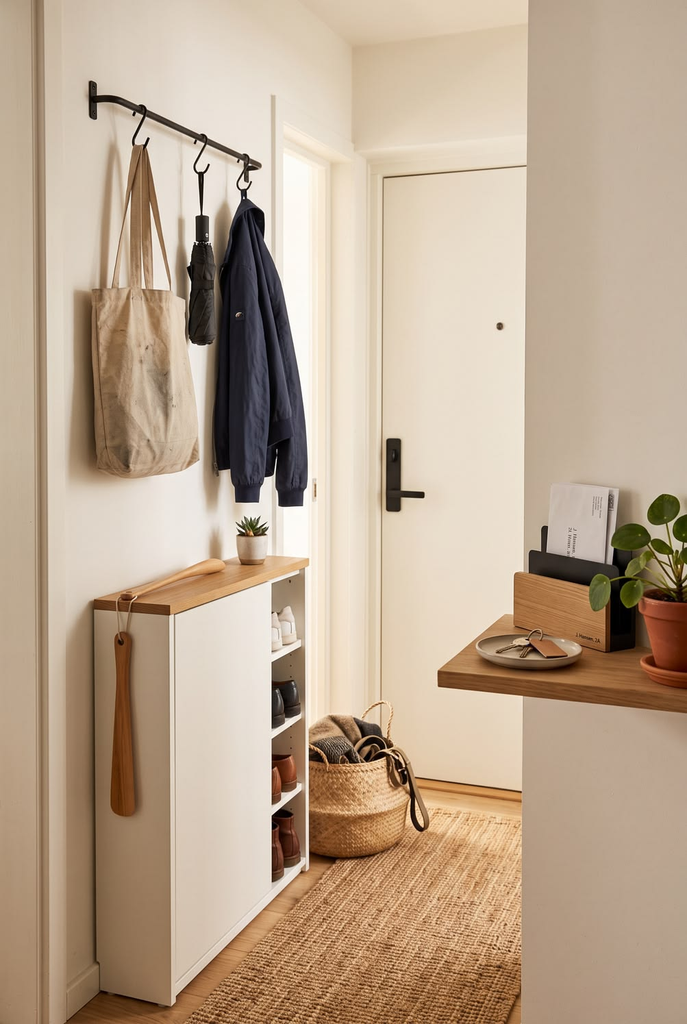
Even 10 inches of depth is enough to stop the “keys end up somewhere different every day” problem, which is a bigger source of daily friction than people give it credit for.
25. Over-the-door hooks for coats and bags instead of a coat closet.
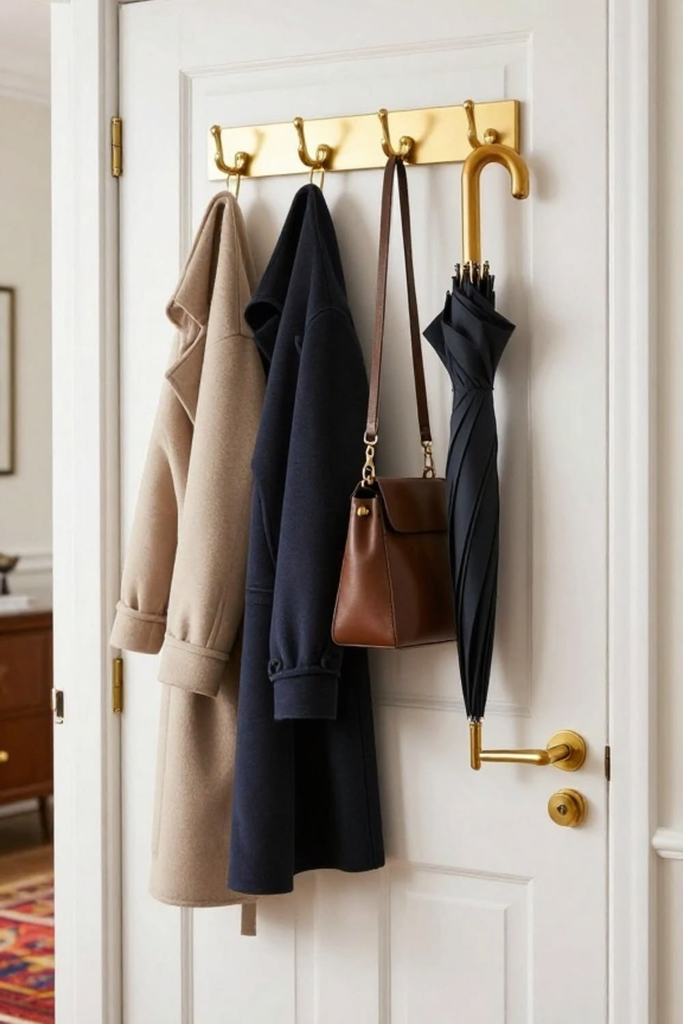
If you don’t have an entry closet — and a lot of studios don’t — an over-the-door hook rack right by the entrance does the job without needing a dedicated closet you don’t have.
26. A shoe bench that doubles as seating.
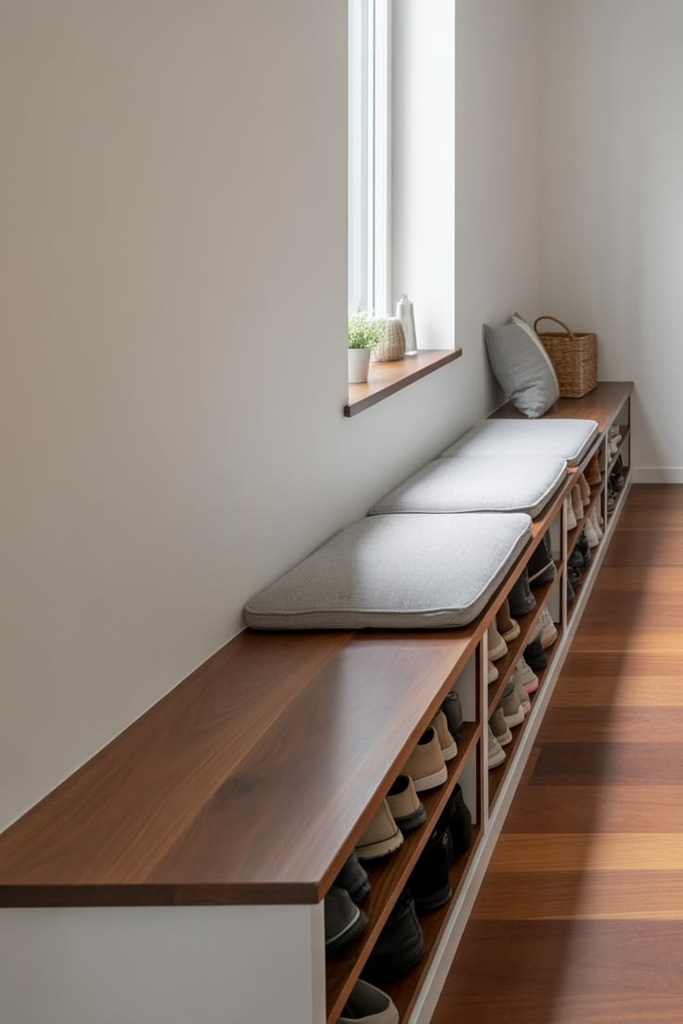
Similar logic to the bed-foot bench: it solves the “where do shoes go” problem and gives you a spot to actually put shoes on, which matters more in a studio where you might not have room for a full bench plus separate seating.
27. Closet organizer systems that don’t require drilling into the closet frame.
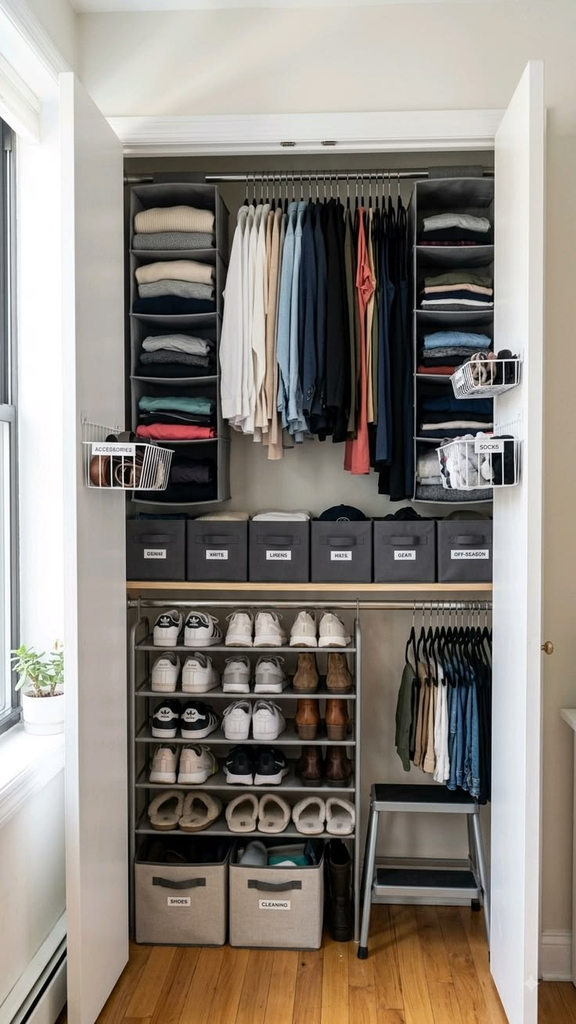
Tension-rod closet systems have gotten a lot better in the last couple of years — my friend Sophia repainted her rental’s entryway closet doors twice before landing on the right shade of white (turns out “white” has like 40 undertones once you’re staring at paint chips under bad lighting), but the tension-rod shelving inside it went in without a single hole in the wall, which mattered a lot for getting her deposit back.
Pro tip: If your studio genuinely has no entry area, you can fake one with a small rug and a console table placed just inside the door — it creates a visual “landing zone” that psychologically (and practically) stops clutter from spreading into the rest of the room.
Bathroom Storage in a Studio-Sized Bathroom
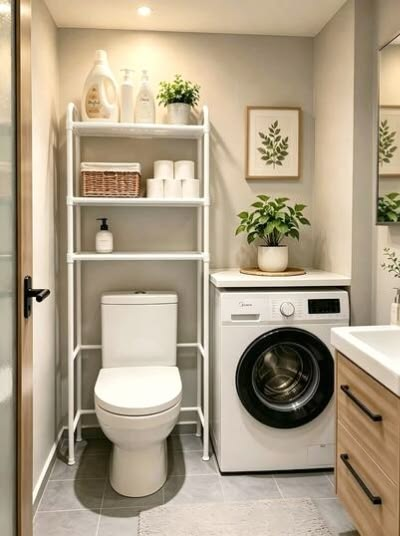
Studio bathrooms are often the one room that’s a fixed size no matter what — but there’s usually more unused vertical space than people use.
28. An over-the-toilet storage unit.
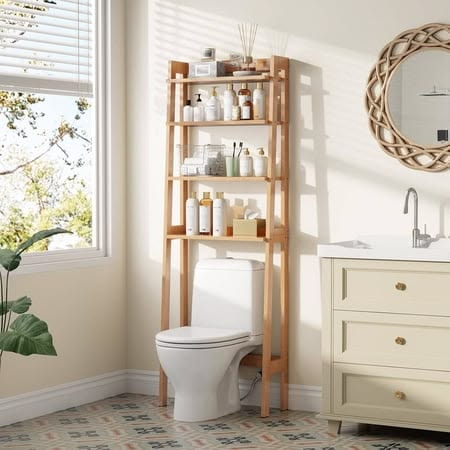
This is the most obvious pick on this whole list, but it’s obvious because it works — it’s one of the only spots in a small bathroom with genuinely wasted vertical space.
29. A shower caddy that hangs from the showerhead instead of suction cups.
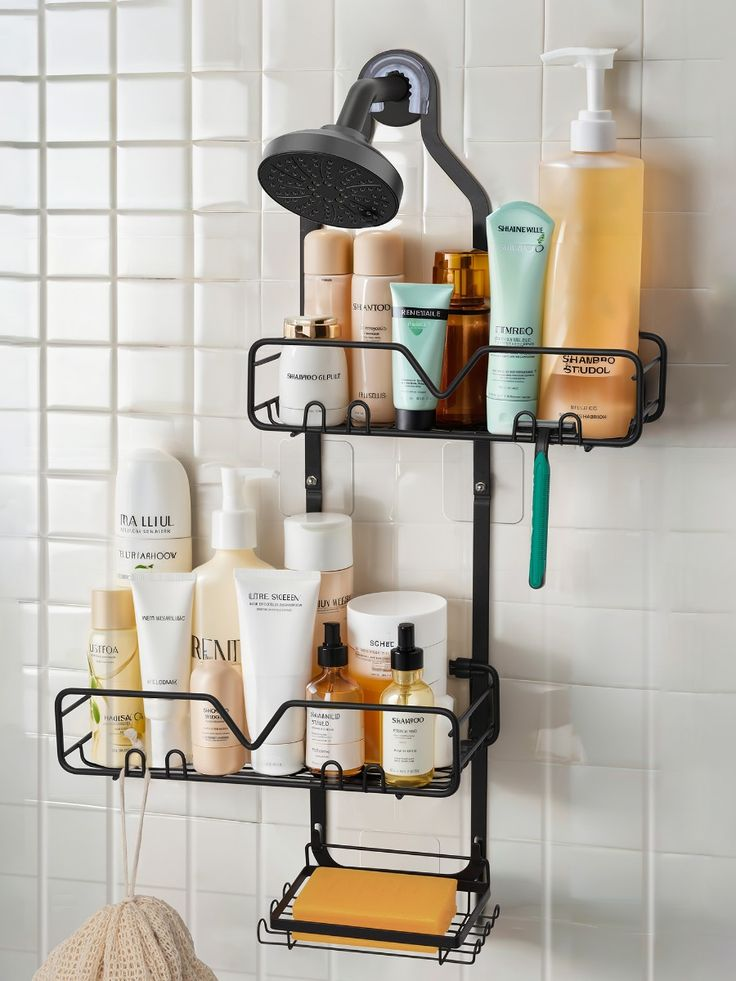
I went through three suction-cup caddies before switching to a hanging one, and the difference in how often it actually stays up is not close. Suction cups fail in humidity way more often than the packaging implies.
30. A medicine cabinet swap if your bathroom only has a mirror.
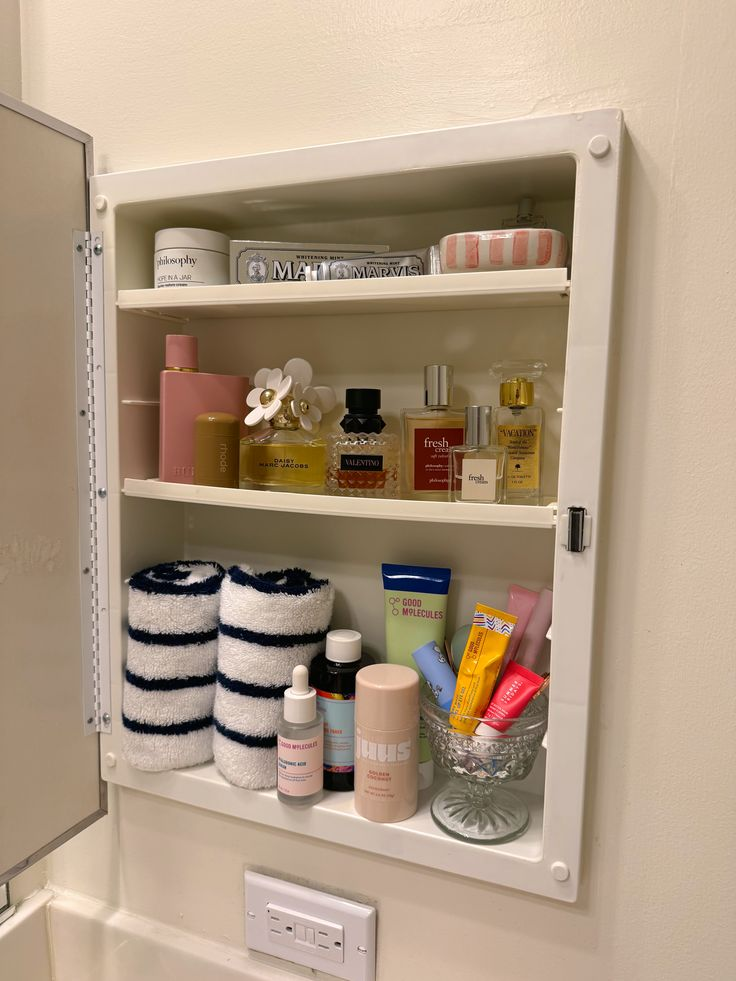
Swapping a flat mirror for a mirrored medicine cabinet adds storage without taking up any additional wall footprint — you’re using space that was already “wasted” behind the mirror.
Pro tip: Humidity destroys adhesive-backed organizers faster than anywhere else in the apartment. If you’re using Command strips or adhesive hooks in the bathroom, get the ones rated specifically for high-humidity or shower use — the standard indoor ones will peel off within a few months.
Dead Space, Corners, and the Gaps Nobody Plans For
Every studio has a handful of oddly-shaped leftover spaces — the gap beside a fridge, the corner nobody furnishes, the space above a doorframe. These add up to real storage if you actually use them.
31. A slim rolling cart in the gap beside the fridge.
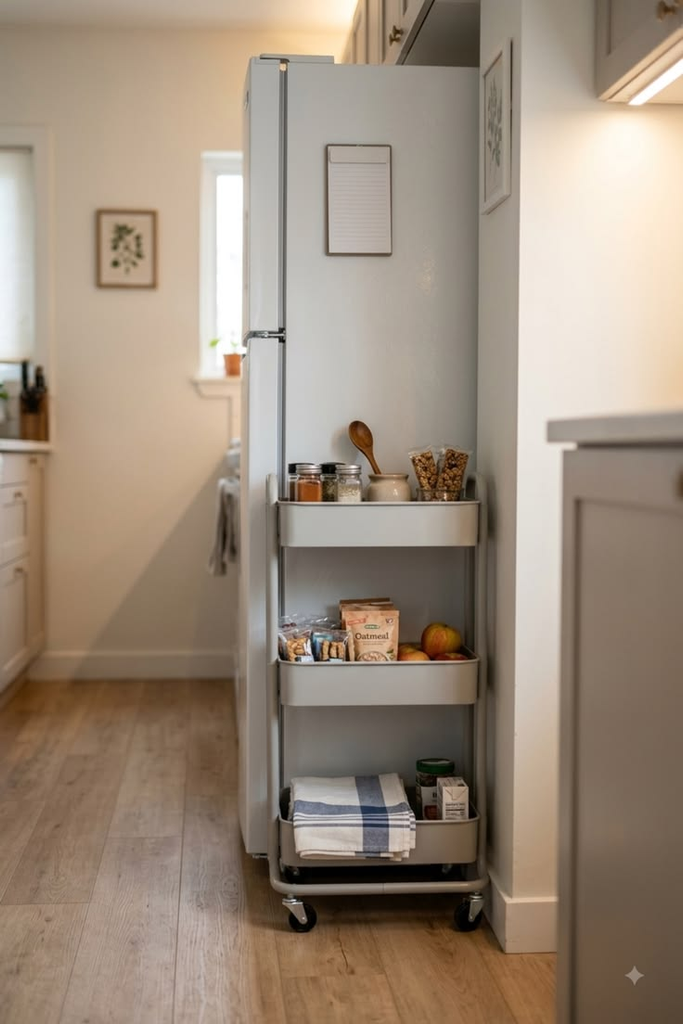
Most fridges leave a 4–6 inch gap on one side, and a narrow rolling storage cart built specifically for that space (they’re usually marketed for kitchens but work anywhere) turns dead space into pantry storage.
32. Corner shelving units instead of skipping the corner entirely.
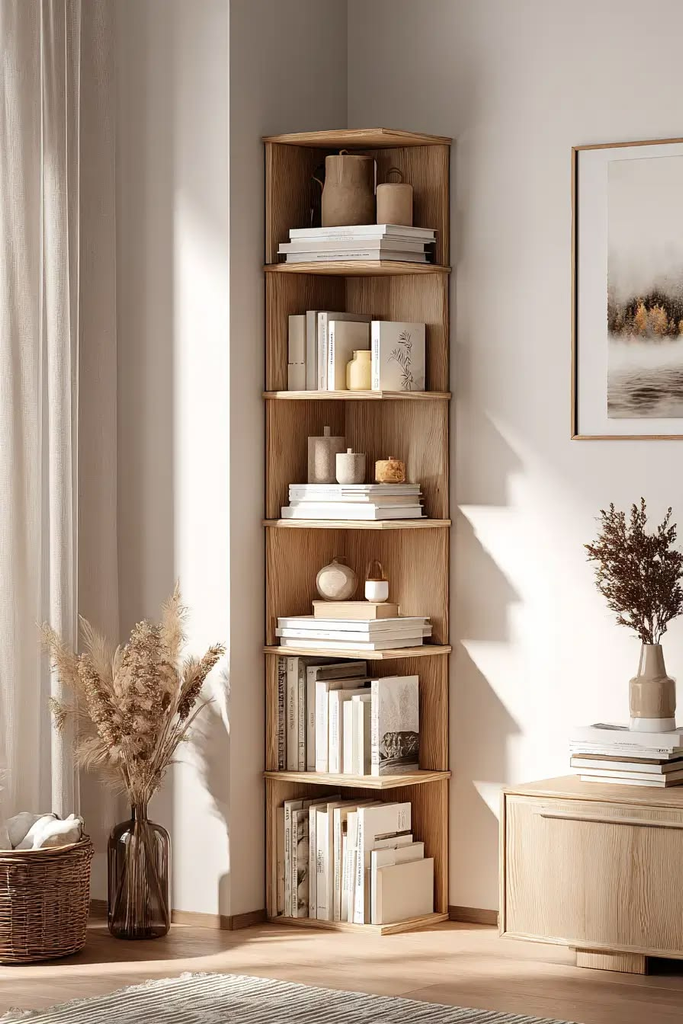
Corners are the most commonly wasted space in a studio because most furniture is built for flat walls, not corners. A dedicated corner shelf unit uses a spot that would otherwise sit empty.
33. The space above kitchen cabinets, if yours don’t reach the ceiling.
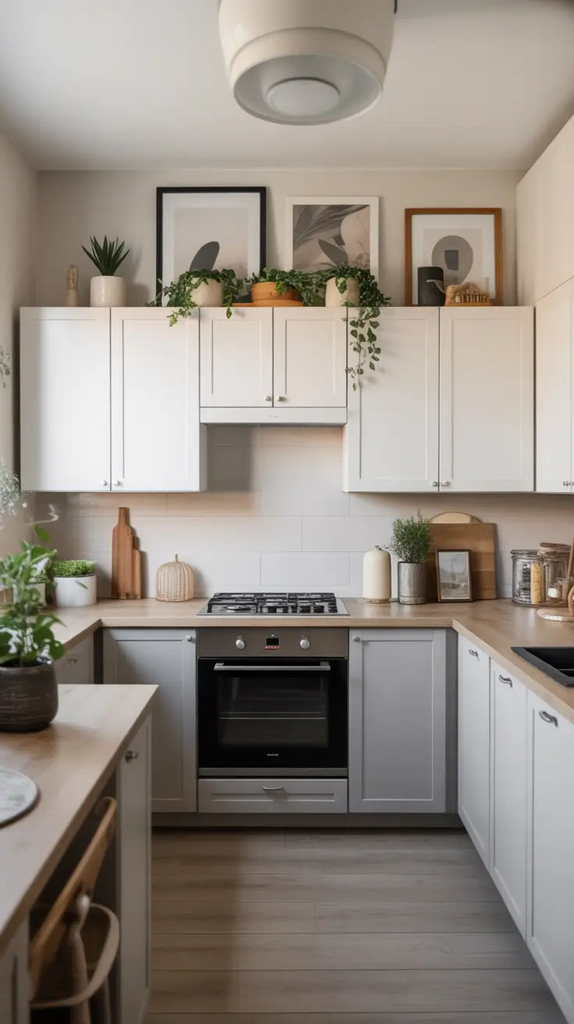
Baskets or matching decorative boxes up there can hold seasonal or rarely-used items without cluttering the counters or lower cabinets — just keep a step stool nearby, because you will forget what’s up there otherwise.
34. Behind-the-door space, specifically the sliver behind an open door.
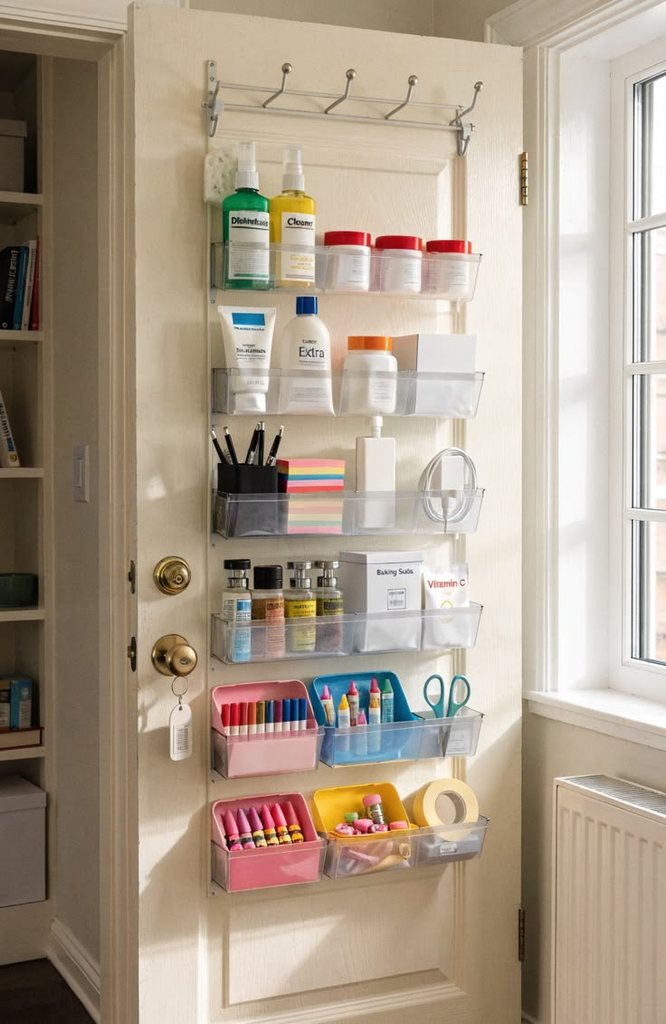
A slim over-the-door or door-mounted rack in that gap is one of the last truly unused spots in most studios, and it’s almost always big enough for at least a small hanging organizer.
Pro tip: Walk your apartment once with a notepad and just mark every spot where you could stand a piece of cardboard flat without it touching anything — that’s usable dead space, and most people never actually inventory it before they start buying storage furniture.
What I’d Actually Do First
If I were setting up a studio apartment from scratch again, I wouldn’t start with the cute stuff. I’d start with the storage bed frame or bed risers, because that’s the single biggest chunk of unused square footage in most studios, and then I’d do the pegboard and wall grid setup before buying a single piece of standalone furniture, because vertical storage is the cheapest square footage you’ll ever “add” to an apartment.
The honest truth about studio apartment storage is that it’s less about buying more organizers and more about being ruthless about what’s actually earning its floor space. Every piece of furniture in a studio should be doing at least two jobs — storage and seating, storage and a table, storage and a room divider — or it’s probably not worth the square footage it’s taking up.

Leave a Reply