
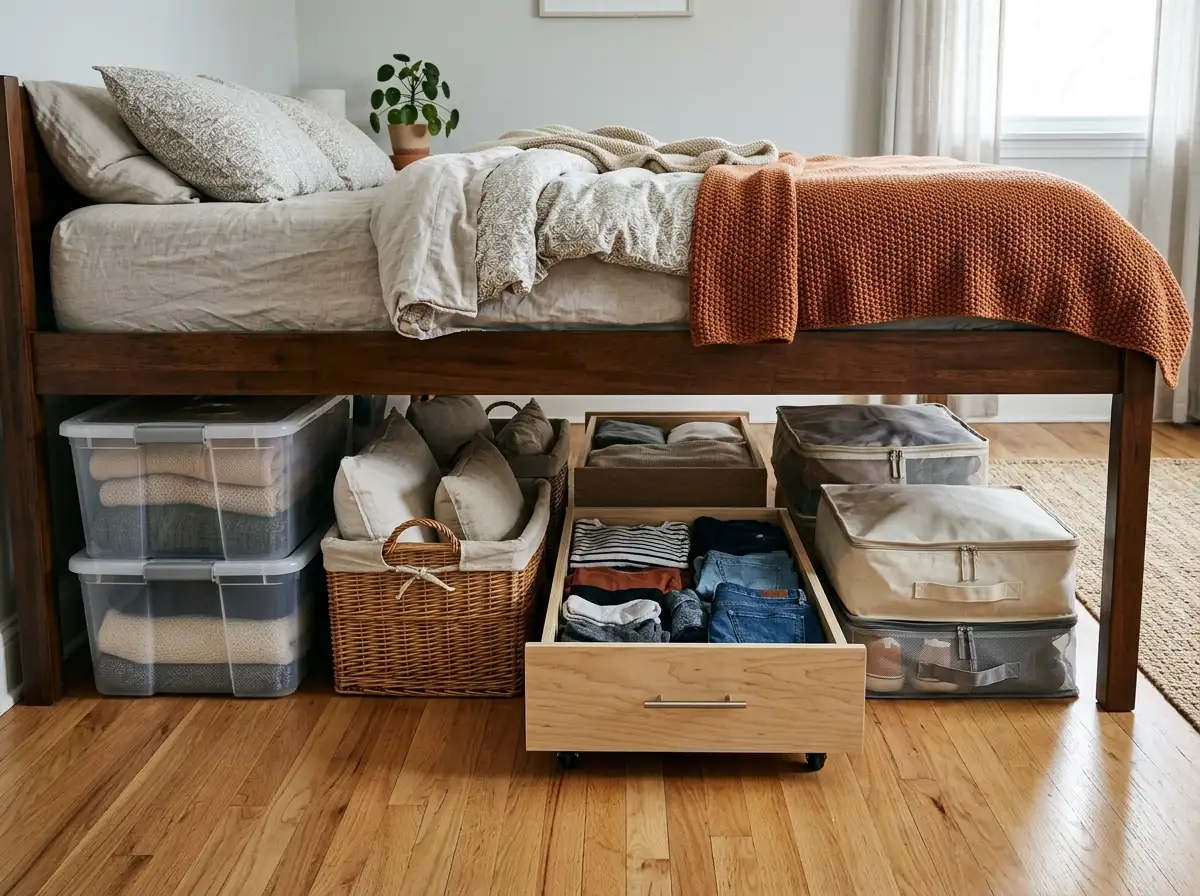
I lived in a 9×10 bedroom for three years before I figured out that the space under my bed wasn’t “wasted space,” it was just unorganized space I’d been ignoring.
Once I actually measured the clearance under my bed frame — 7 inches, for the record, which ruled out about half of what I’d pinned on Pinterest — I stopped guessing and started fitting real storage into it.
This post is everything I’ve tried, everything my friends have tried, and a few ideas readers have sent me after their own trial and error.
If you’re working with a tiny bedroom, a studio, or a dorm room, under-bed storage is probably the single highest-value square footage in the whole room, and almost nobody uses it well.
So here’s a full breakdown of under-bed storage ideas for tiny bedrooms, organized by type, with the actual trade-offs — cost, durability, what fits under which bed height — so you’re not buying the wrong bin twice like I did.
Quick note before we start: almost every idea below assumes you know your clearance height.
If you don’t, grab a tape measure right now and check the gap between your floor and the bottom of your bed frame (not the mattress — the frame).
That single number determines probably 80% of what will actually work for you, so it’s worth the two minutes.
Measure First: The One Step Everyone Skips
Standard bed frames give you somewhere between 4 and 7 inches of clearance.
Platform beds with a boxspring can go higher, sometimes 10-12 inches. Loft or bunk beds obviously have the most room, but also the most awkward access since you’re usually sliding things out sideways instead of pulling straight out.
Pro tip: if your clearance is under 6 inches, skip anything with wheels or a lid that opens upward — you need flat-lid bins you slide out completely, not ones you open in place.
I learned this after buying a bin with a hinged lid for a 5-inch gap and never being able to actually open it without pulling the whole thing out first, which defeats the point.
Bin and Tote Storage (Ideas 1–6)
This is the category most people start with because it’s cheap and doesn’t require any tools, so it’s worth getting right.
1. Low-profile plastic bins with flat lids.
These are the workhorse option — under $15 each at most big box stores, stackable if you have extra clearance, and durable enough to survive being dragged across hardwood or carpet repeatedly. My only complaint is that clear ones scratch up and go cloudy after a year or two of sliding in and out.
2. Fabric storage totes with reinforced bottoms.
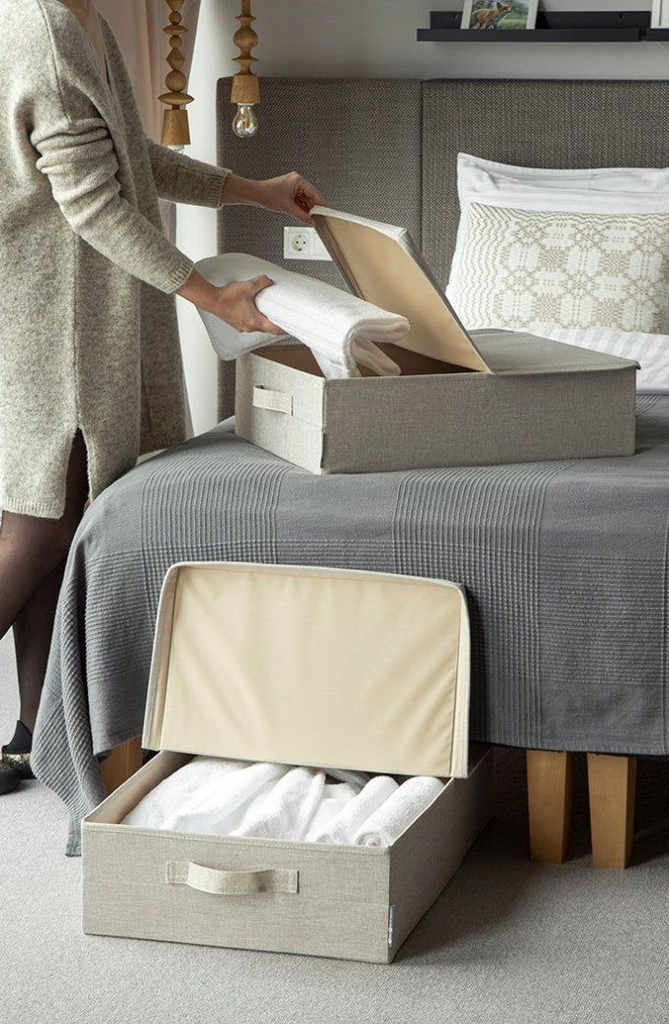
Softer on hardwood floors, quieter to slide, and they compress slightly if you’re an inch short on clearance. The trade-off is they don’t protect against moisture or bugs the way plastic does, so I wouldn’t use these for anything you’re storing long-term in a basement-adjacent bedroom.
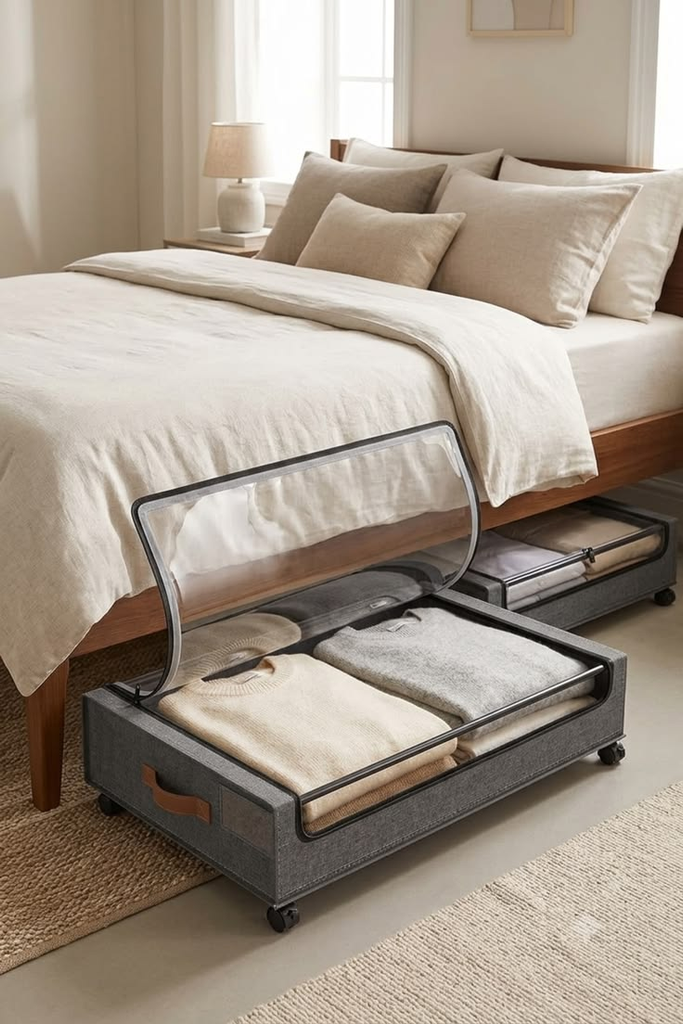
3. Underbed bins with built-in wheels.
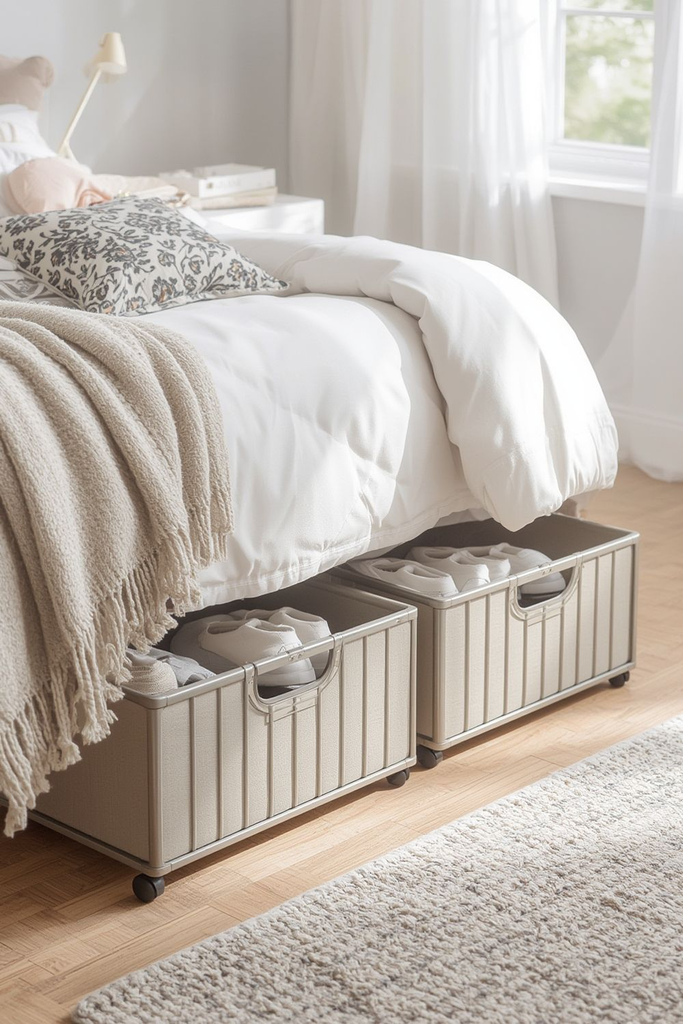
Great if you have 6+ inches of clearance and a hard floor. Genuinely useless on carpet — the wheels just dig in and you end up dragging the bin anyway, so don’t pay extra for this feature unless your floor is hardwood, tile, or laminate.
4. Divided bins for shoes.
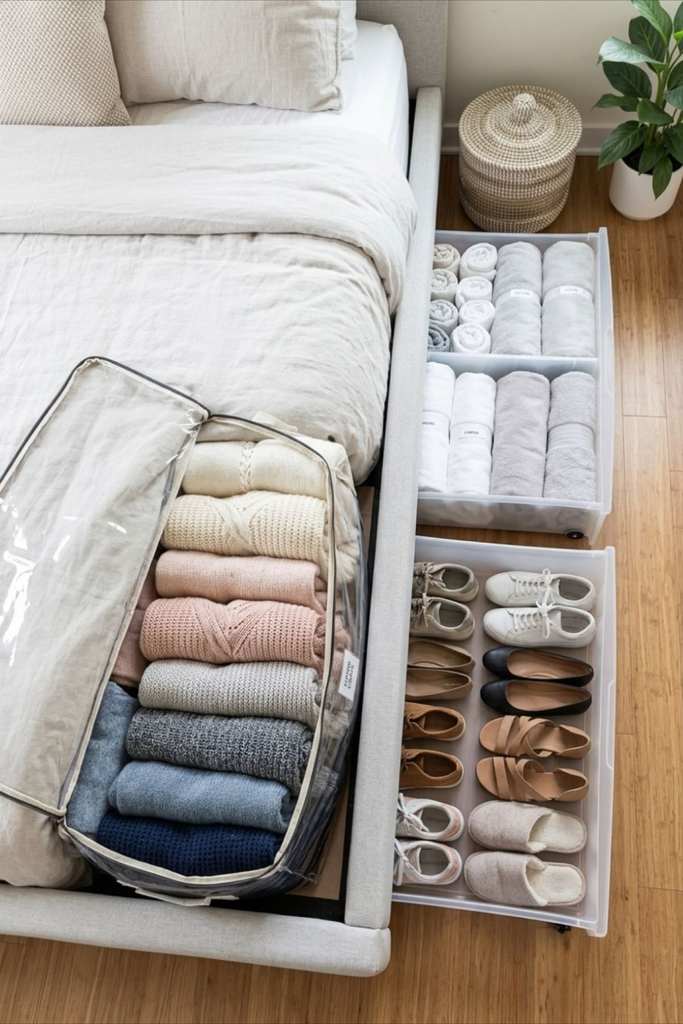
A friend of mine, Priya, switched to individual shoe compartment bins after losing count of how many single shoes she’d find under there without a match. If you have more than eight or so pairs, divided storage saves you the archaeology dig every morning.
5. Label-front bins for seasonal rotation.
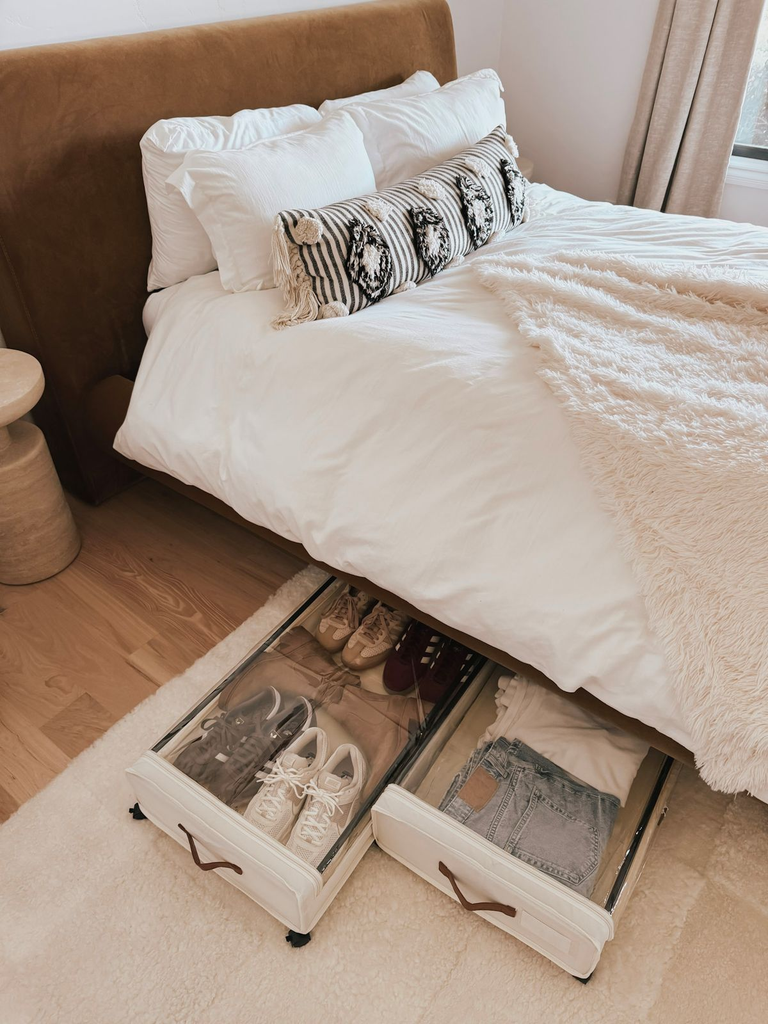
Not glamorous, but if you’re swapping bins twice a year (summer/winter clothes, holiday decor), a bin you can identify without pulling it all the way out saves real time.
I write on painter’s tape instead of buying pre-labeled bins — cheaper and it comes off clean when you want to relabel.
6. Slim document/craft bins for flat items.
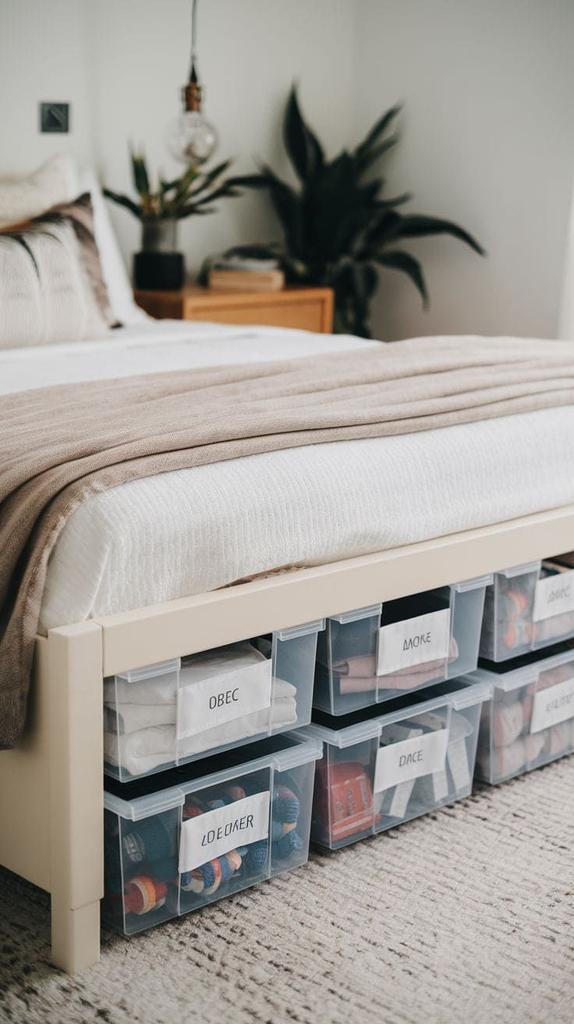
These are usually 3 inches tall or less, meant for things like wrapping paper, flat photos, or craft supplies. If your clearance is tight, these are often the only bin option that fits at all.
Pro tip: buy one bin first and test it under your actual bed before ordering a matching set of six. I’ve seen so many people order a full set online, measure wrong by half an inch, and end up with bins stacked uselessly in a closet instead.
Drawer Systems (Ideas 7–11)
Drawers cost more up front but they solve the “sliding a heavy bin across the floor” problem completely, which matters more than people expect once their back is involved.
7. A bed frame with built-in storage drawers.
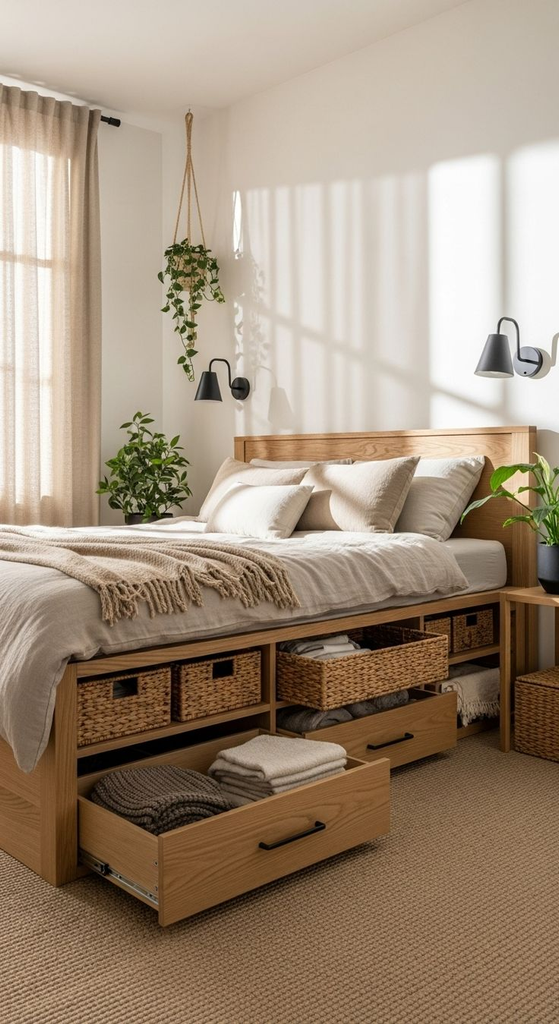
If you’re furniture shopping anyway, this is honestly the best long-term investment — you’re not adding storage, you’re building it into the piece you already need. Prices range wildly, roughly $250 on the low end to $900+ for solid wood versions.
8. Rolling underbed drawer units (no bed frame required).
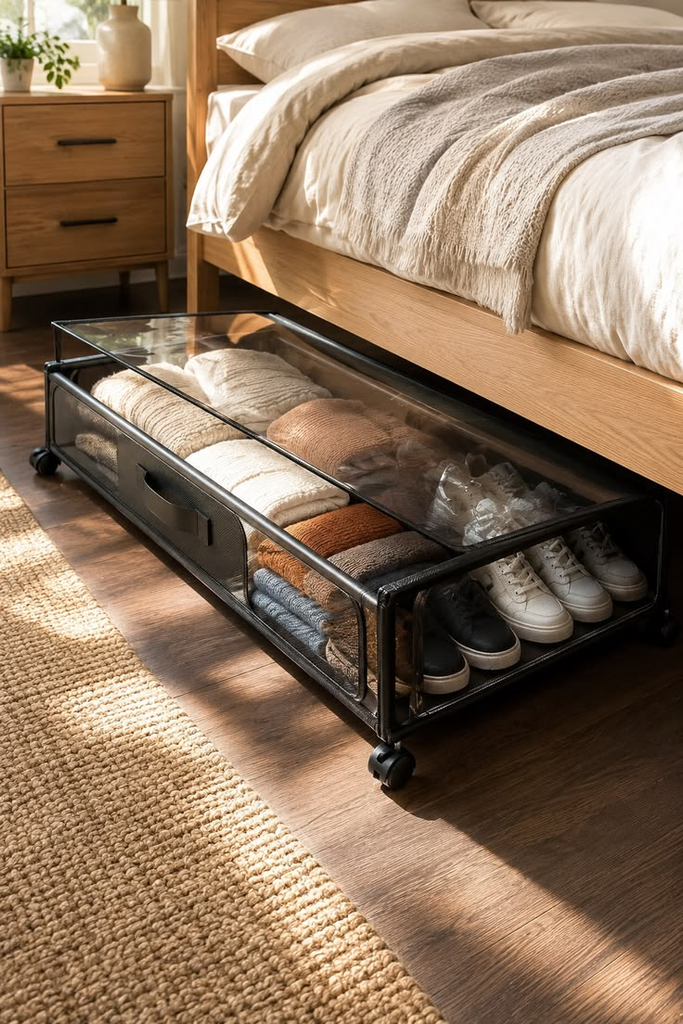
These sit on casters and slide in and out like a real drawer, without needing a special frame. They’re bulkier than bins and need more clearance (usually 7+ inches), but they hold significantly more weight without sagging.
9. IKEA-style modular storage units repurposed under the bed.
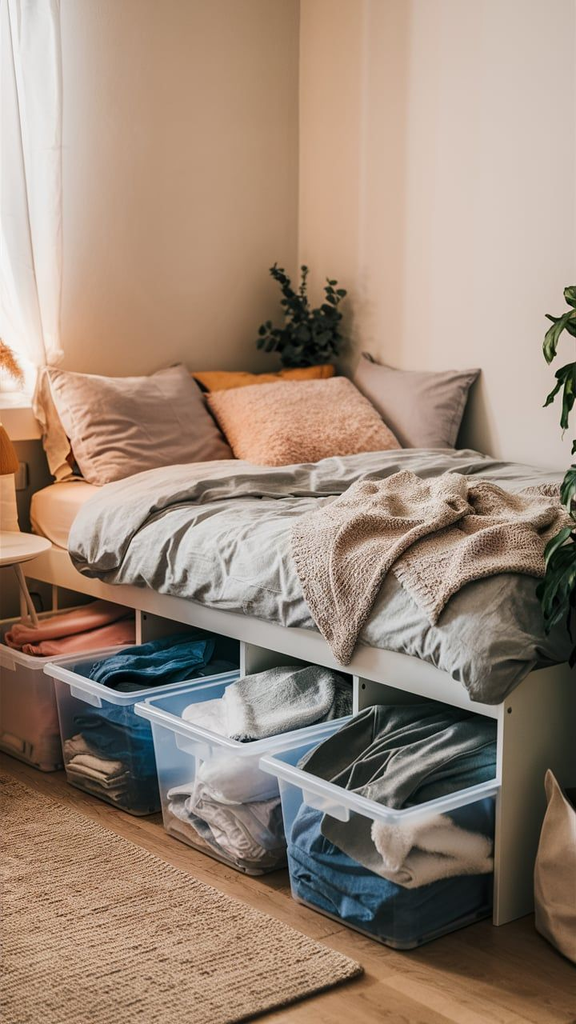
A reader emailed me a photo of using a shallow IKEA shoe cabinet turned on its side and slid under a platform bed — clever, but only works if your bed height matches the unit almost exactly, so measure twice before you commit to this one.
10. Stackable drawer bins for closet-adjacent storage.
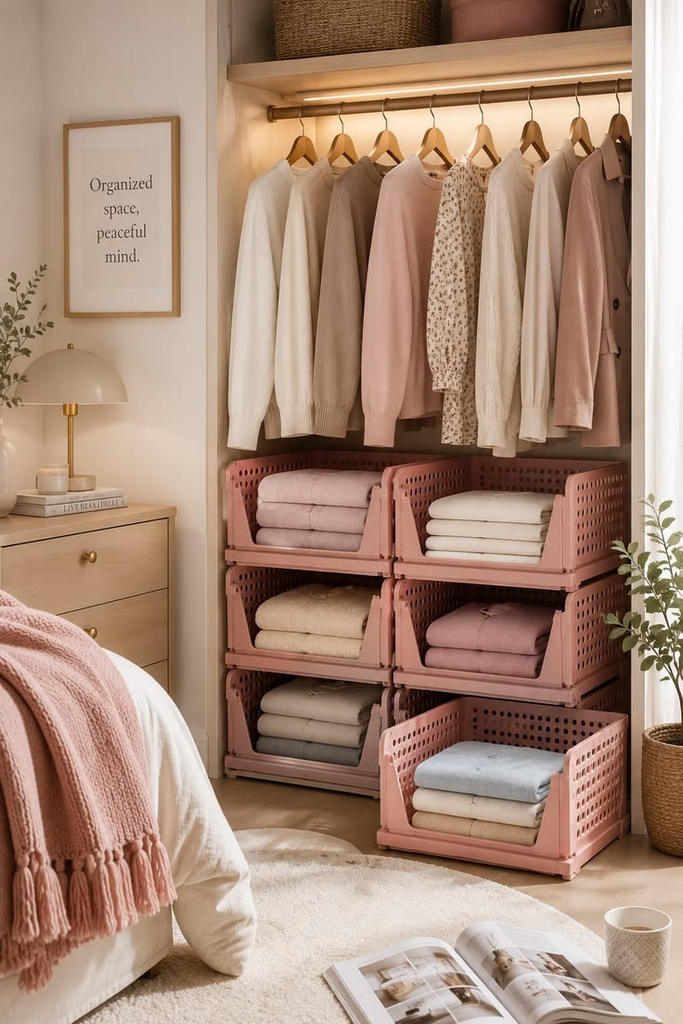
These are meant for closets but work under beds with 8+ inches of clearance, and the drawers pull individually instead of you dragging the whole unit, which is nice if you’re only grabbing one thing.
11. Custom-built drawers on furniture-grade casters.
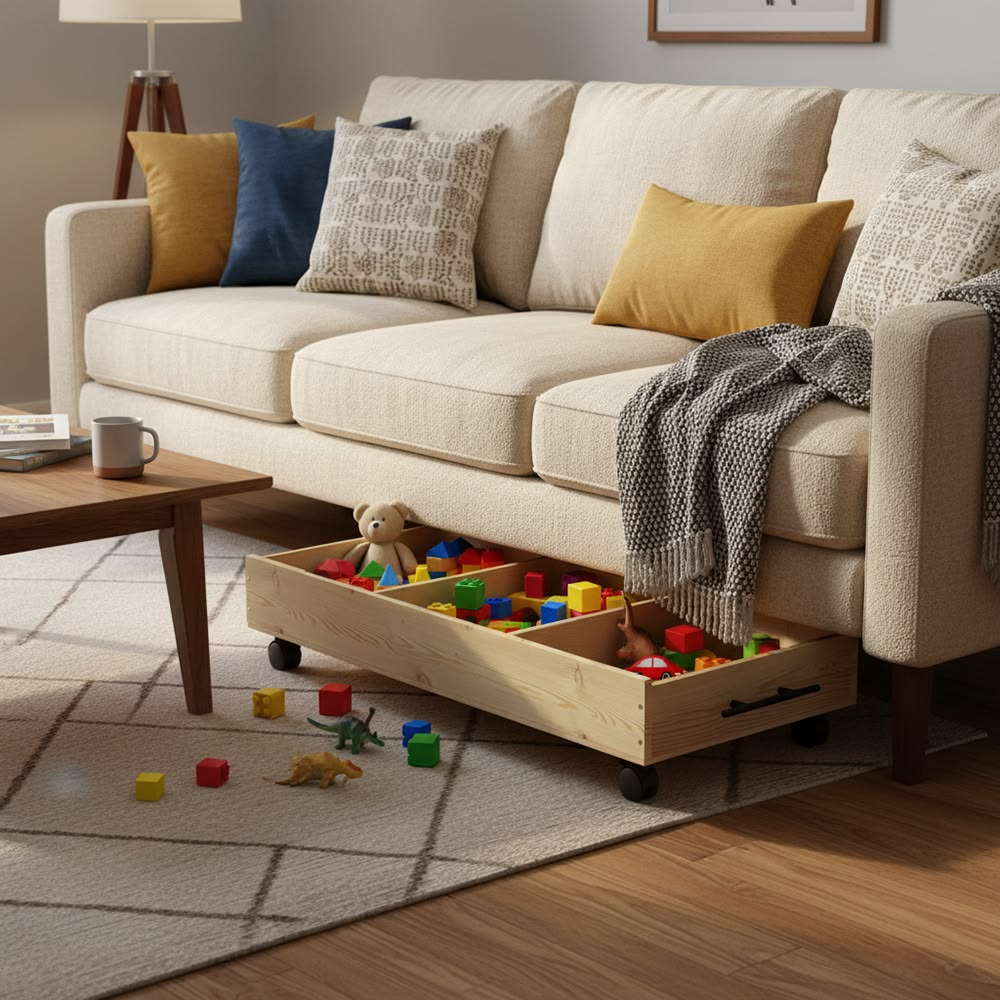
This is the DIY option — plywood box, casters screwed to the bottom, sized exactly to your clearance and bed width. More on the build specifics in the DIY section below.
Pro tip: measure your doorway and hallway too, not just the space under the bed. I ordered a drawer unit that fit perfectly under my bed and then couldn’t get it around the corner into my apartment — had to return it and eat the restocking fee.
Vacuum-Seal and Soft Storage for Seasonal Items (Ideas 12–16)
This category is specifically for things you’re not touching often — off-season clothes, extra bedding, out-of-rotation coats.
12. Vacuum-seal storage bags.
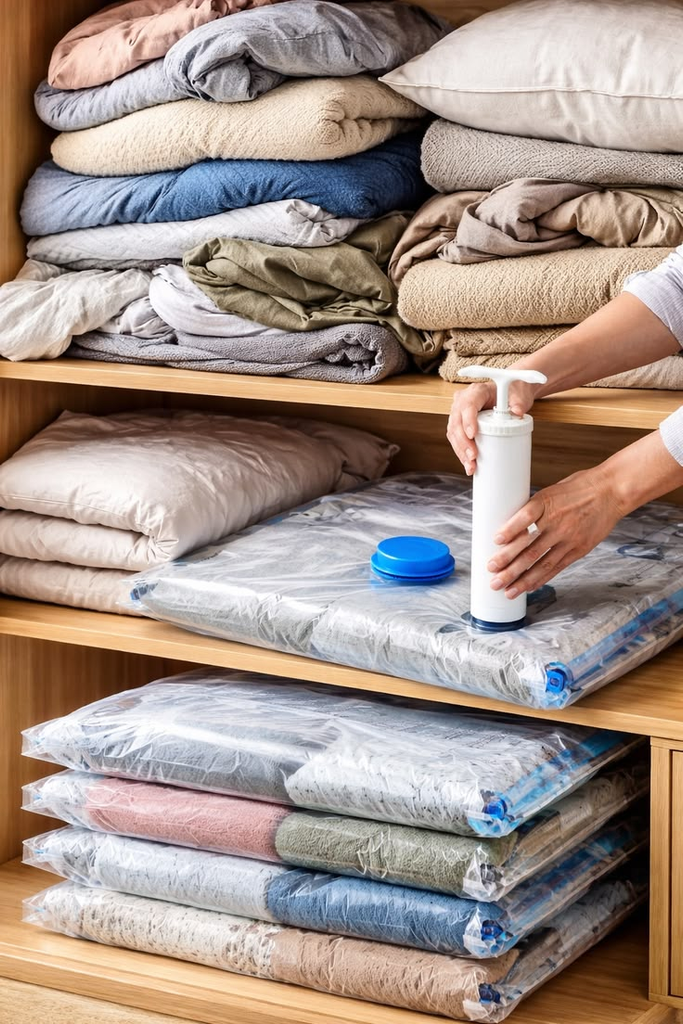
These compress bulky items like comforters and winter coats down to a fraction of their size, which matters a lot in low-clearance situations.
The catch: you need an actual vacuum (or the hand-pump kind, which takes forever) and they can re-inflate slightly over months if the seal isn’t perfect.
13. Zippered underbed storage bags with a clear window.
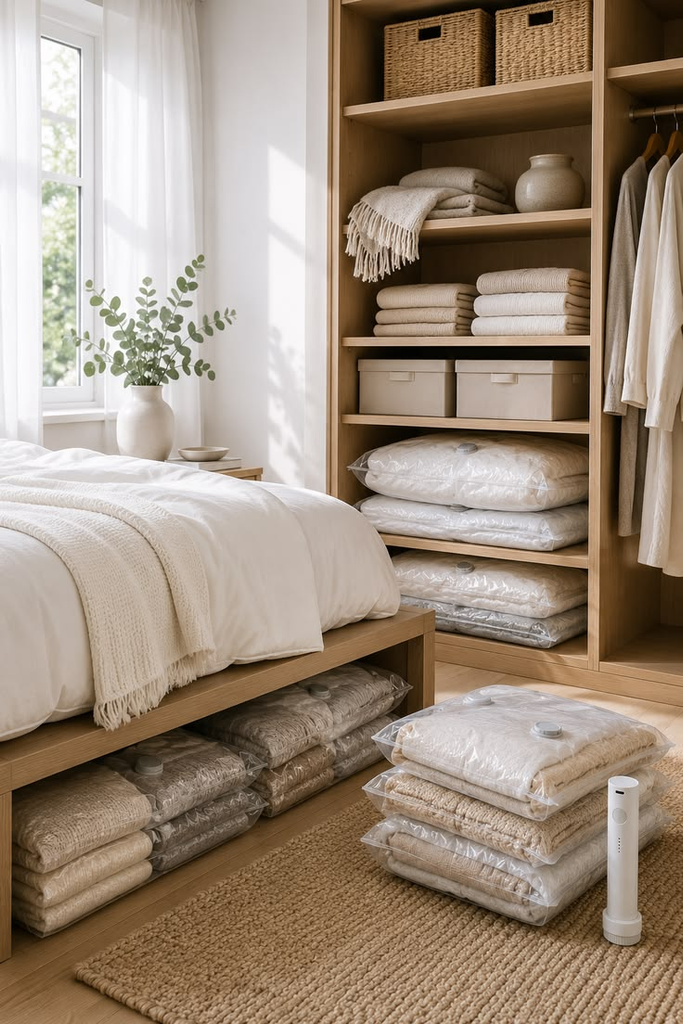
Less compression than vacuum bags but faster to grab from and see into, which makes them better for things you rotate seasonally rather than store for a full year.
14. Cedar-lined storage bags for wool or delicate fabric.
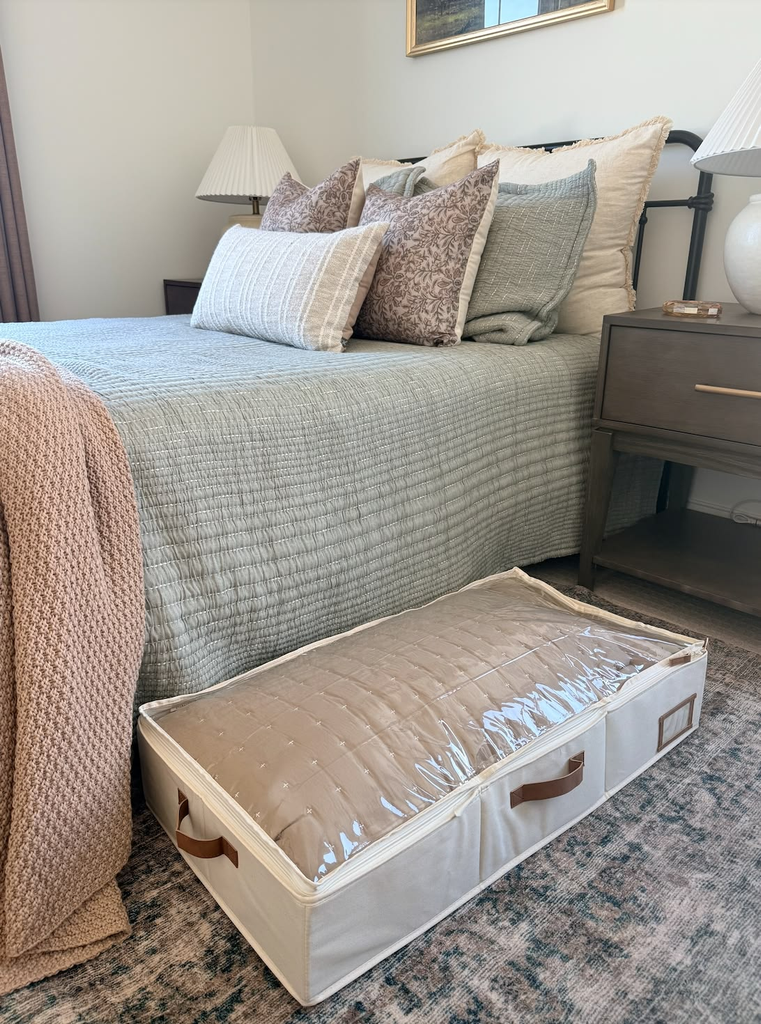
Worth the extra cost if you’re storing anything wool or cashmere — regular plastic bins can trap moisture and you’ll pull out a sweater smelling faintly of mildew, which happened to me exactly once and was enough to never do it again.
15. Compression cube organizers (packing-cube style) for smaller seasonal items.
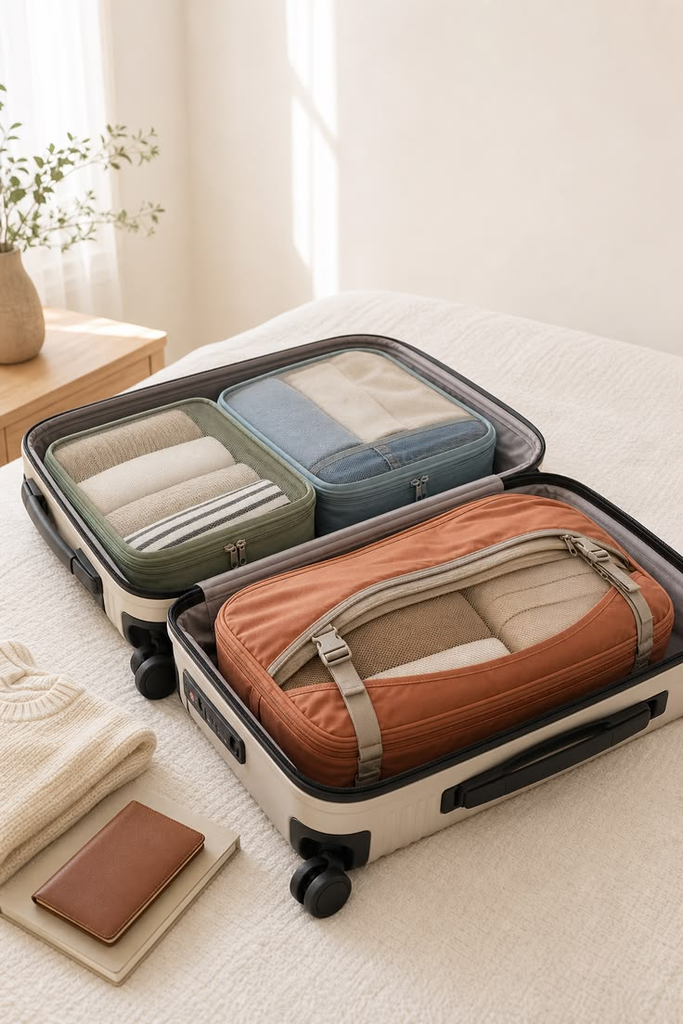
These are usually meant for travel but work well under a bed for scarves, gloves, or swimwear you’re storing between seasons.
16. A dedicated “extra bedding” flat bag.
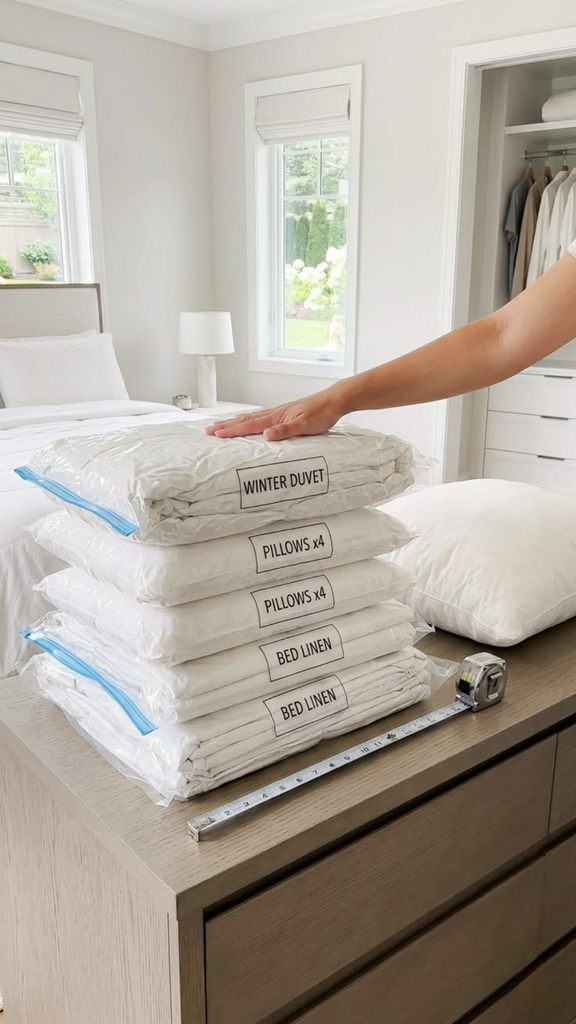
Spare sheets and a backup comforter take up a surprising amount of closet space; a single flat zippered bag under the bed frees up shelf space elsewhere, and it’s one of the easiest wins on this whole list.
Pro tip on vacuum bags: don’t vacuum-seal anything down that’s structured or has any padding you want to keep its shape — like a puffer coat. Mine came out permanently flattened in spots after a season sealed down, and no amount of shaking it out fixed it.
Bed Risers and Raising Your Bed for More Clearance (Ideas 17–19)
If nothing above fits because your clearance is too tight, this is the fix that solves the actual root problem instead of working around it.
17. Basic wooden or plastic bed risers.
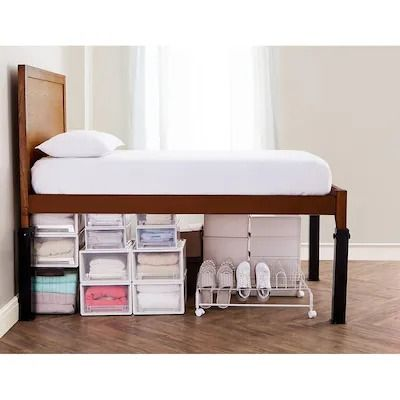
These slide under your existing bed legs and add anywhere from 3 to 8 inches of height, instantly opening up clearance for bins that wouldn’t have fit before. They run about $20–30 for a set of four and are the cheapest fix on this entire list.
18. Bed risers with built-in outlets or USB ports.
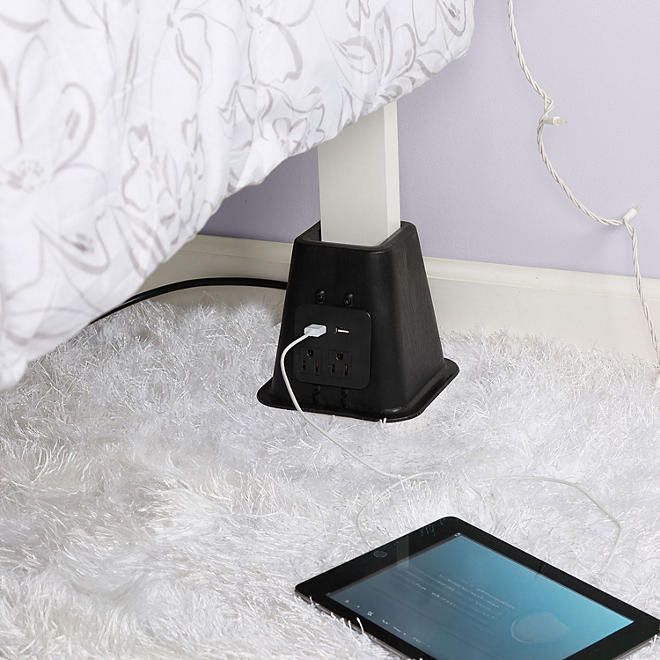
A slightly pricier upgrade, useful if your only outlet is on the far side of the room — I put a set under a friend’s bed in her dorm and it solved her extension cord situation and gave her storage clearance at the same time.
19. A platform bed swap for a taller frame.
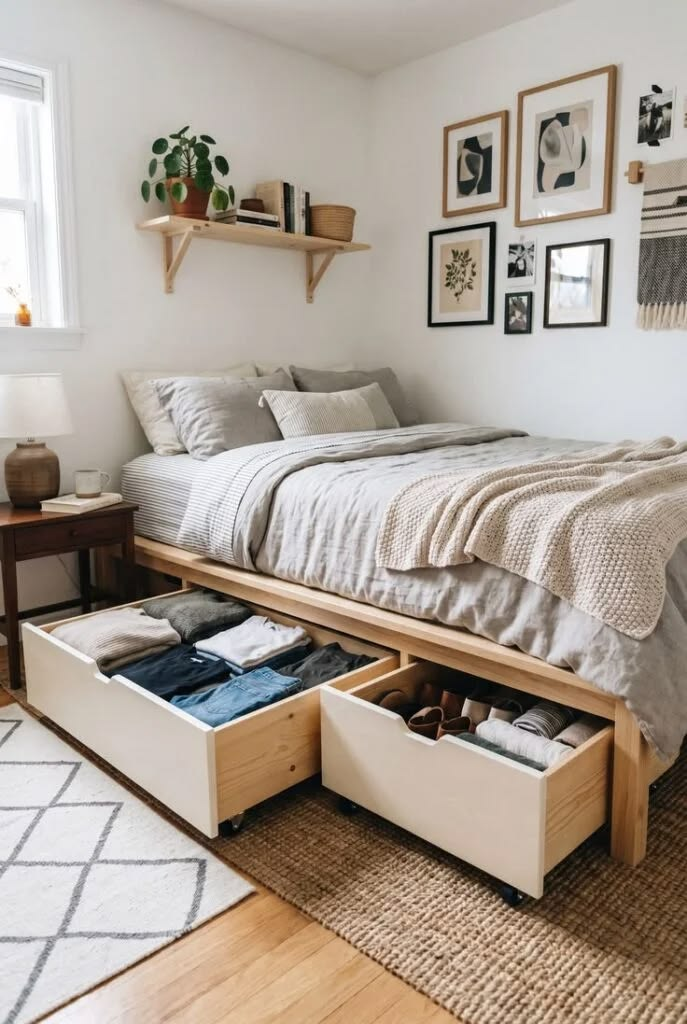
More expensive and more disruptive, but if you’re already replacing furniture, choosing a frame with a higher clearance from the start avoids needing risers or bins that barely fit at all.
Pro tip: check your bed frame’s leg style before ordering risers — some risers are made for round legs, some for square, and a few beds (especially metal frames) have legs that don’t fit standard risers at all. Measure the leg diameter, not just the room.
Rolling and Wheeled Storage (Ideas 20–23)
Best for hardwood, tile, or laminate floors — skip this section entirely if you’re on carpet, wheels just won’t roll.
20. A rolling underbed cart with mesh baskets.
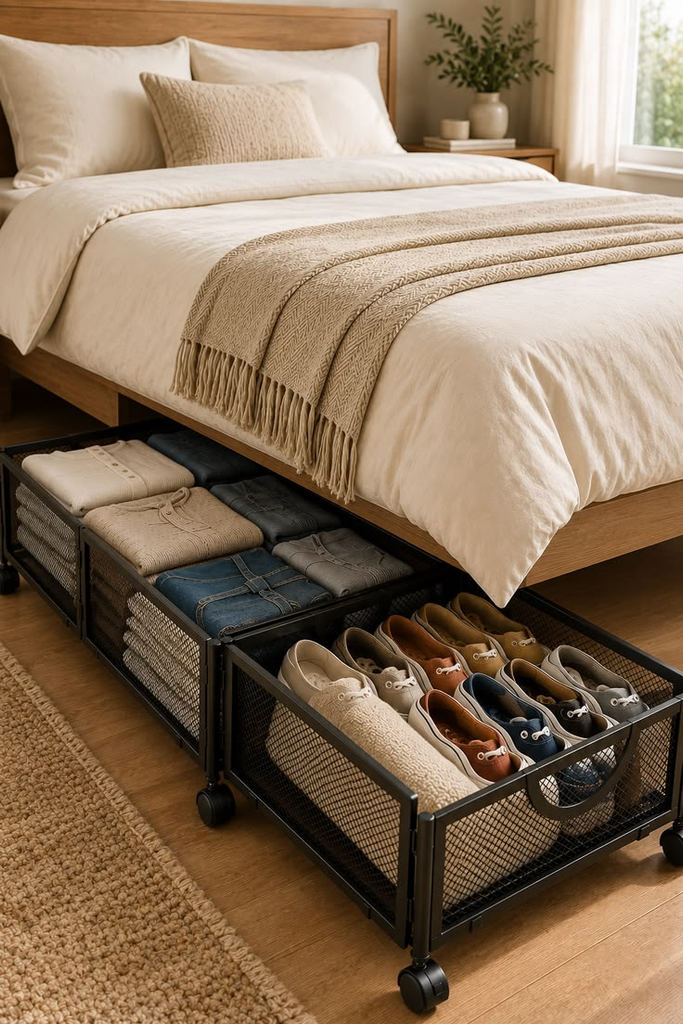
Great for shoes or accessories you want to see at a glance instead of digging through a bin. The open mesh does mean dust gets in, so it’s not ideal for anything you’re storing untouched for months.
21. A slim rolling cart typically sold for bathroom storage.
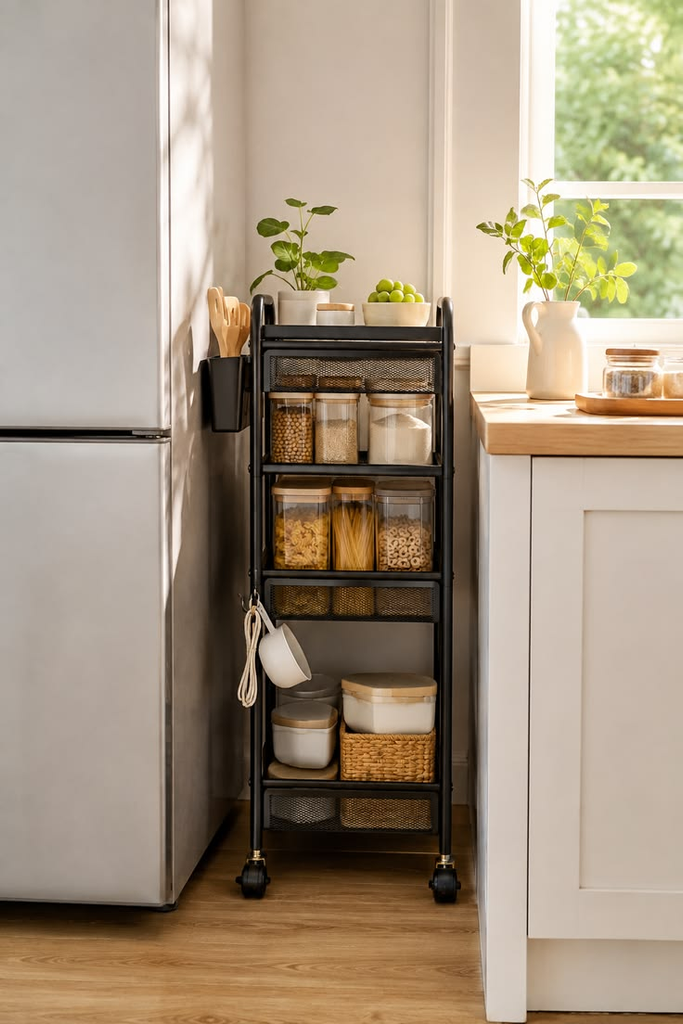
These are narrower than most underbed-specific products and slide out easily, which makes them a smart repurpose if your under-bed space is a tight, narrow channel rather than the full width of the bed.
22. A wheeled toolbox-style storage unit.
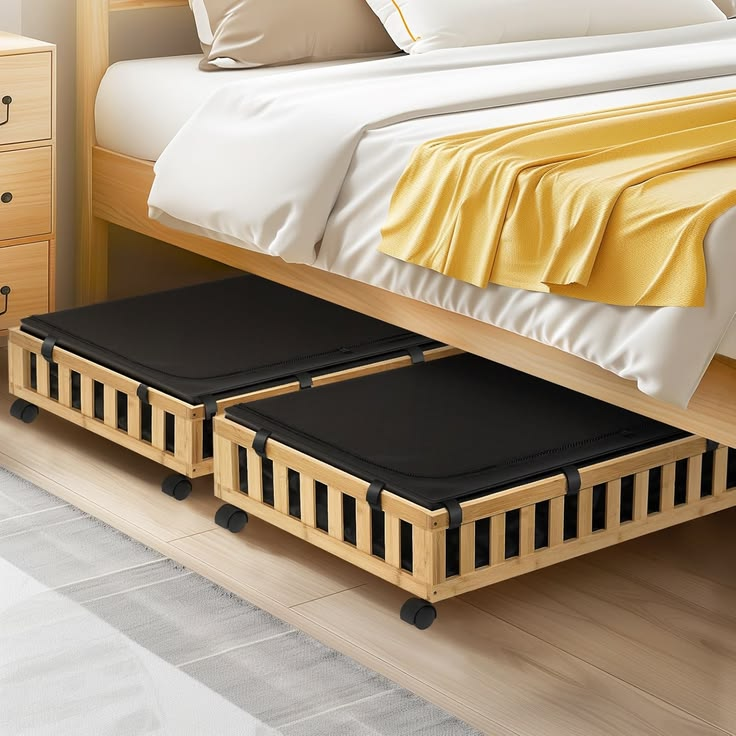
Sturdier than most underbed products because it’s built for a garage, with the trade-off that it’s usually deeper and needs more clearance — measure before buying.
23. A rolling underbed unit with a locking mechanism.
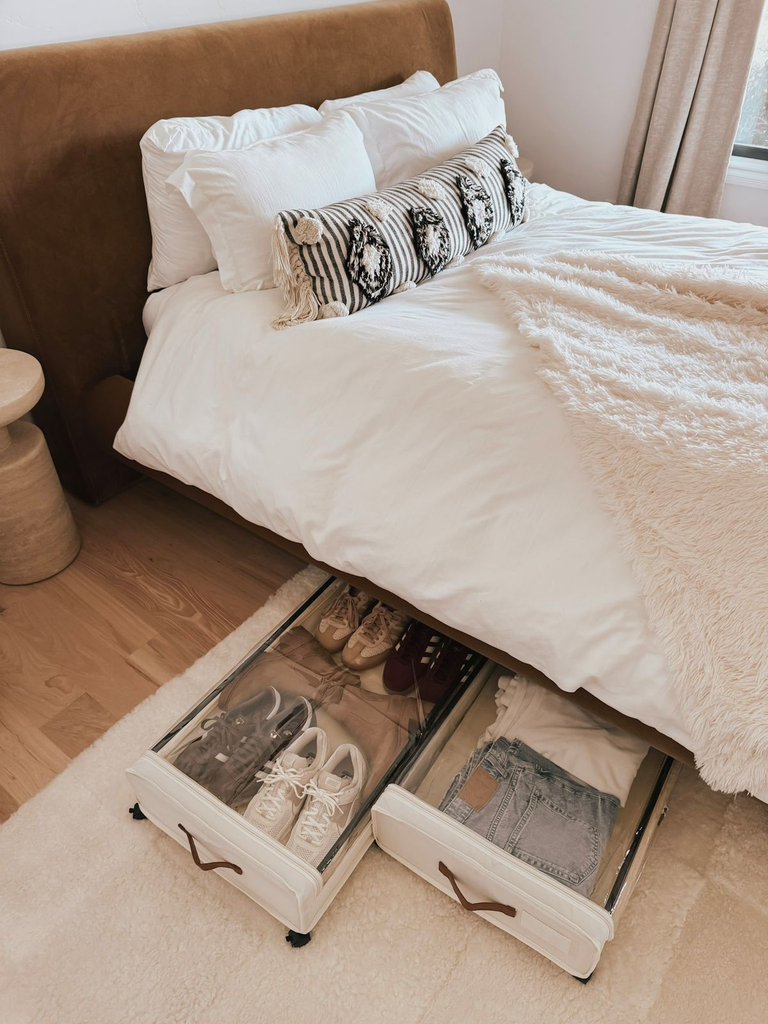
Worth it in a shared space (dorm, roommate situation) where you want something under the bed that isn’t just accessible to anyone who kneels down and pulls it out.
Pro tip: put a small furniture pad or felt strip on the floor track where the wheels roll if you’re on a nicer hardwood floor — otherwise you’ll get faint scuff lines after a few months of sliding it in and out.
DIY and Built-In Options (Ideas 24–28)
If you’re even a little bit handy, this category gets you exact-fit storage for less than most retail options.
24. A plywood box built to your exact clearance measurement.
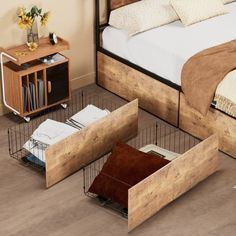
This is the single most requested DIY project readers ask me about, because store-bought bins almost never perfectly use your available space.
A basic box, cut and assembled from a single sheet of plywood, usually costs under $40 in materials if you get the lumber yard to make the cuts for you.
25. That same plywood box on furniture casters.
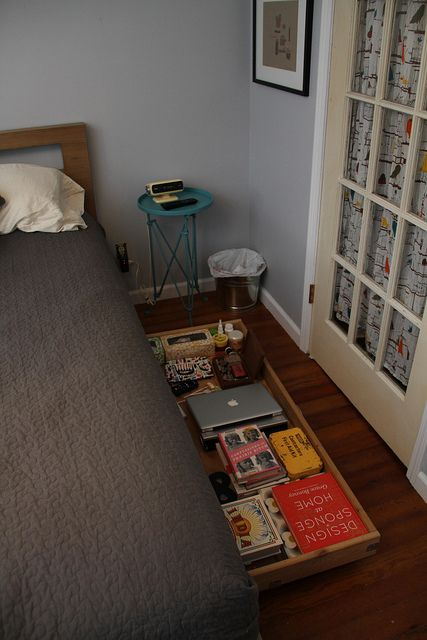
Add four casters (about $15 for a set) to the build above and you’ve got a rolling drawer for a fraction of the cost of a retail version — this is what I ended up building for my own place after being frustrated by bins that were either too tall or wasted an inch of width.
26. A drawer built directly into a platform bed frame you already own.
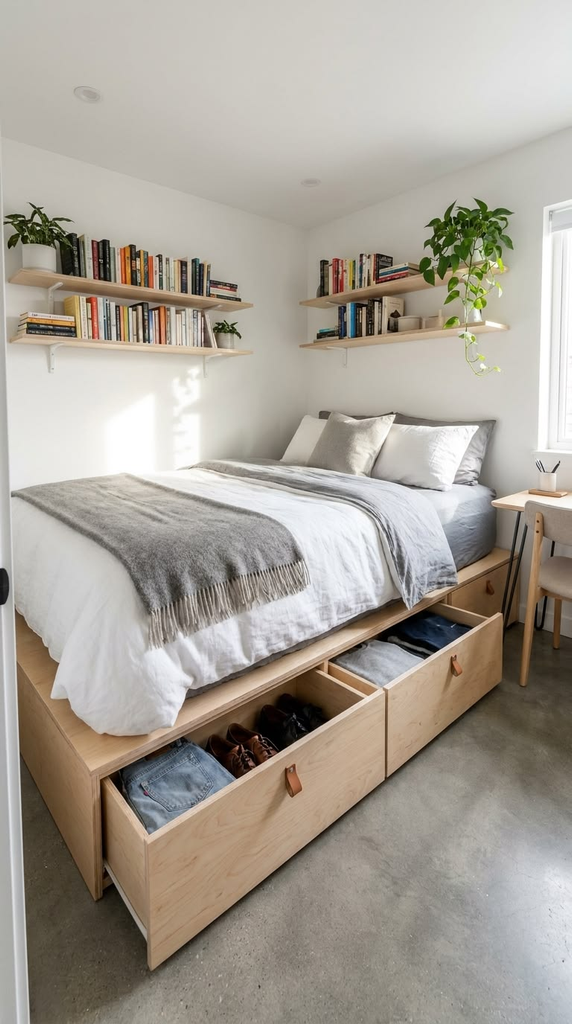
If your platform bed has a solid base rather than slats, you can sometimes build a shallow drawer that slides on the existing frame rails — this one requires actual carpentry skill or a very patient YouTube tutorial binge, so it’s not for a first DIY project.
27. Repurposed dresser drawers with casters added.
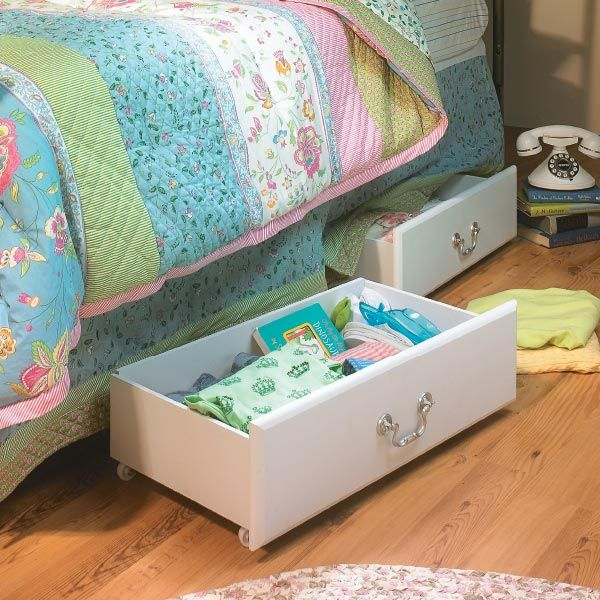
If you have an old dresser you’re getting rid of, pull the drawers out, add casters to the bottom, and you’ve got free (or nearly free) underbed storage that already has real depth and structure.
28. A fabric-covered storage bench that doubles as bed risers.
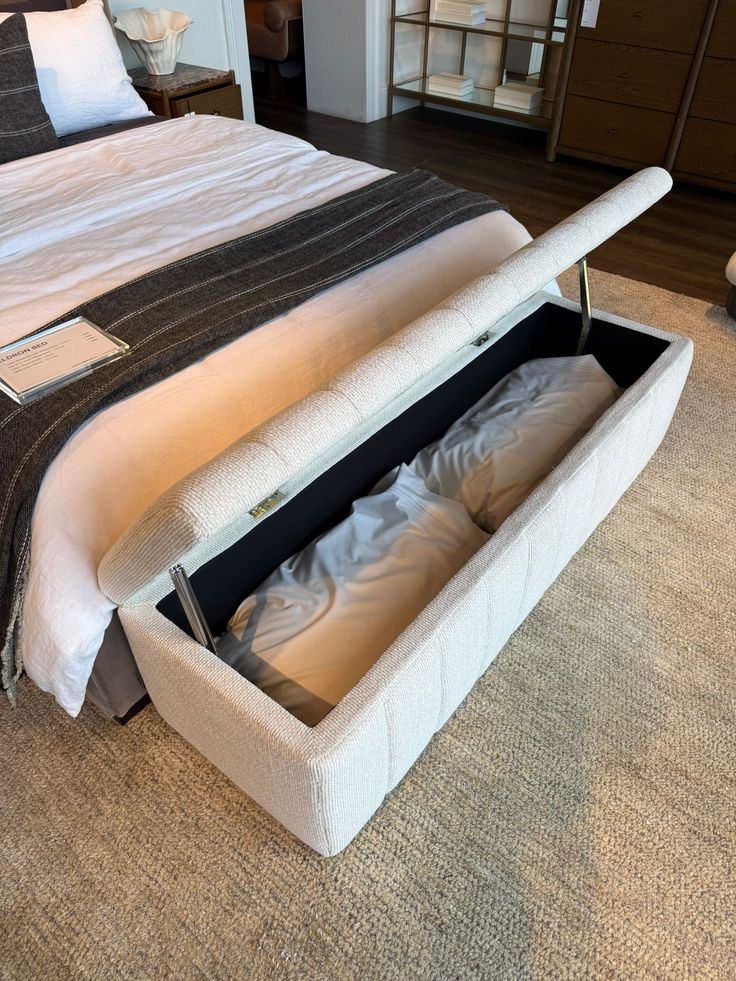
More of an adjacent idea than strictly “under” the bed, but a storage bench at the foot of the bed paired with risers solves overflow that doesn’t fit in the underbed space itself.
Pro tip: if you’re building anything with a caster, get locking casters, not just rolling ones. A bin that rolls out on its own when you bump the bed frame at 2am is a specific kind of annoying I wouldn’t wish on anyone.
Dorm-Specific and Renter-Friendly Ideas (Ideas 29–32)
Dorm beds are usually higher off the ground than standard frames, which actually works in your favor — but you’re also dealing with shared space, inspections, and zero ability to modify the furniture.
29. Stackable dorm-specific bin sets sold in matching pairs.
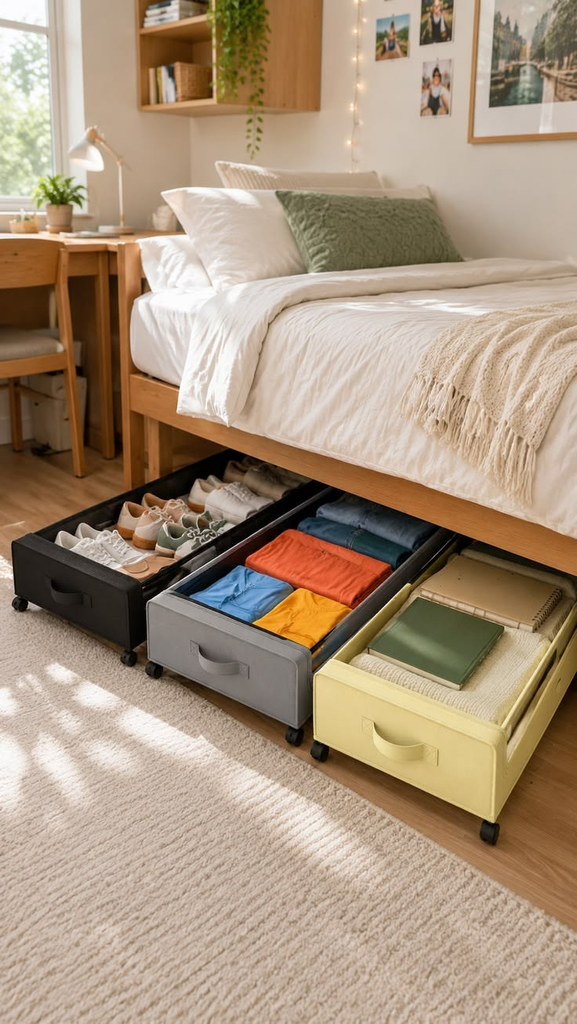
Dorm beds tend to have more clearance than apartment bed frames, sometimes 10+ inches, so stacking two bins is often realistic where it wouldn’t be in a lower-clearance apartment bedroom.
30. A hanging closet organizer repurposed flat under a lofted dorm bed.
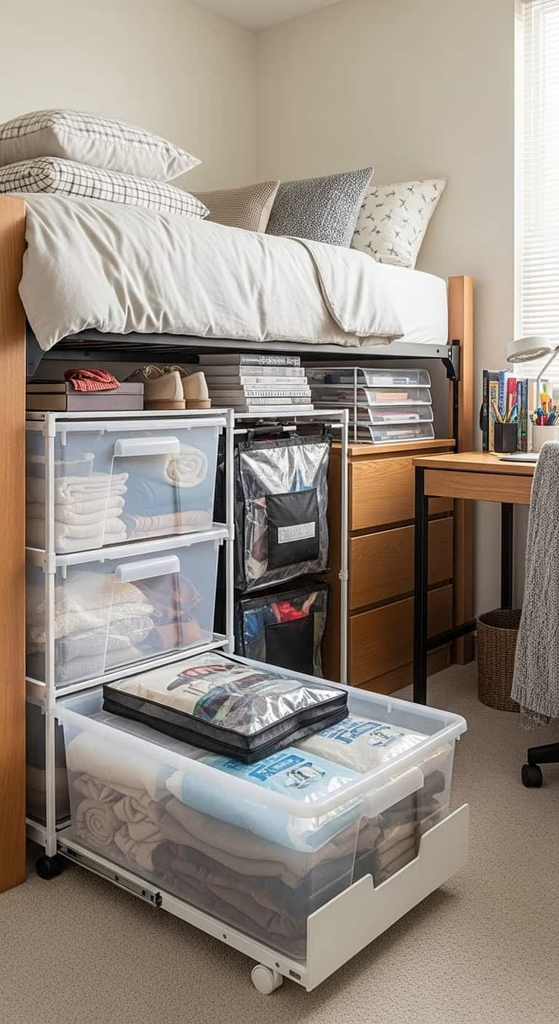
A few readers have mentioned sliding a flat hanging organizer (the kind meant for a closet rod) under a lofted bed instead, using the pockets as makeshift drawers — clever, cheap, and easy to move out at the end of the semester.
31. Command-strip-mounted bed skirt with hidden storage access.
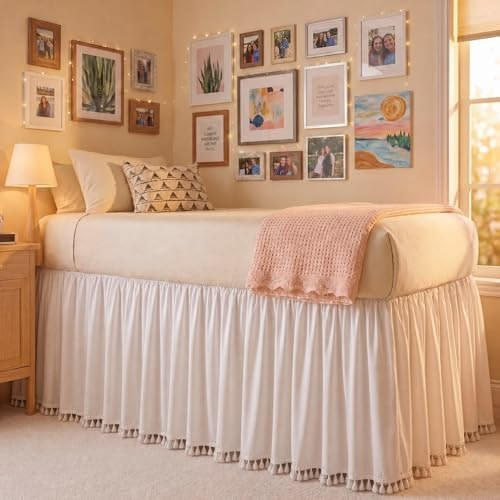
For renters who can’t use anything requiring drilling, a bed skirt with a hidden zipper panel keeps bins out of sight without any wall damage or frame modification — genuinely one of the more underrated options for this whole list.
32. A trundle-style pull-out storage frame designed for small rooms.
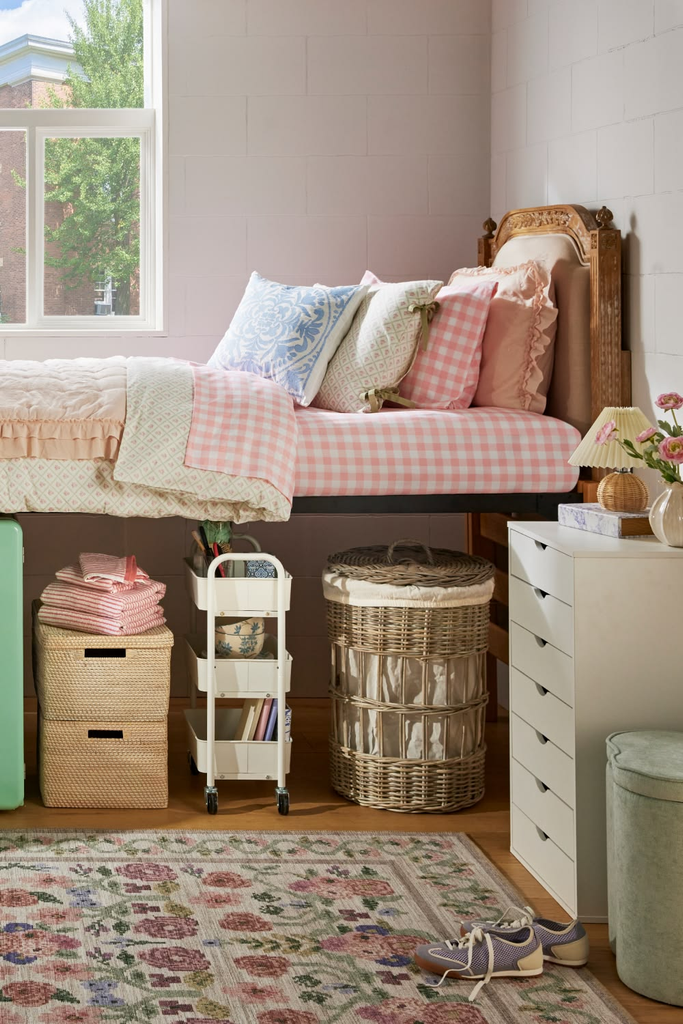
Less common but worth mentioning for very tight bedrooms: some furniture brands sell a trundle-style frame built specifically for storage rather than a second mattress, which gives you a full pull-out drawer the width of the entire bed.
Pro tip for dorms specifically: check your housing agreement before buying anything with wheels or a locking mechanism — some schools restrict what can go under lofted or bunk-style dorm furniture for safety reasons, and it’s a five-minute read that saves you from an RA making you remove it during move-in inspection.
Which Type of Storage Actually Fits Your Situation
| Storage Type | Best For | Typical Cost | Clearance Needed | Main Downside |
|---|---|---|---|---|
| Plastic flat-lid bins | Everyday items, budget setups | $10–20 each | 4+ inches | Scratches/clouds over time |
| Fabric totes | Soft goods, quiet sliding | $10–25 each | 4+ inches | No moisture/bug protection |
| Vacuum-seal bags | Seasonal bulky items (coats, comforters) | $15–30 per set | 2+ inches | Can flatten structured items |
| Rolling drawer units | Frequent access, hardwood floors | $60–150 | 6+ inches | Doesn’t roll on carpet |
| Bed frame with drawers | Long-term, furniture-shopping stage | $250–900+ | Built in | Bigger upfront cost, hard to move |
| DIY plywood box | Exact-fit, budget-conscious | $30–50 in materials | Custom | Requires basic tools/time |
| Bed risers + any bin | Any setup with under 6″ clearance | $20–30 | Adds 3–8 inches | Slightly raises overall bed height |
If I had to pick one starting point for someone who has no idea where to begin: get a set of bed risers first if your clearance is under 6 inches, then buy one flat-lid bin and actually test it before ordering a matching set. That order of operations would’ve saved me two return shipments and a lot of measuring frustration.
What I’d Do If I Were Starting Over
Honestly, if I were setting up a tiny bedroom from scratch again, I’d skip the bin-buying spree entirely and start with the bed risers — raising the frame by even four inches opens up so many more options that everything downstream gets easier.
Then I’d measure once, buy one bin to test fit, and only then commit to a full set. The mistake I made the first time was buying based on what looked good in a Pinterest photo instead of what actually fit my specific bed, and I paid for that in return shipping fees more than once.
Under-bed storage isn’t glamorous, but it’s genuinely the most efficient square footage in a small bedroom, and getting it right makes the rest of the room feel less chaotic without you having to get rid of anything. Measure first, buy one thing before you buy six, and build in whatever direction your actual clearance allows — that’s really the whole system.

Leave a Reply